Disclaimer: This post is simply a recap of my personal experience on the Teton Crest Trail. Conditions can vary year to year, and this is not meant to serve as official guidance. Please do your own research, check with the park service, and hike at your own risk. I am not liable for any injuries, changes in trail conditions, or decisions made based on this post.
Some links in this post may be affiliate links. If you purchase through these links, I may earn a small commission at no additional cost to you. I only recommend gear I personally use and trust.
Overall Thoughts
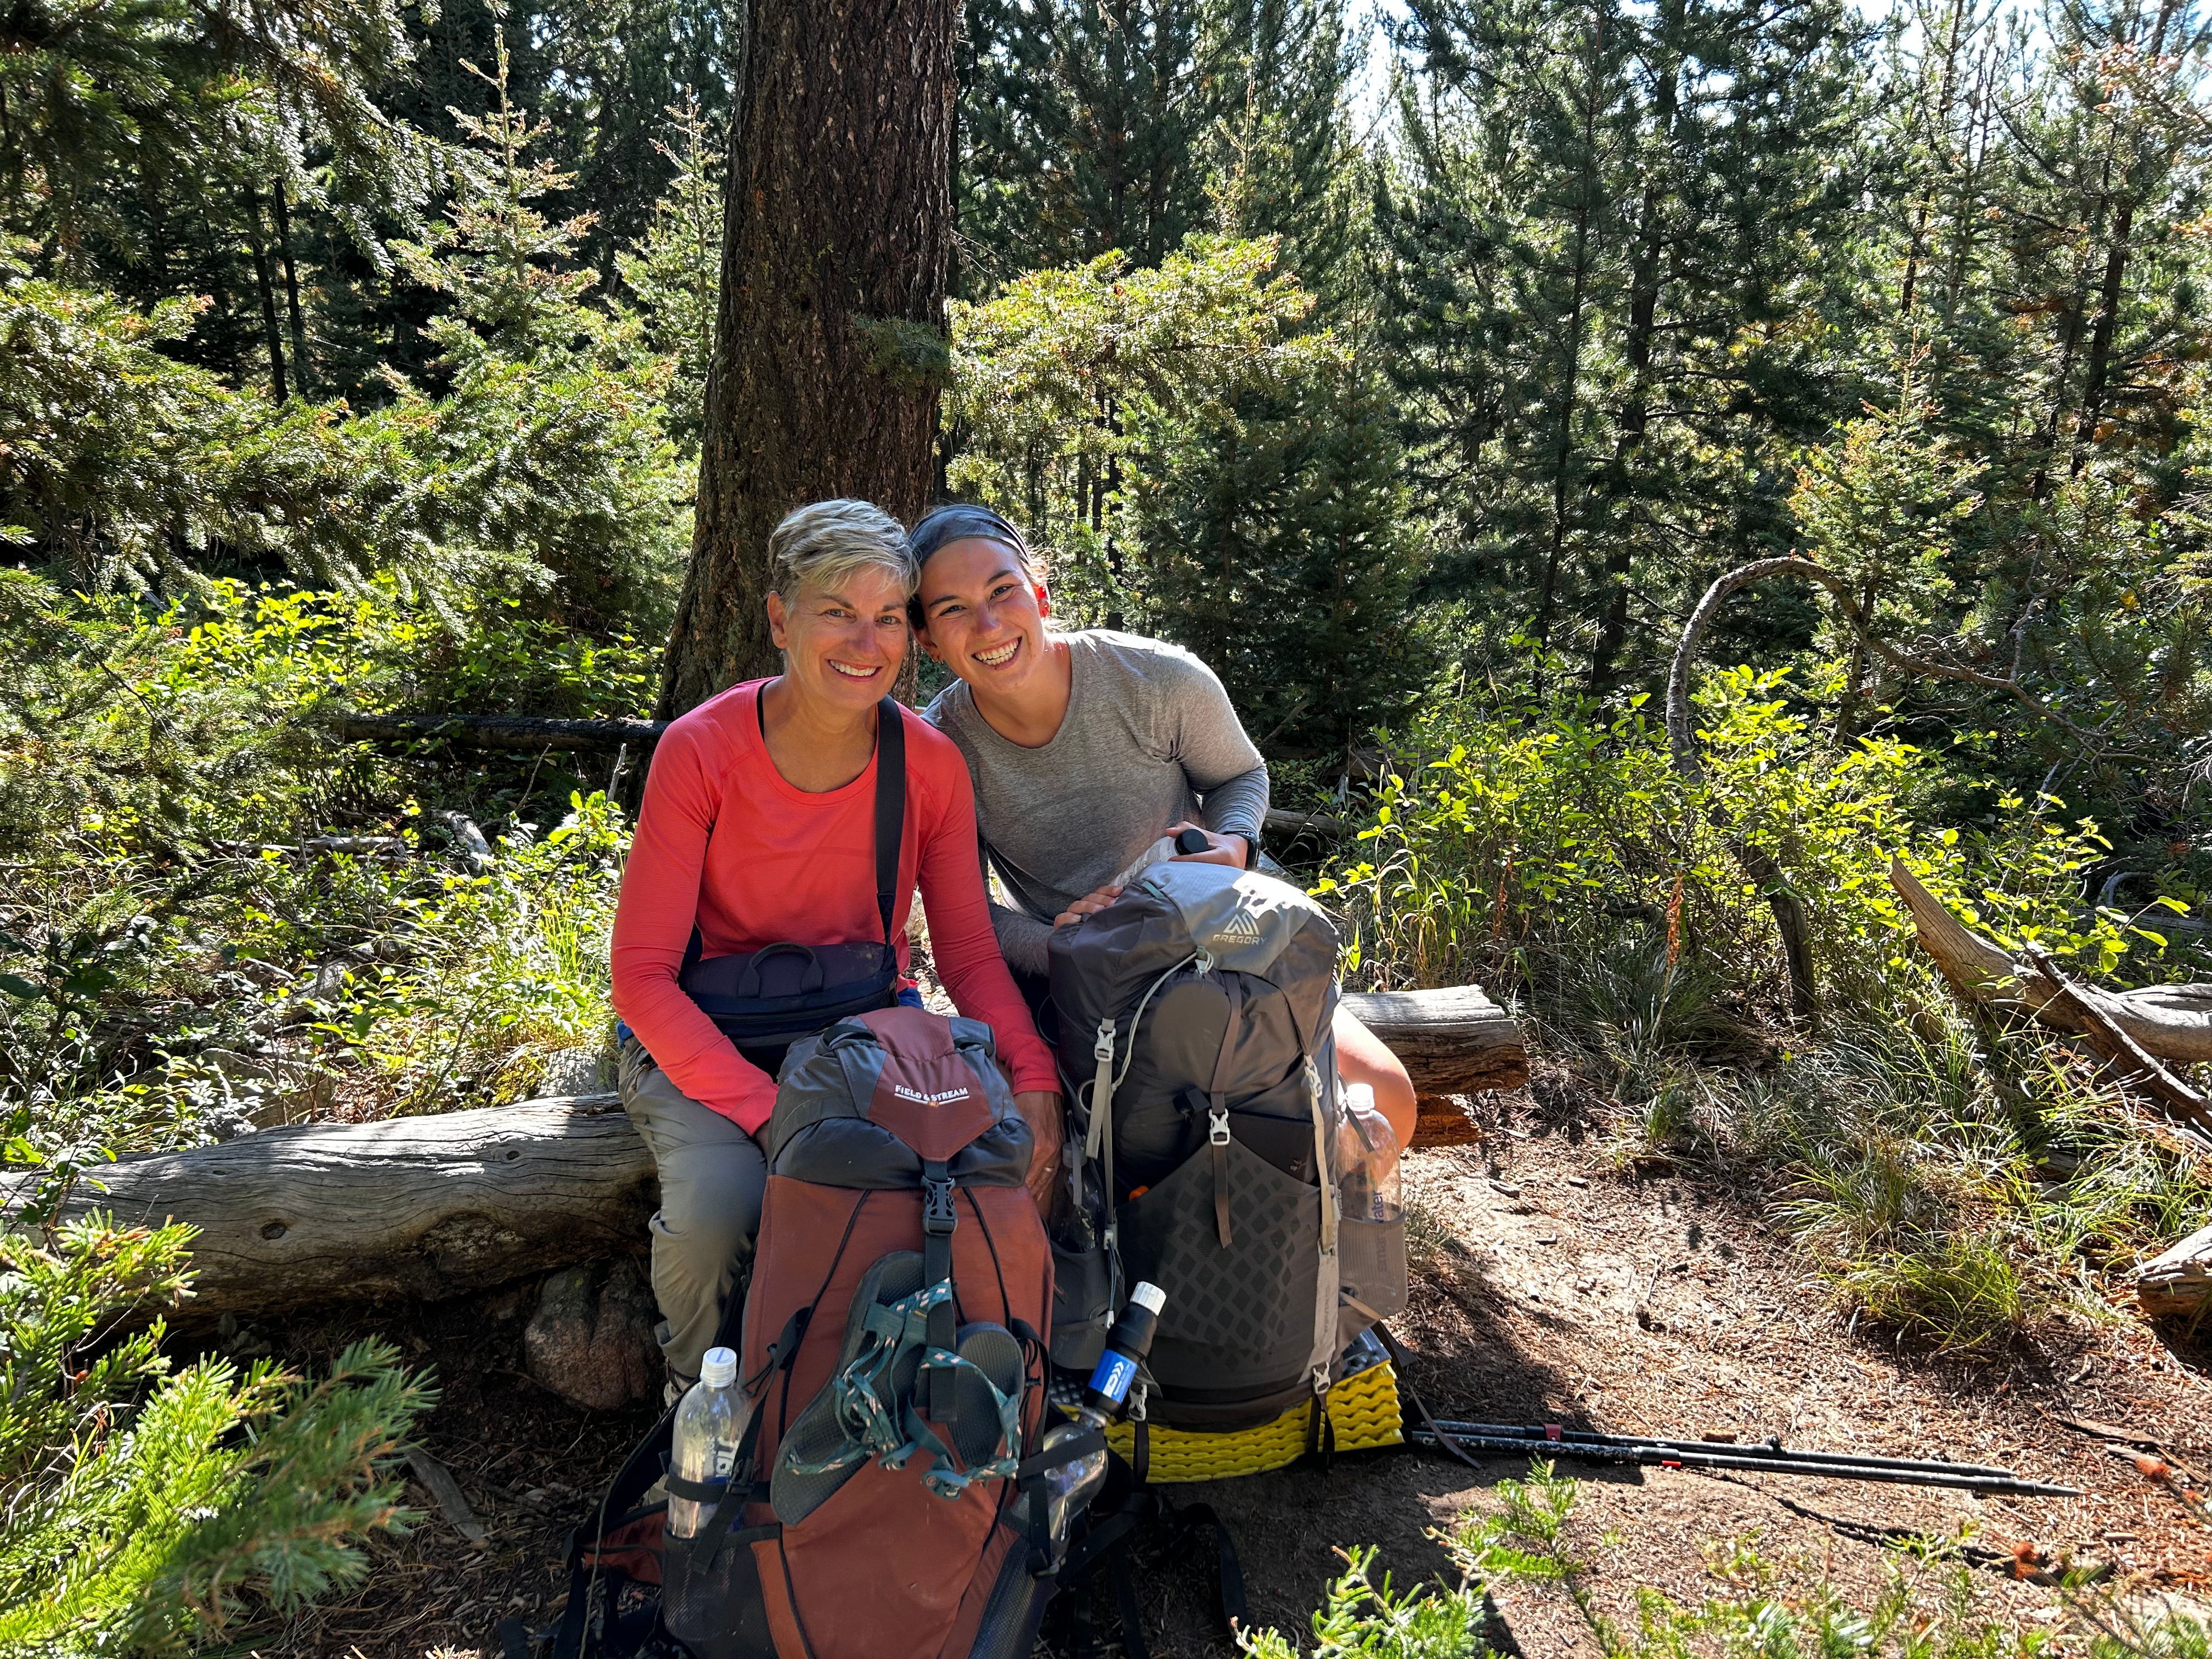
My mom and I did the TCT the last week of August 2024. It was absolutely incredible — wildflowers were in full bloom, temperatures were perfect, and there was very minimal snow on the trail (only near the peak of Paintbrush Divide). Evenings were cool enough for a fleece, but otherwise it was ideal.
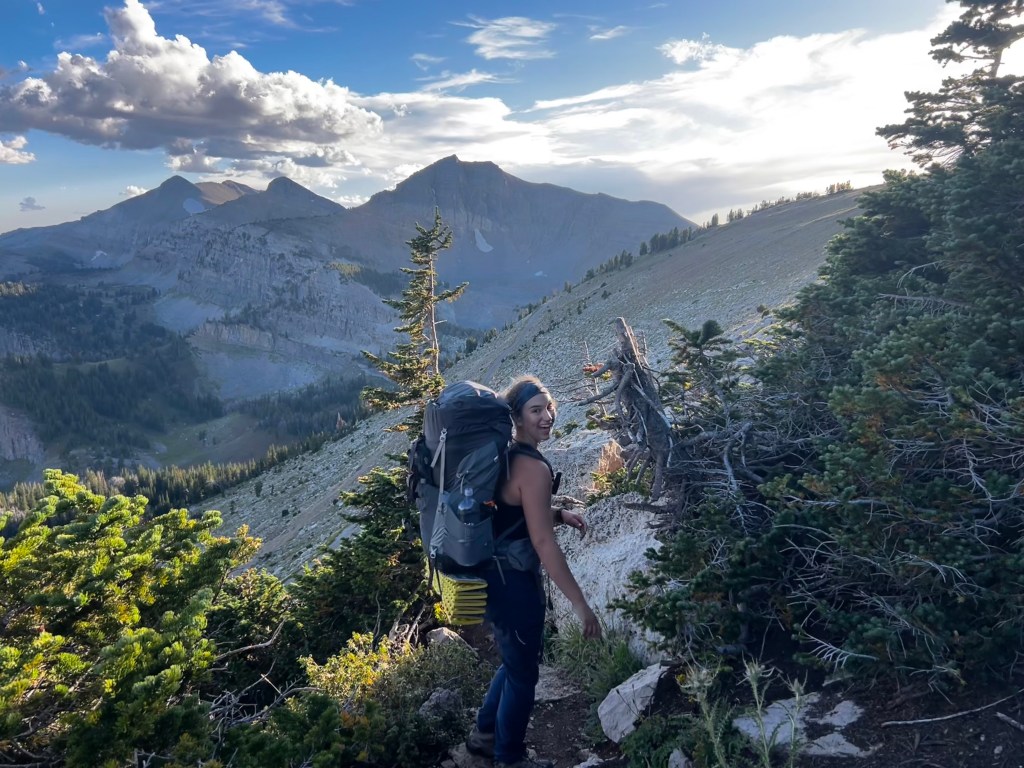
I had coaxed my mom (61 at the time) into doing this with me because I thought the experience would be awesome to share. This was her first ever backpacking trip, and she absolutely crushed it. It was definitely tough for both of us, and we pushed our bodies to the limits. Even looking back over a year later, I still feel so fortunate we had this together.
Because our planning was so last-minute, we decided to make the TCT work with the limited time we had. That meant finishing the trail in 4 days / 3 nights. It was a significant push, but the TCT has many bail-out points, so I felt comfortable trying to make it work.1
If I Did It Again
If I did the TCT again, I would still stick with late August for:
- the flowers (they were noticeably less plentiful even one week later)
- the weather, which was perfect for hiking
I would also:
- Go south to north again — ending with Paintbrush Canyon saves the best views for the finale
- Add an extra day to split up distances and have more time to unwind at camp
Campsites I Loved
My favorite spots along the trail (and where I’d aim to camp again) were:
- North/South Cascade Canyon
- Upper/Lower Paintbrush
- Alaska Basin
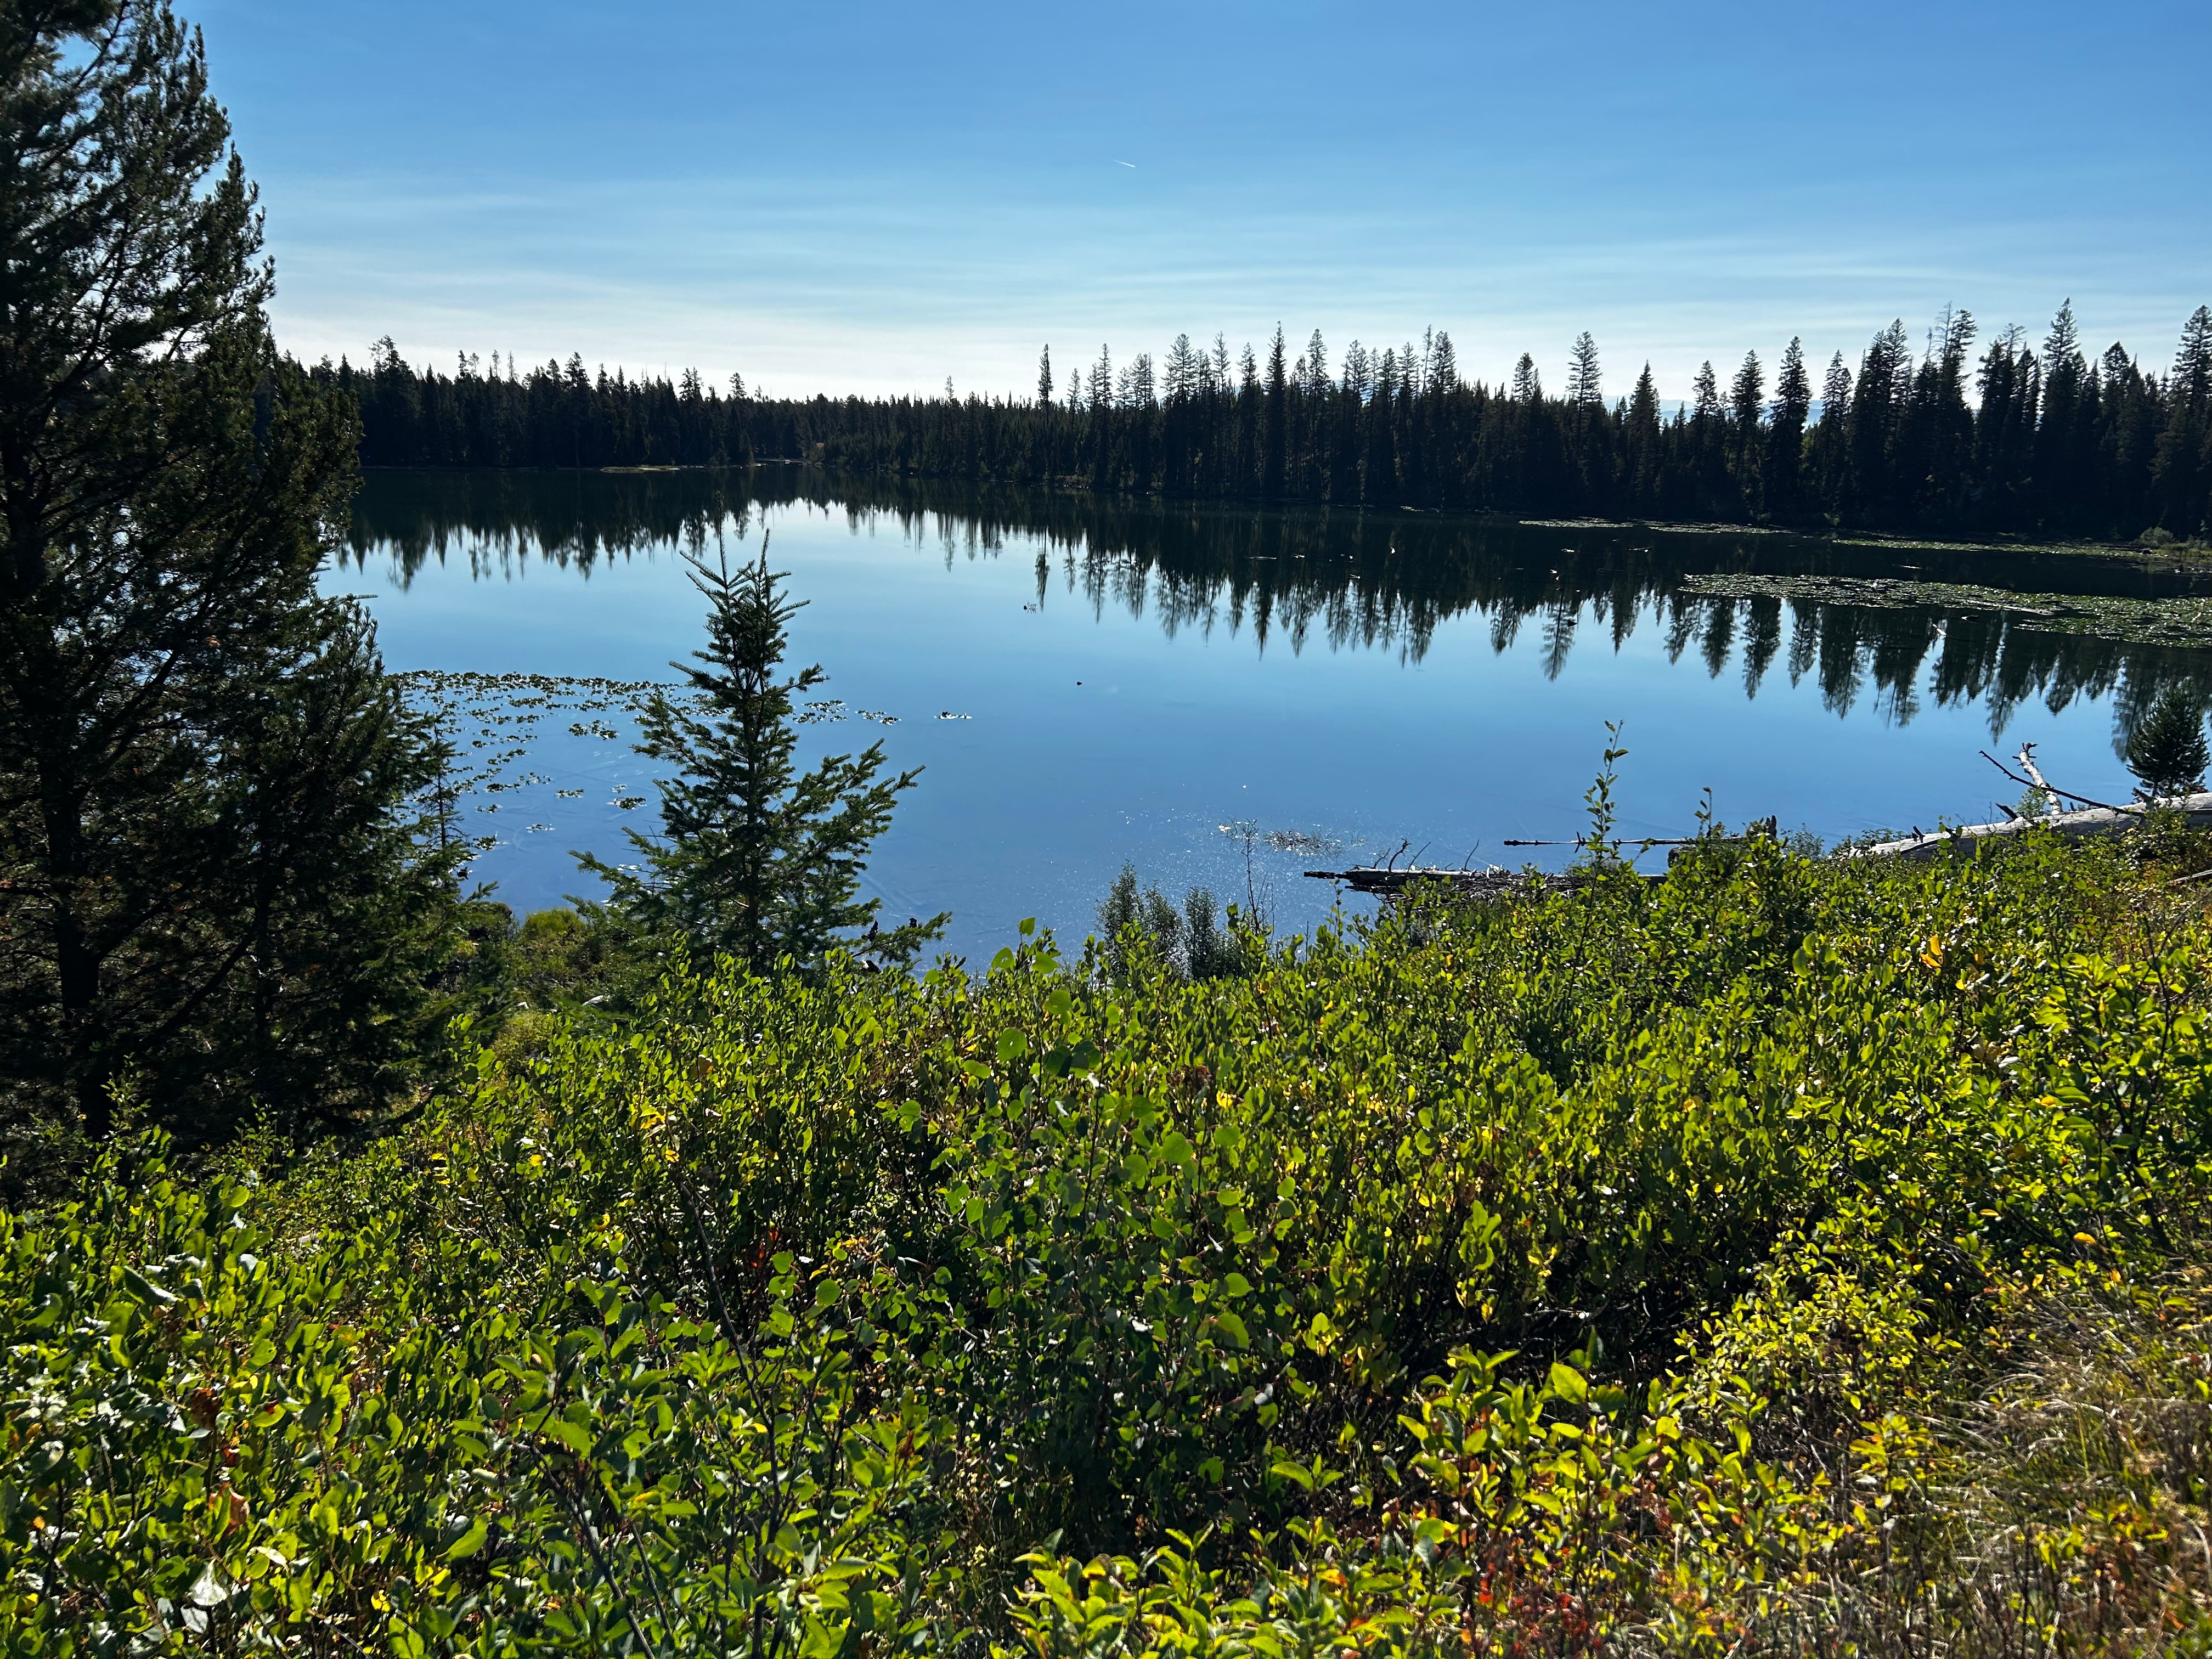
- Any lake-adjacent one-offs
These were the areas that felt the most scenic, peaceful, and worth the effort to reach.
Planning
Our planning for this trip was last minute, but since we were doing the TCT during the week and not on a major holiday weekend, it was still possible to find campsites online. However, if necessary, walk-up permits are available one day prior to start date at the permit offices (Craig Thomas Discovery & Visitor Center, Colter Bay Visitor Center, and the Jenny Lake Ranger Station). There is a risk you won’t get the sites you want, and I prefer having time to do my own analysis, so we opted to book available sites online for our TCT through-hike.2
For this backpacking trip, I primarily used Gaia GPS both for planning and on the trail. I find Gaia better for a longer trek like this than AllTrails because I can:
- adjust mileages for different legs,
- view the full route at once, and
- avoid the clutter of reviews and GUI elements.
Since we were late getting campsites, I dropped pins in Gaia for what campsites were available on Recreation.gov and could instantly see what that meant for our mileage each day. On the trail, I loved that Gaia is mostly a simple GPS map. I didn’t have to click through saved hikes or filter reviews — I just opened the app and saw where we were.
Navigating the TCT itself isn’t difficult because it’s such a well-traveled trail, but I still used Gaia during the day to:
- plan water refills,
- check elevation profiles, and
- pick rest spots.
The day you begin hiking, you must stop at one of the Grand Teton National Park permit offices to pick up your permits, which you have to carry with you. At this time, rangers will answer any questions, review your route, and give a brief rundown on trail rules and safety. You can also check out a bear canister here (included with a backcountry permit) and return it cleaned afterward.
Footnote:
1 We read a lot of other blogs prior to our hike, and almost all of them suggested to break up Hurricane and Paintbrush into separate days. We realized with the campsite availability that we would have to do both in one day, which made it critical that we had a bail out plan in the case we were too exhausted to attempt Paintbrush Divide. We felt strong after Hurricane and elected to press to the end.
2 After finishing the TCT, I ended up bringing my husband and another friend back to Cascade Canyon for an overnight because it was one of my favorite spots. Since I was already familiar with the trail, we went for a last-minute walk-up permit on Labor Day Weekend. We got to the Jenny Lake Ranger Center before opening, waited in line, and secured one of the spots we wanted. I’d plan to get there about an hour before opening, especially if you’re trying to get multiple consecutive sites along the TCT.
Starting the Trail
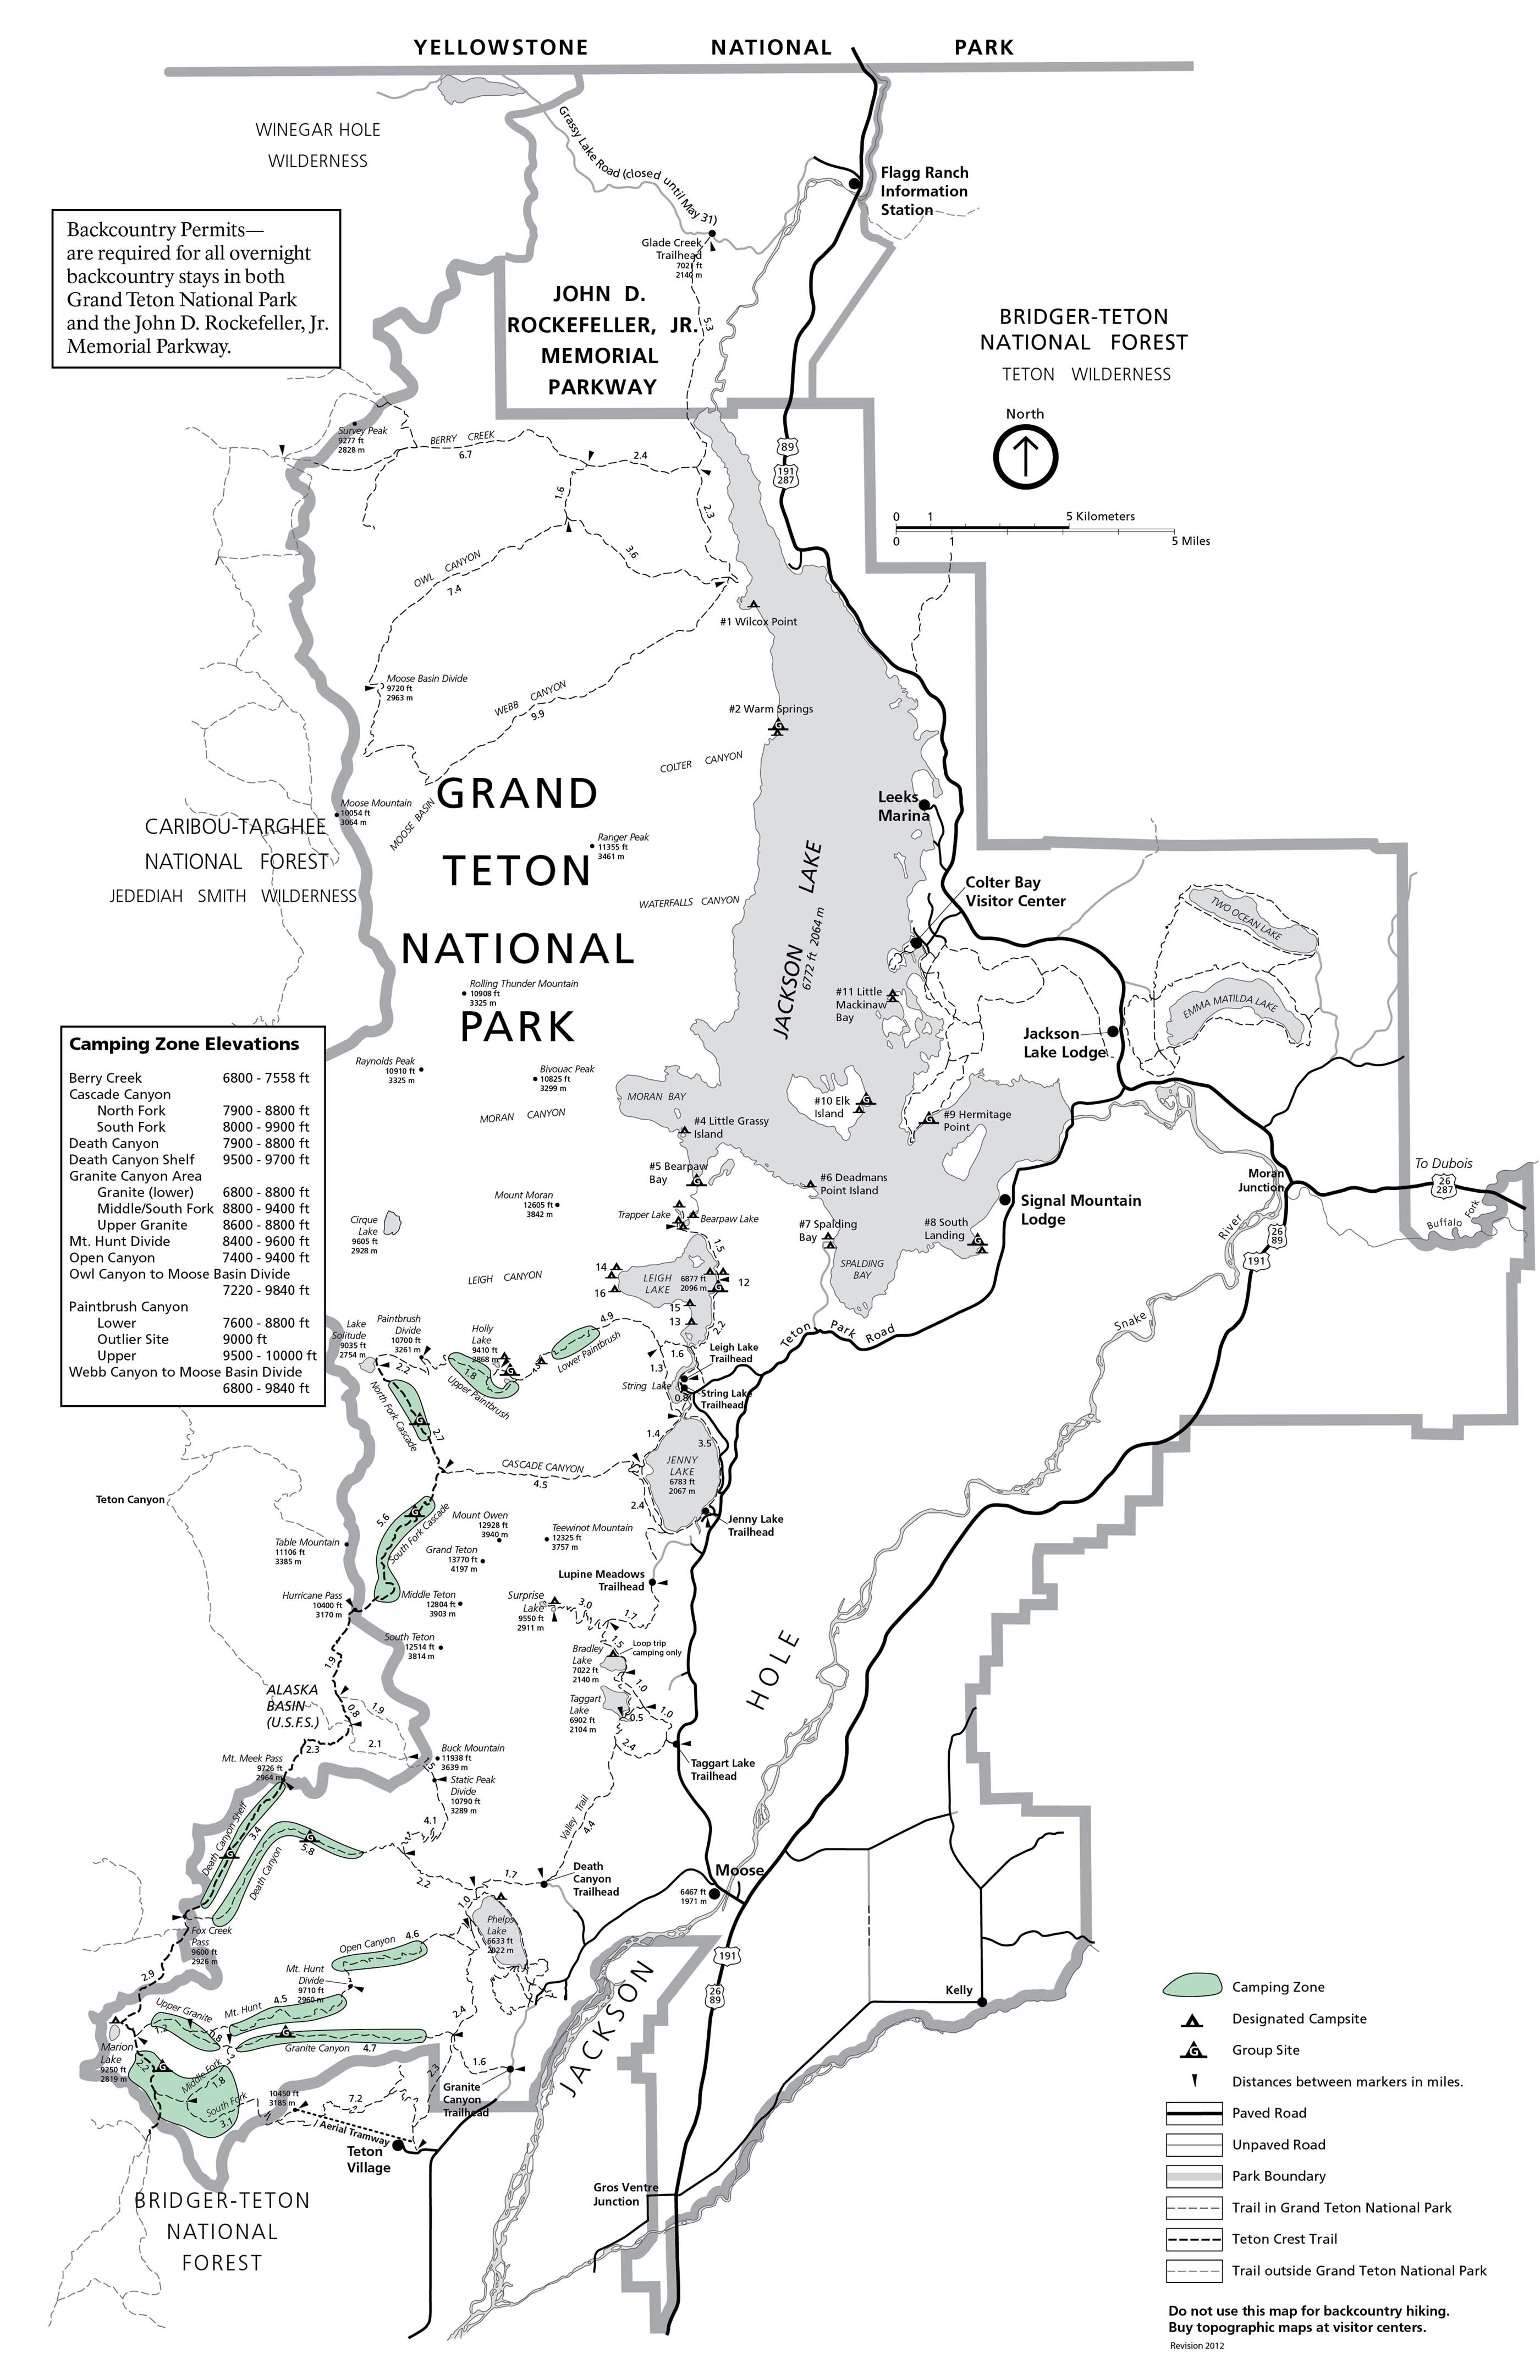
The Teton Crest Trail has a few options as starting points:
- outside the park at Phillips Pass (39.5 miles, 9,045 ft elevation gain)
- Granite Canyon (37.5 miles, 8,500 ft elevation gain)
- Aerial Tramway from Teton Village (34.5 miles, 6,800 ft elevation gain)
Another reason: getting from Jenny Lake back to Jackson Hole Ski Resort is a much shorter ride to hitch or taxi. I had skied Jackson Hole the previous winter and thought a tram ride would be a fun way to kick things off.
Getting to the Trailhead
We tried hitchhiking off Teton Park Rd for about half an hour before calling an Uber. We had a later start than planned, so we didn’t want to wait on the unknown of someone picking us up or not. We ordered an UberXL from Jenny Lake Lodge to Jackson Hole since we needed room for our packs. It took about 30 minutes for a car to arrive (most drivers stay closer to town/airport), and it cost around $75 before tip.
You can schedule a ride ahead, but when backpacking you never really know how long permits and final packing will take.
The Tram Situation
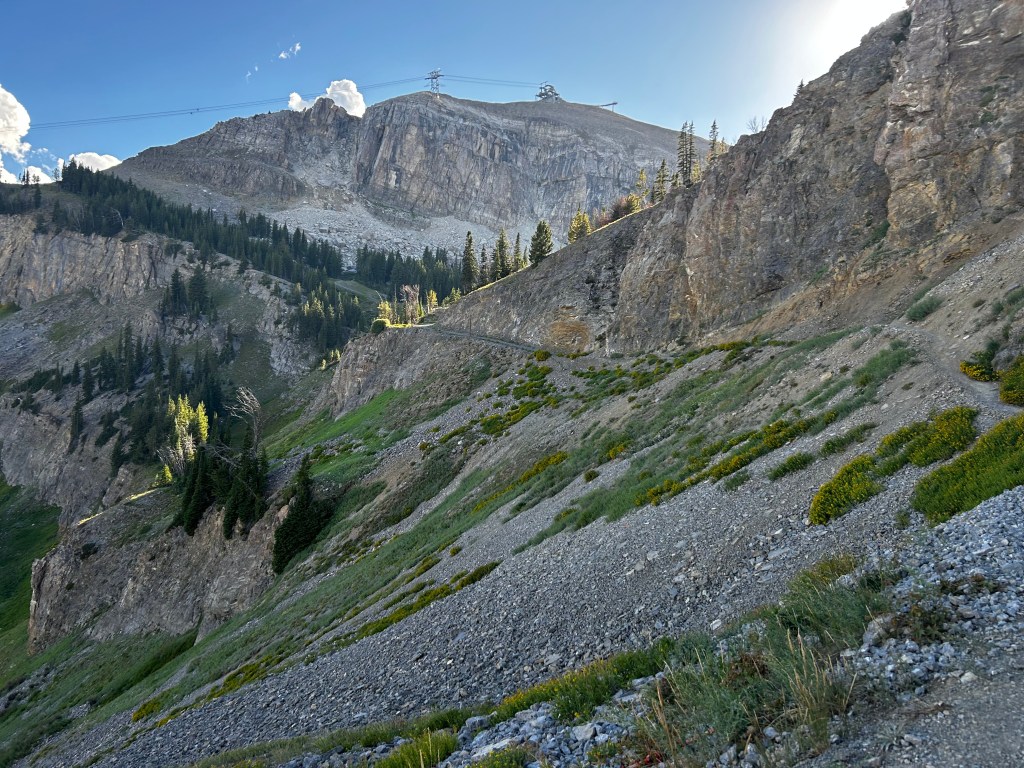
You can buy an Aerial Tramway ticket online or in person. It’s slightly cheaper online ($50 at the ticket office), but I’m glad we waited because mild lightning shut the tram down. The climb from the base to the top is about 4,000 ft, and we didn’t want to start our first day with that.
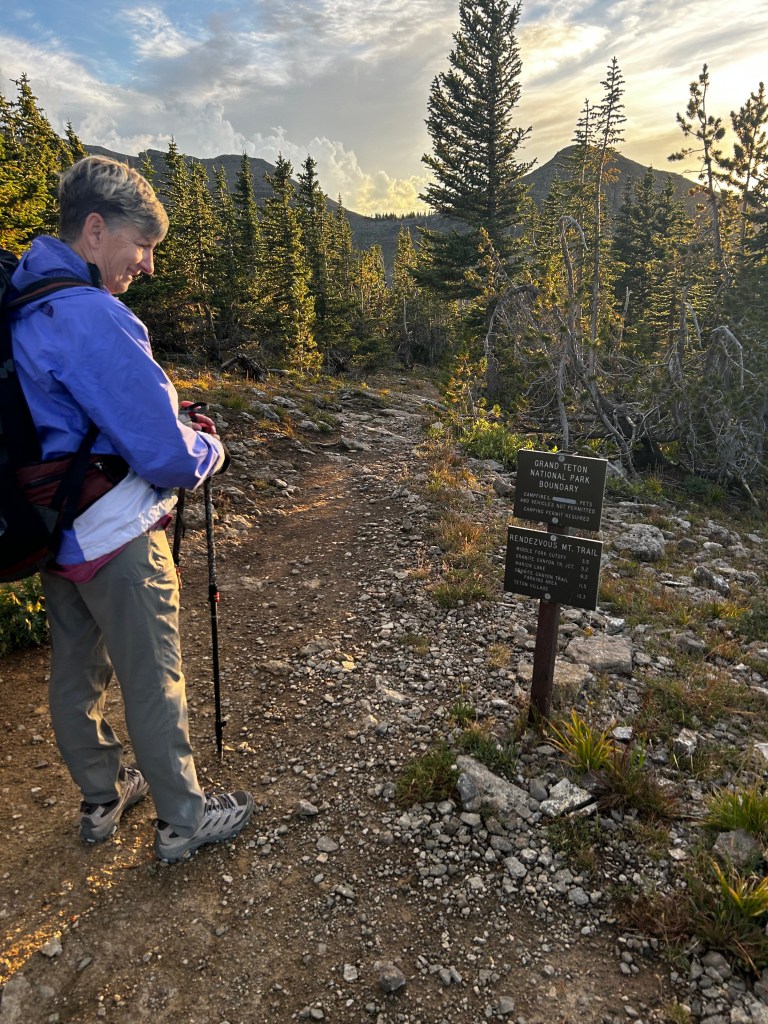
Instead, we took the Bridger Gondola ($35) up 2,700 ft and hiked the remaining 1,500 ft climb to reach the Grand Teton National Park boundary. This ended up being a stunning but unexpectedly challenging start — we hadn’t planned on any major climbing on Day 1. Later on, I was actually grateful for the early acclimation. It got our legs moving and our heart rates up right away, making our tough days later in the trip achievable.
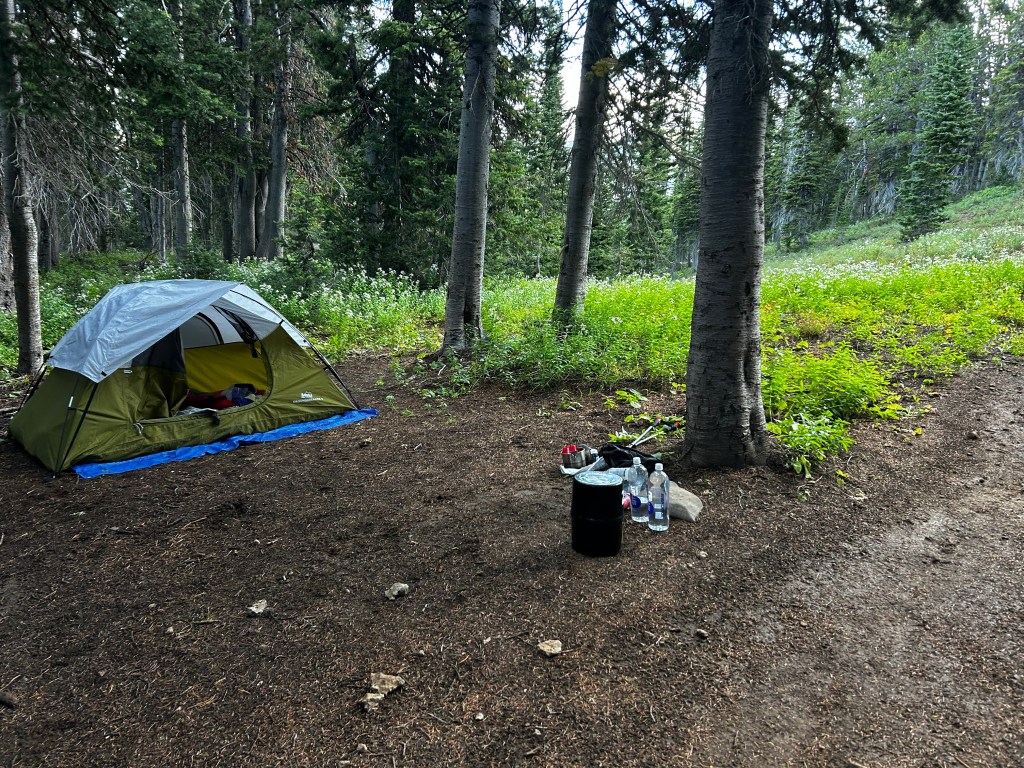
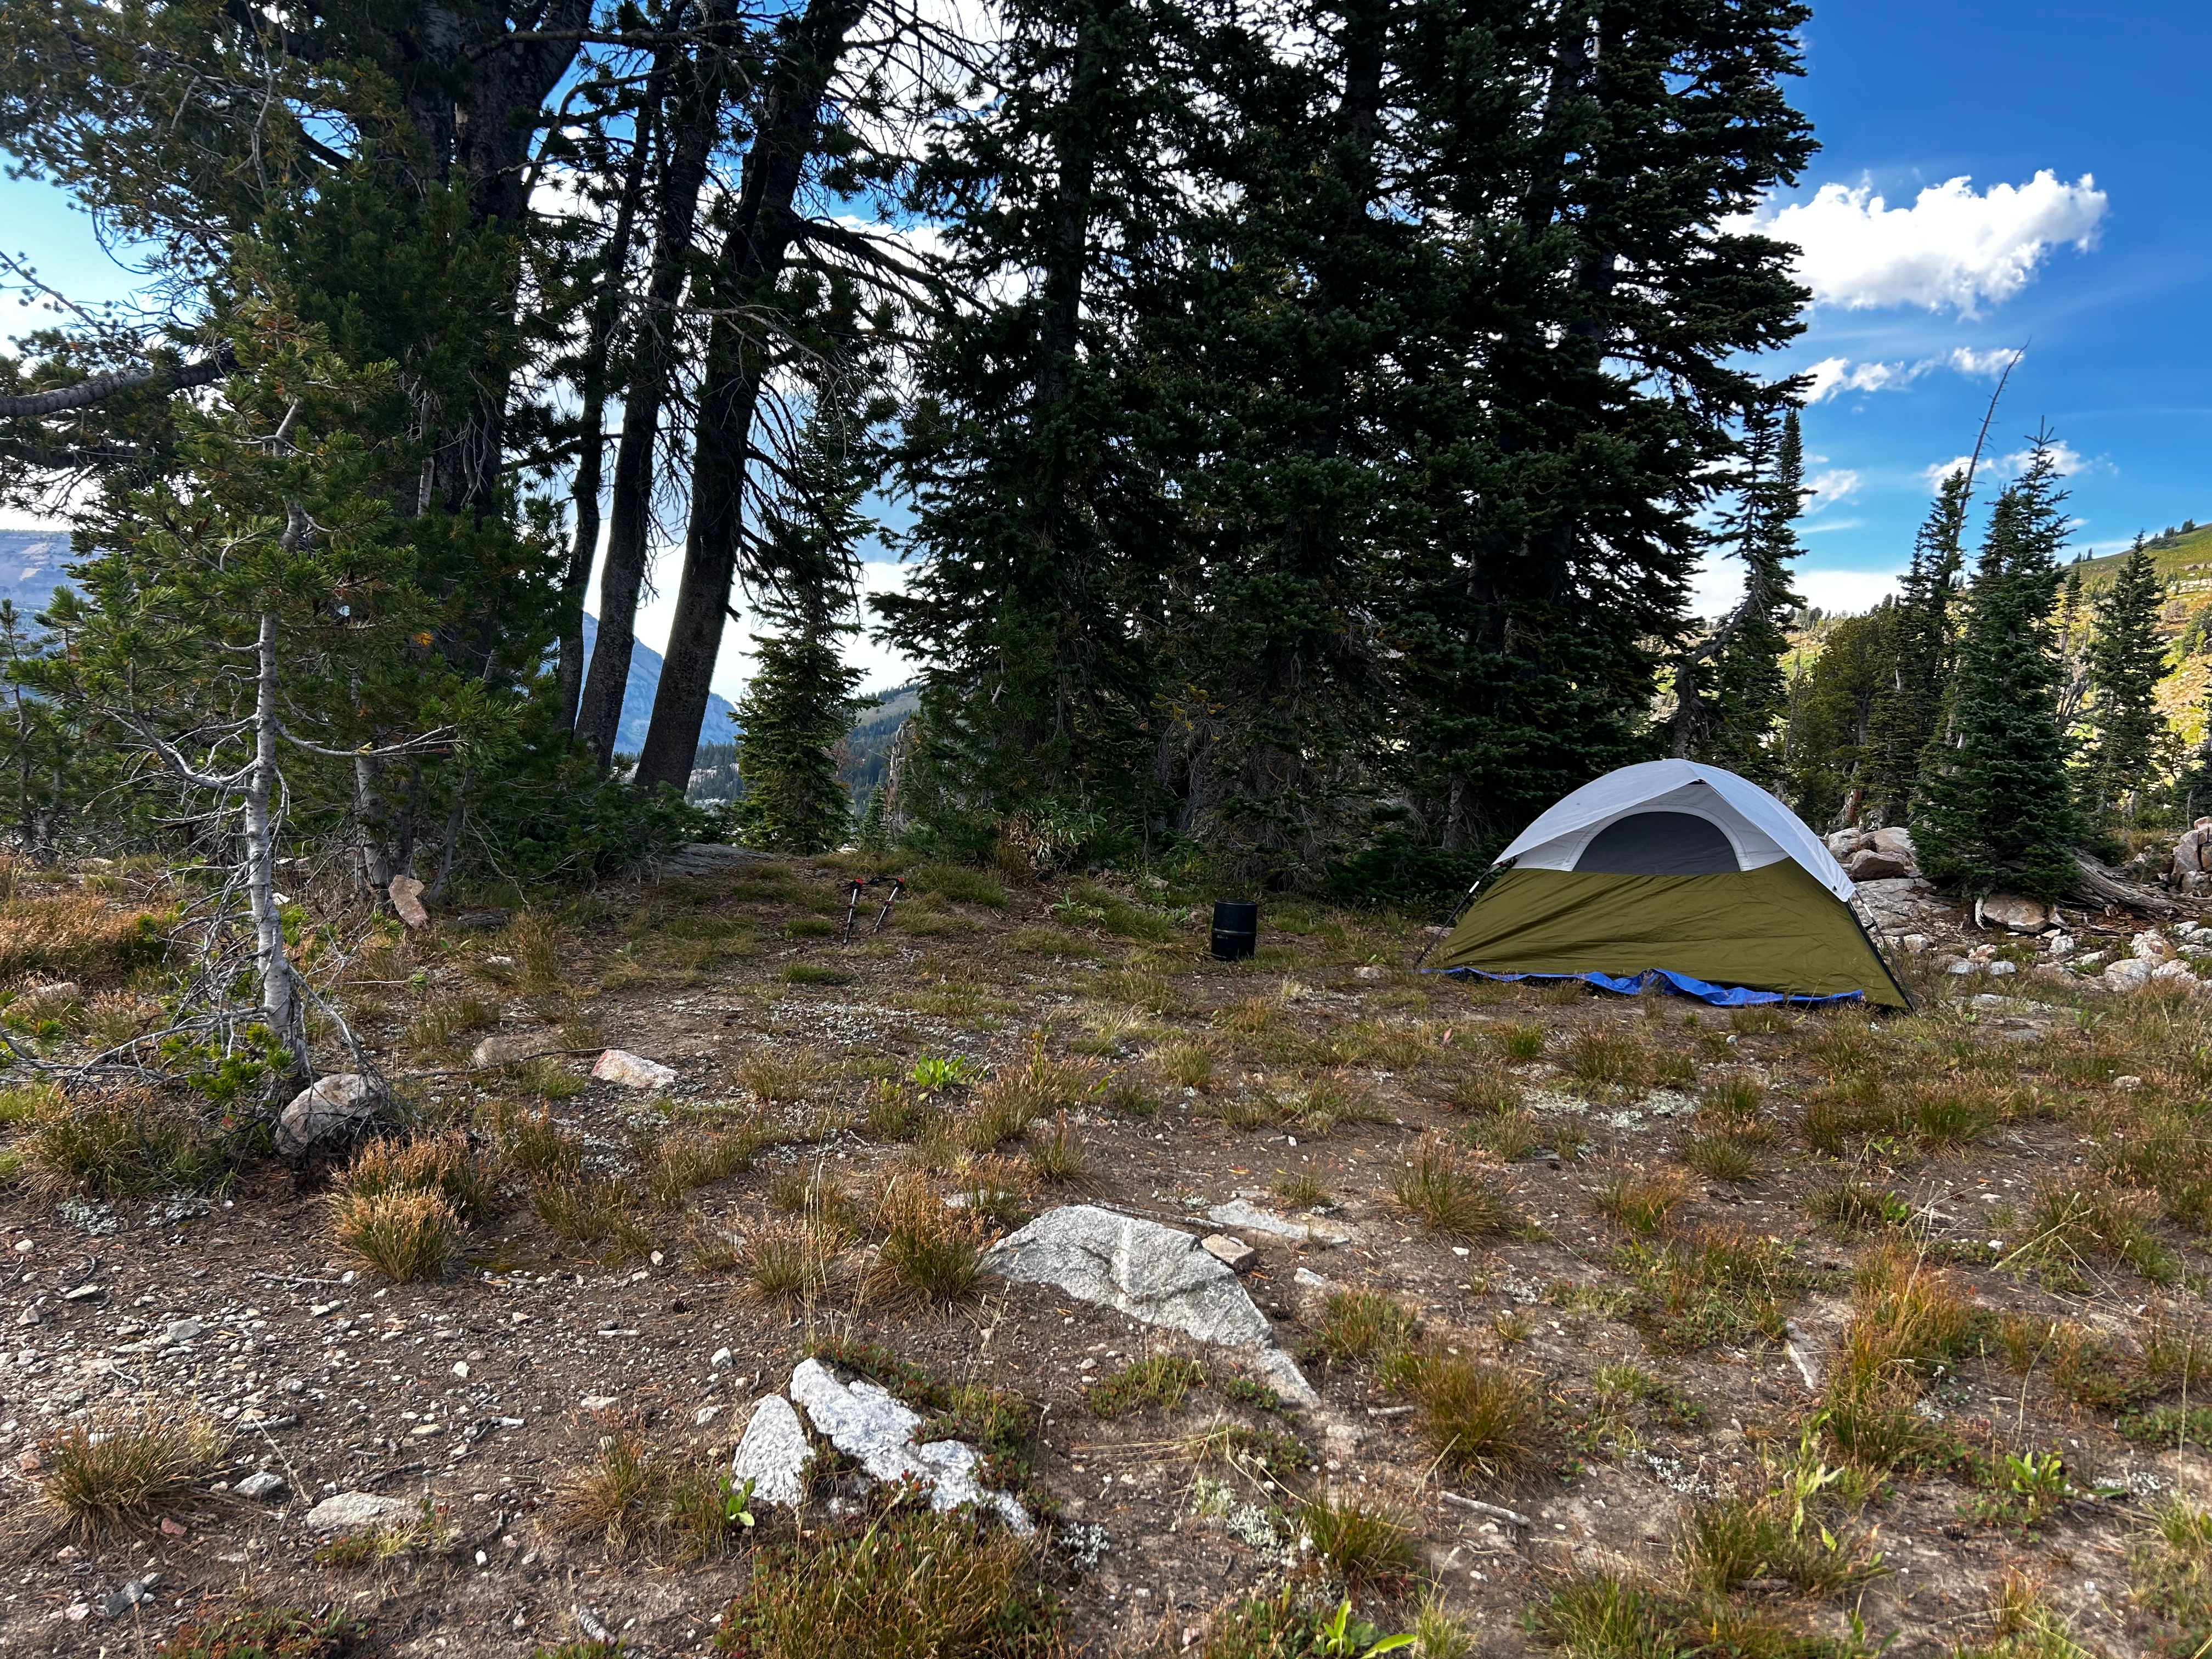
Night 1: South Fork
We camped the first night at South Fork. We arrived at dusk, quickly set up camp, made dinner, stored our bear canister, and went straight to bed. It was a beautiful site, though not the most scenic of our trip. If possible, I’d recommend an earlier start to camp somewhere in Granite or Death Canyon for a more even spread of mileage.
Day 2
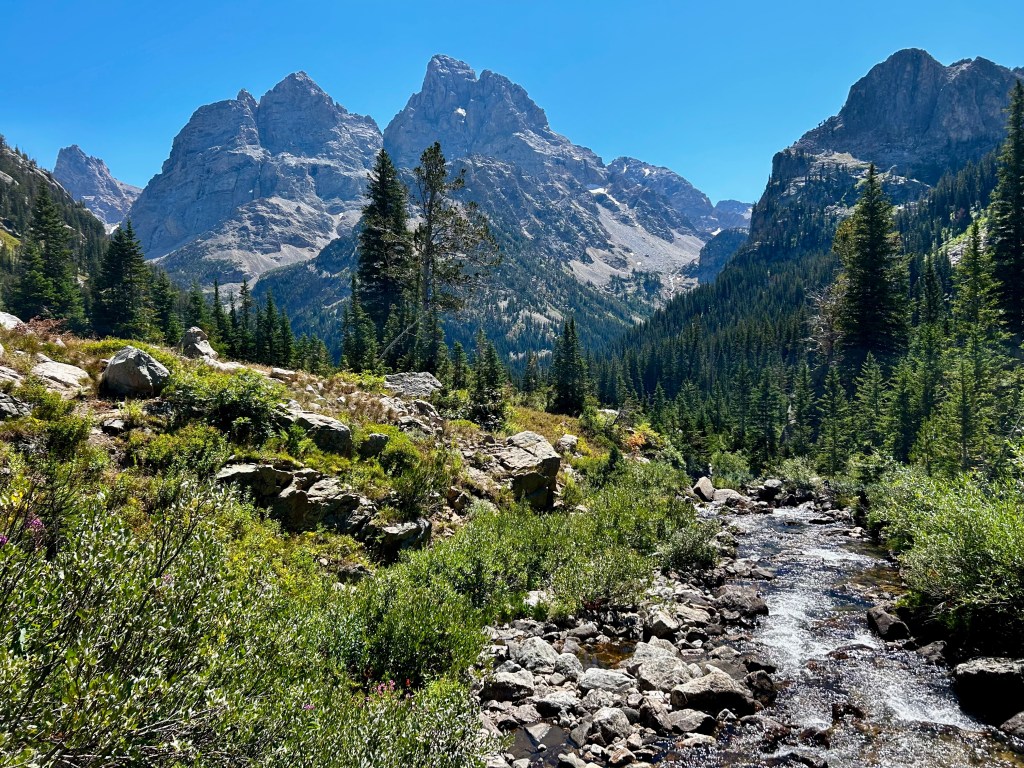
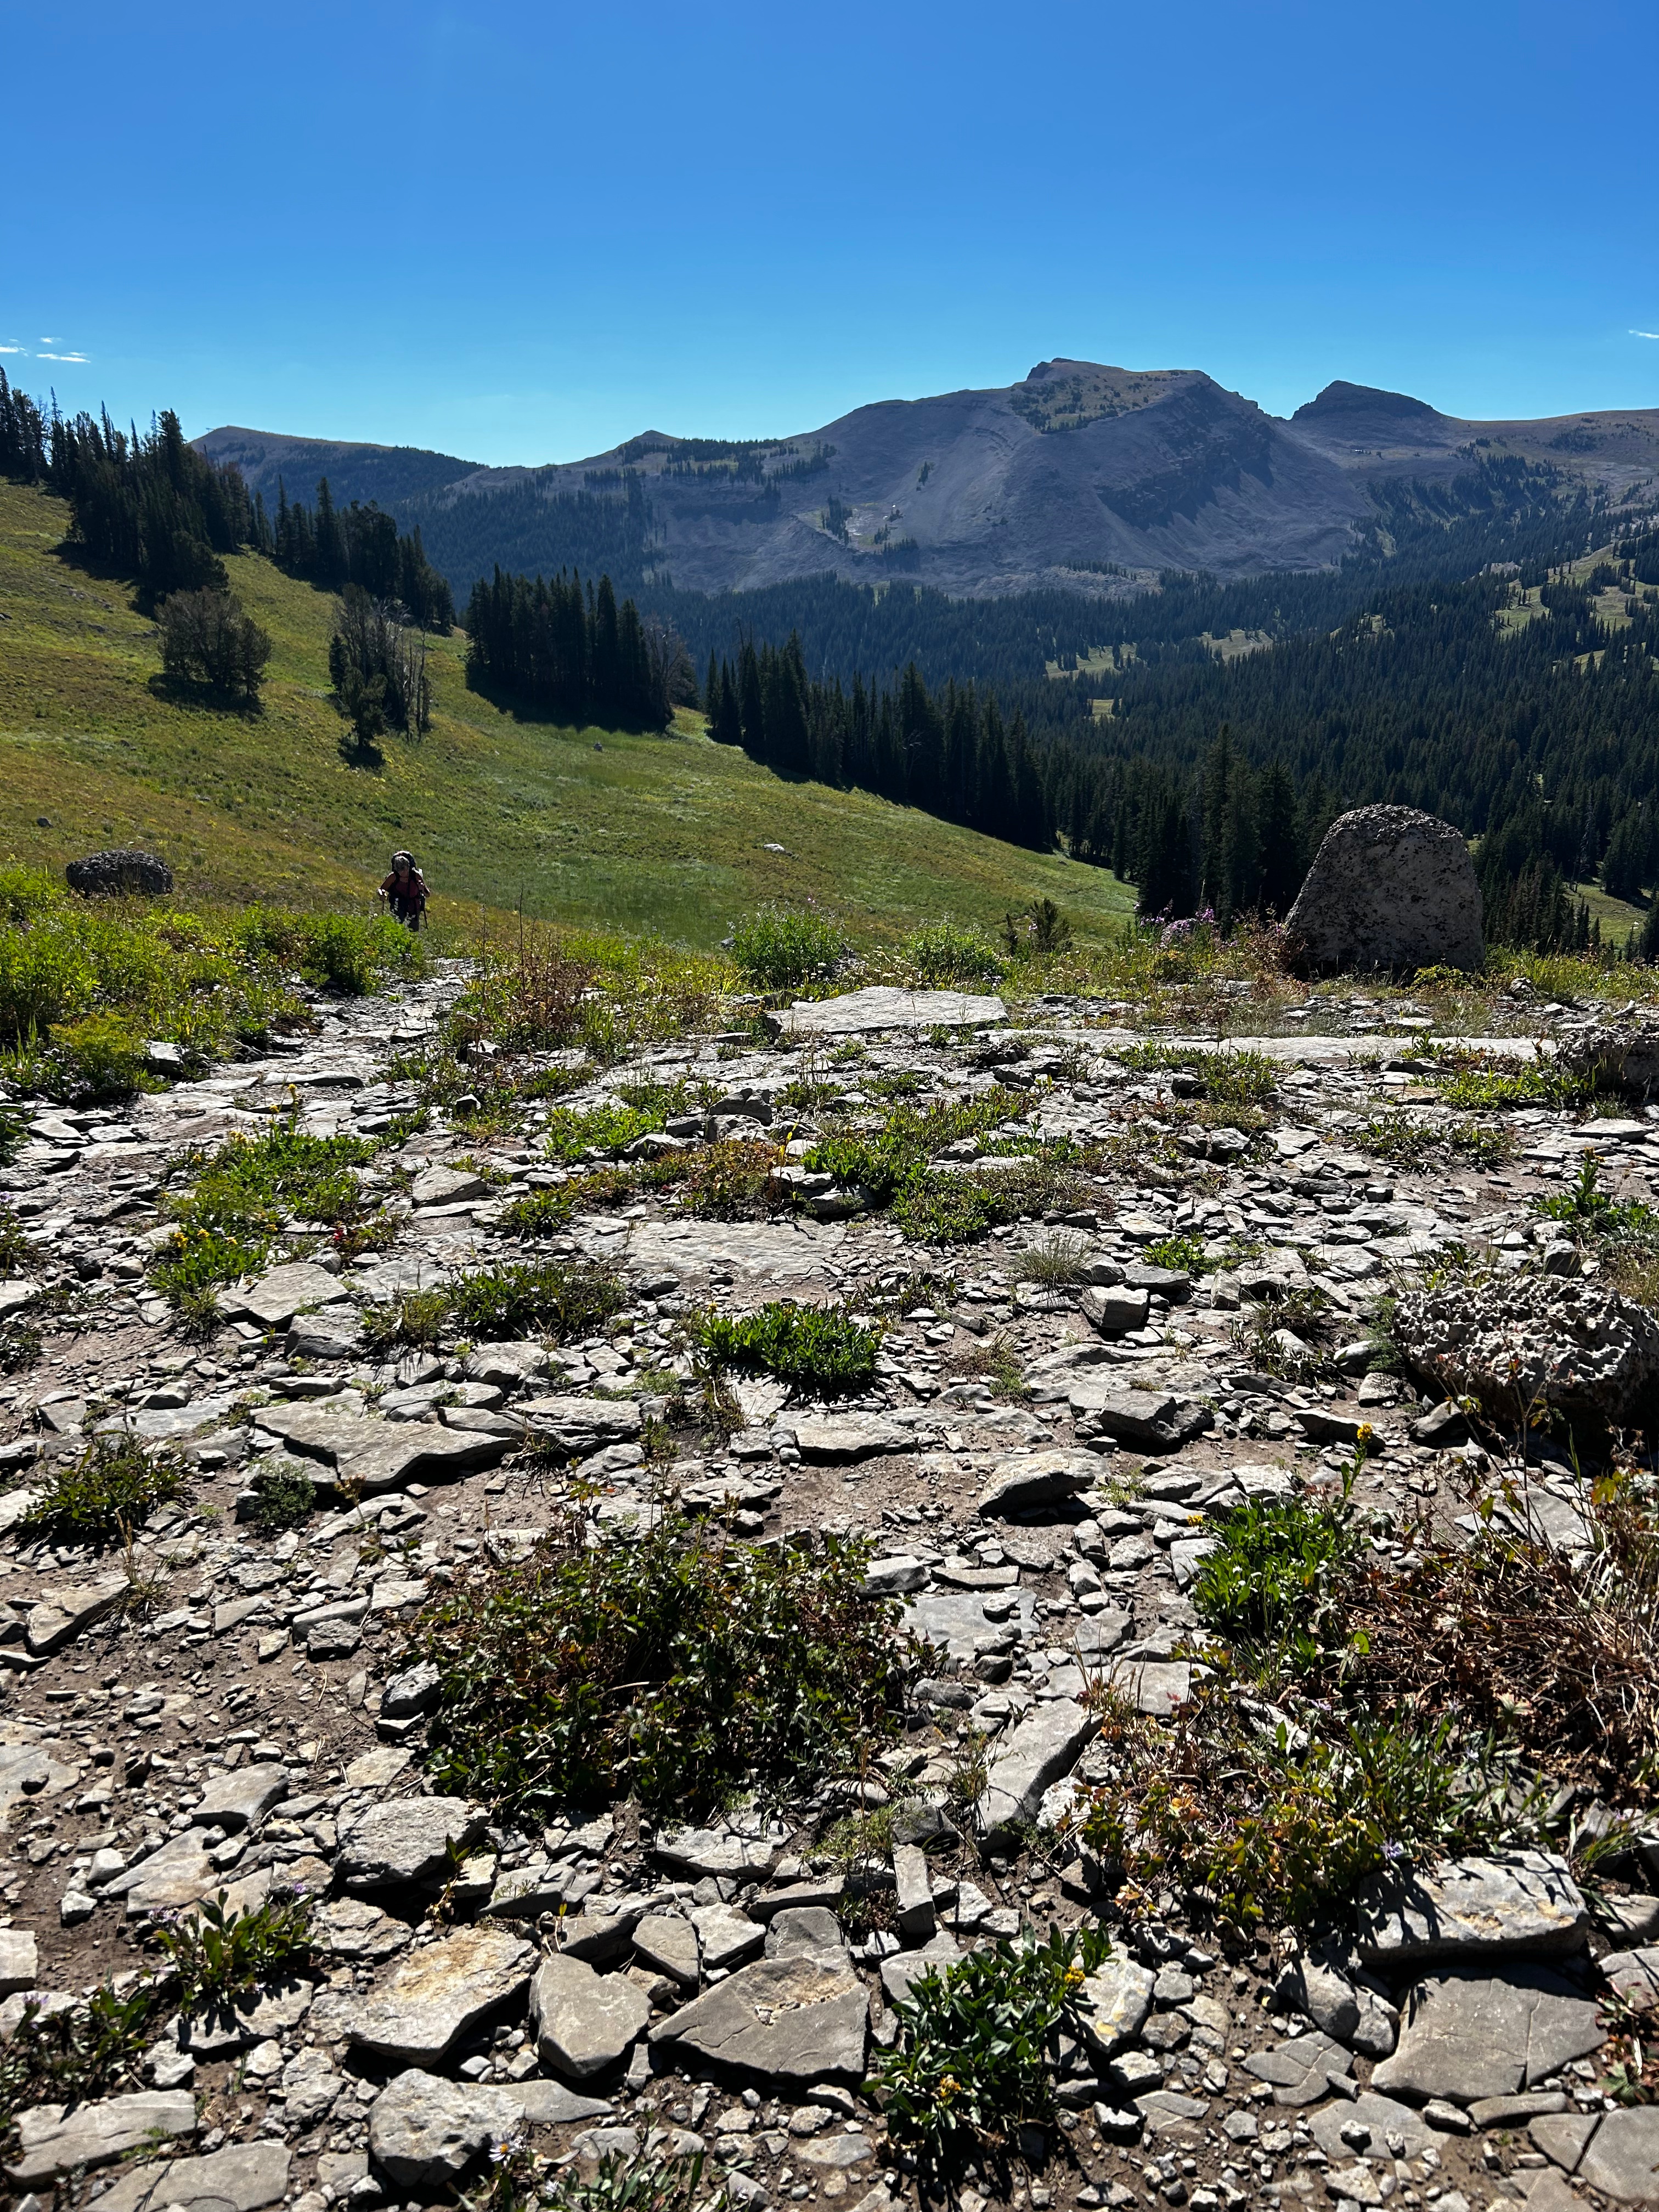
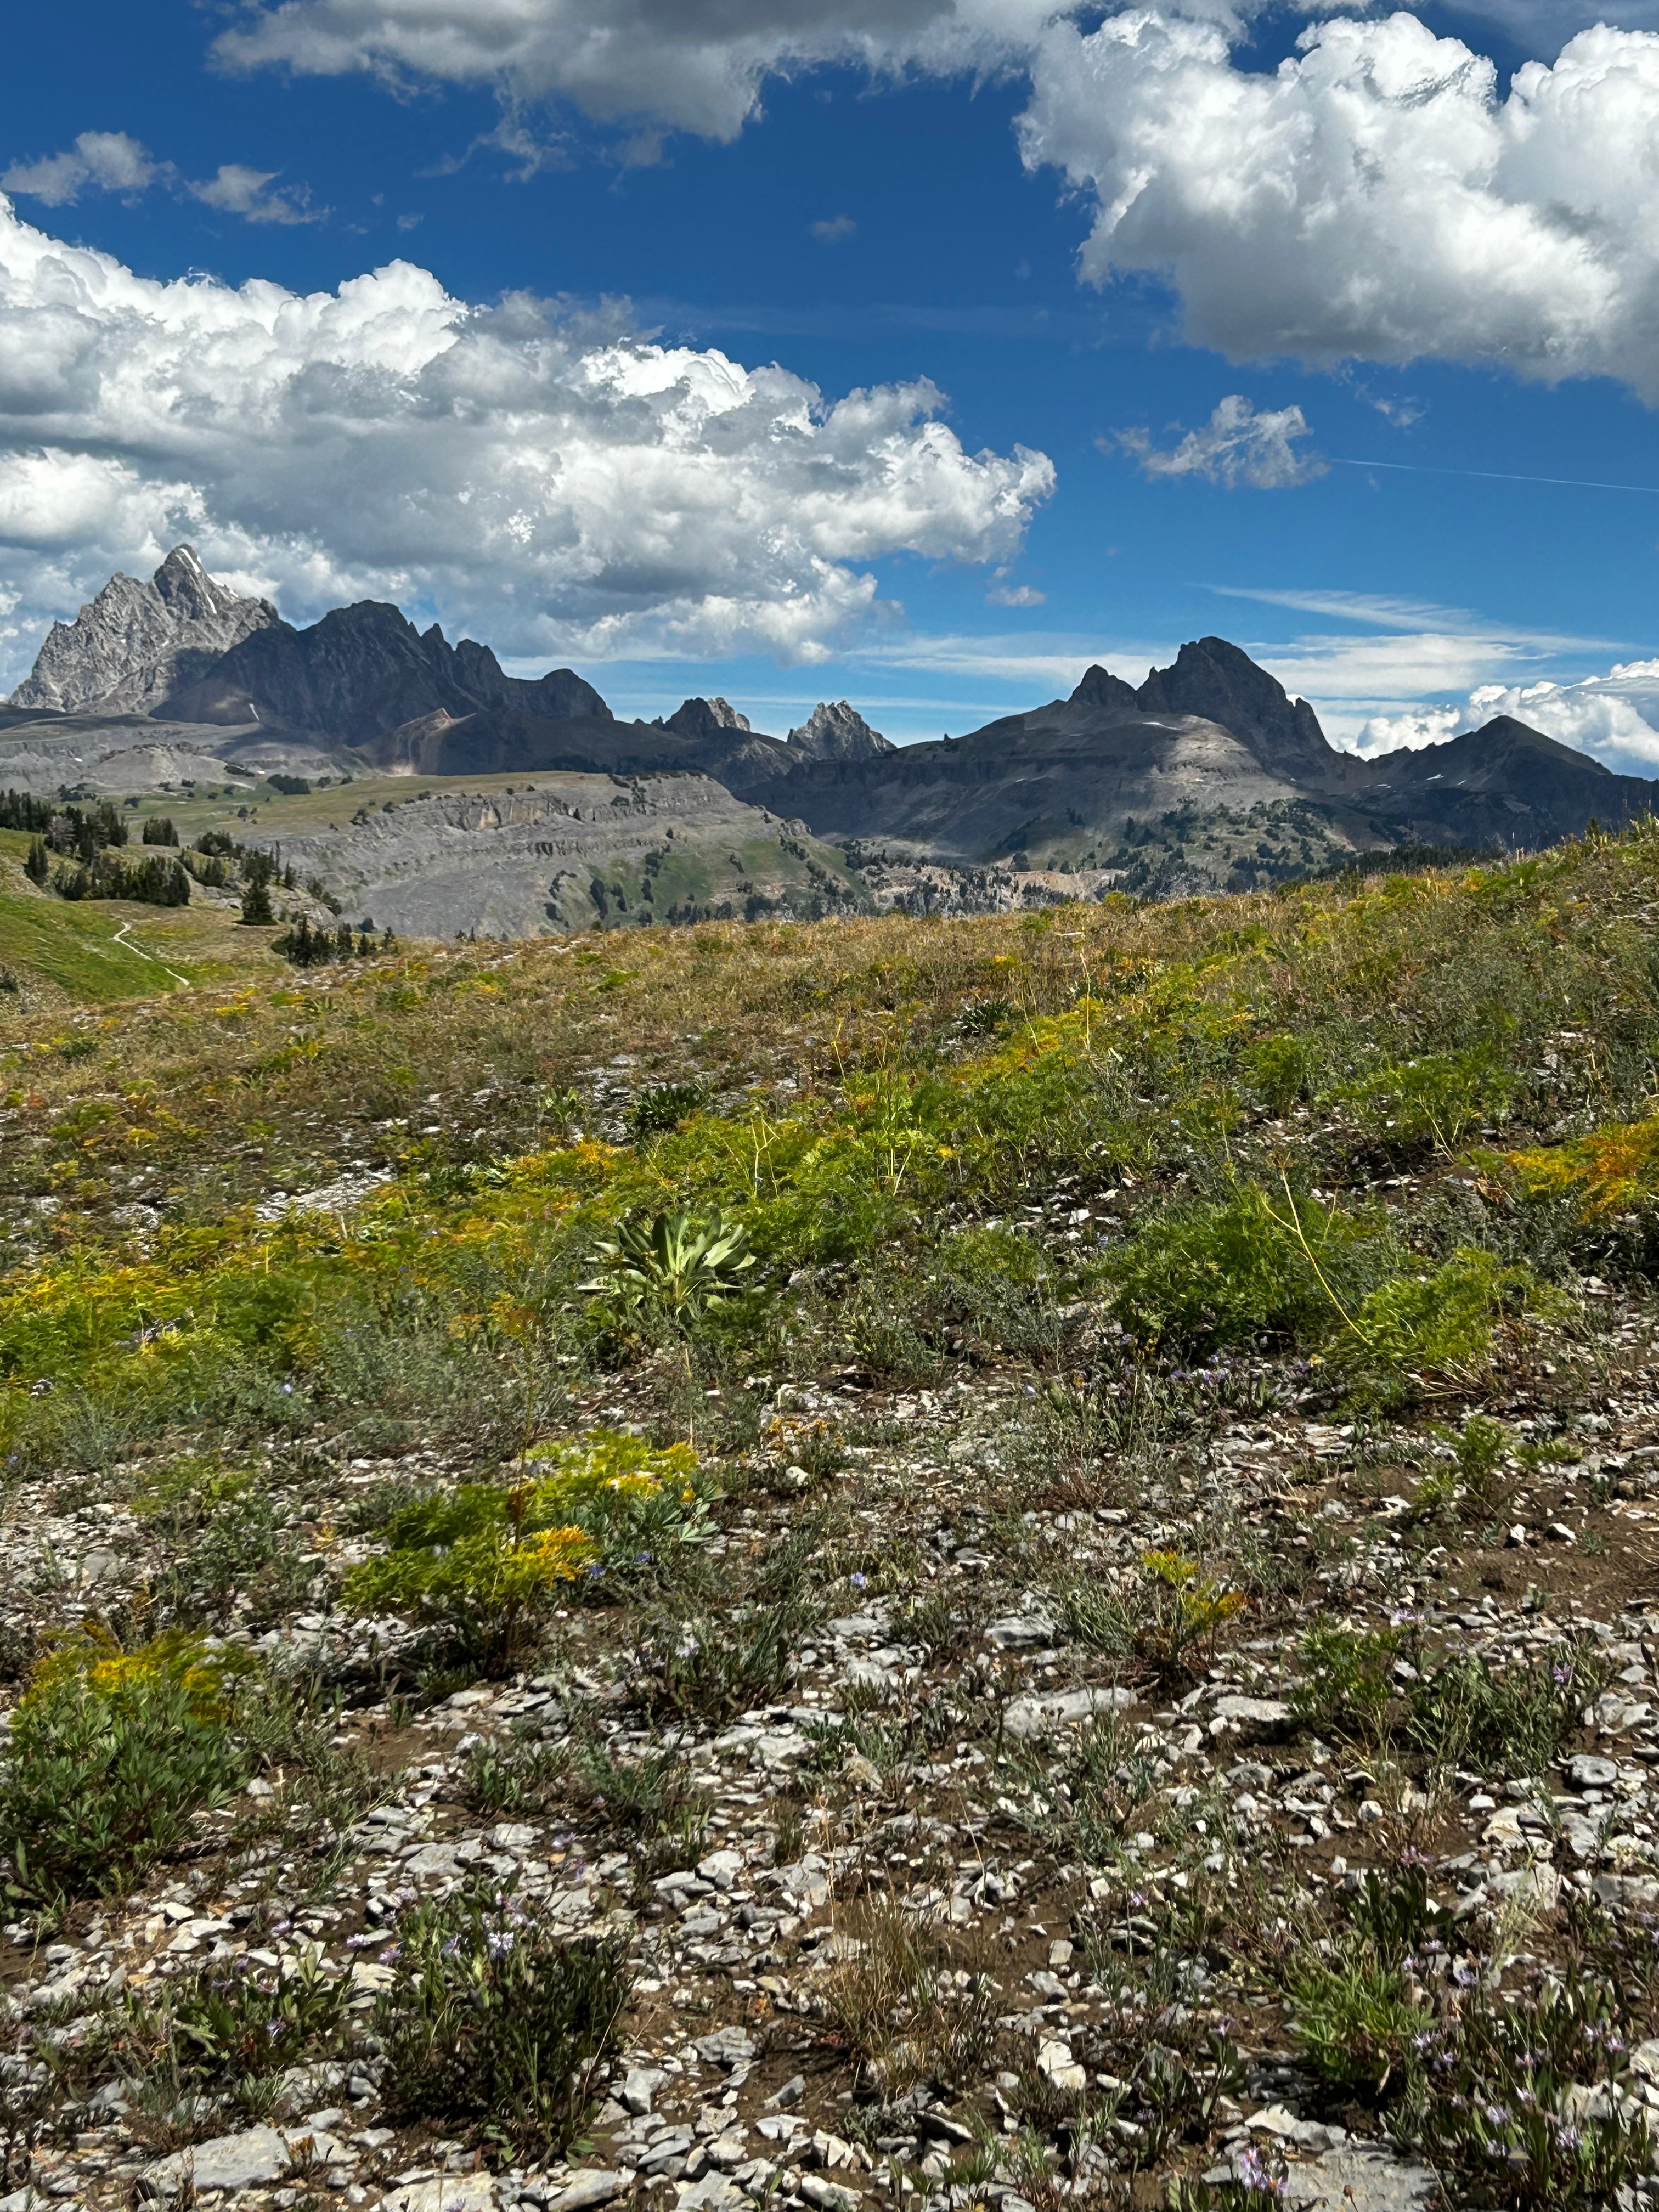
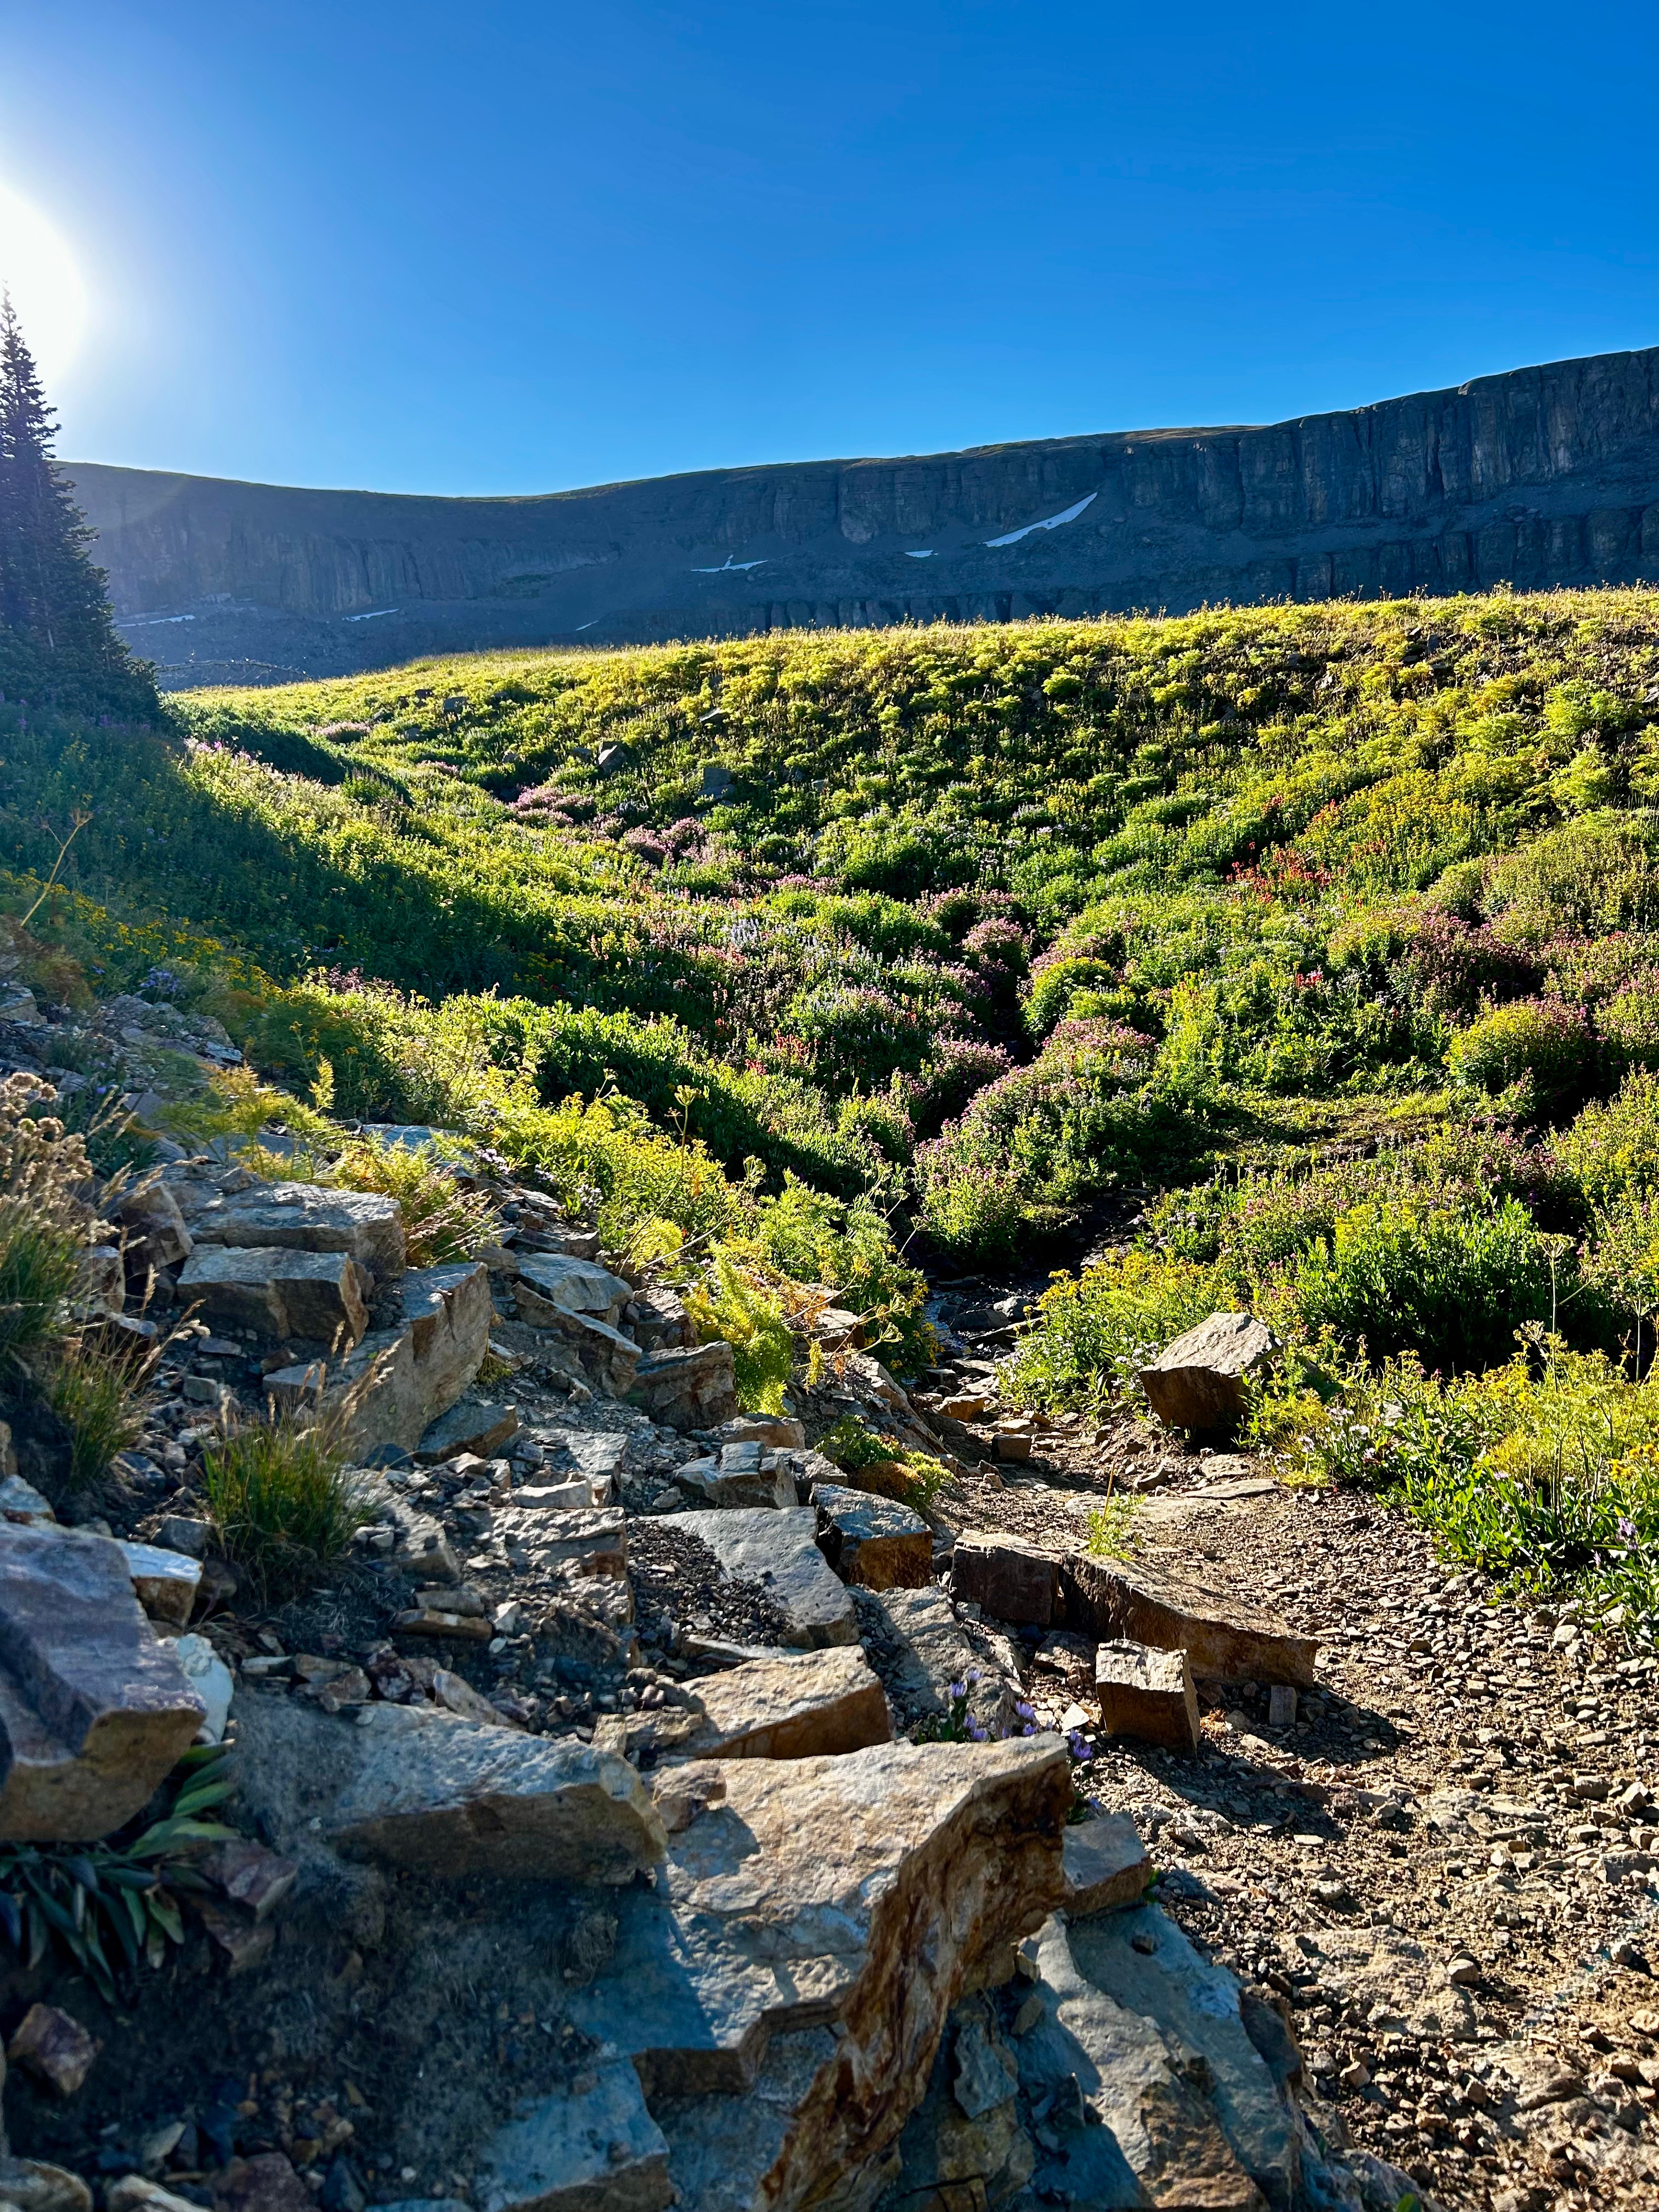
In the morning, we were greeted by fields of wildflowers as we worked through Granite Canyon. After Fox Creek Pass, we got our first real Teton glimpses, and the trail only got better from there.
We hiked across the Death Canyon Shelf to our second night’s camp in Alaska Basin. This entire stretch is steady but awesome — huge canyon walls, big open shelves, and views that drop dramatically into Teton Valley.
Important: Fill up at Marion Lake, because this section has very few water sources until you reach Alaska Basin.
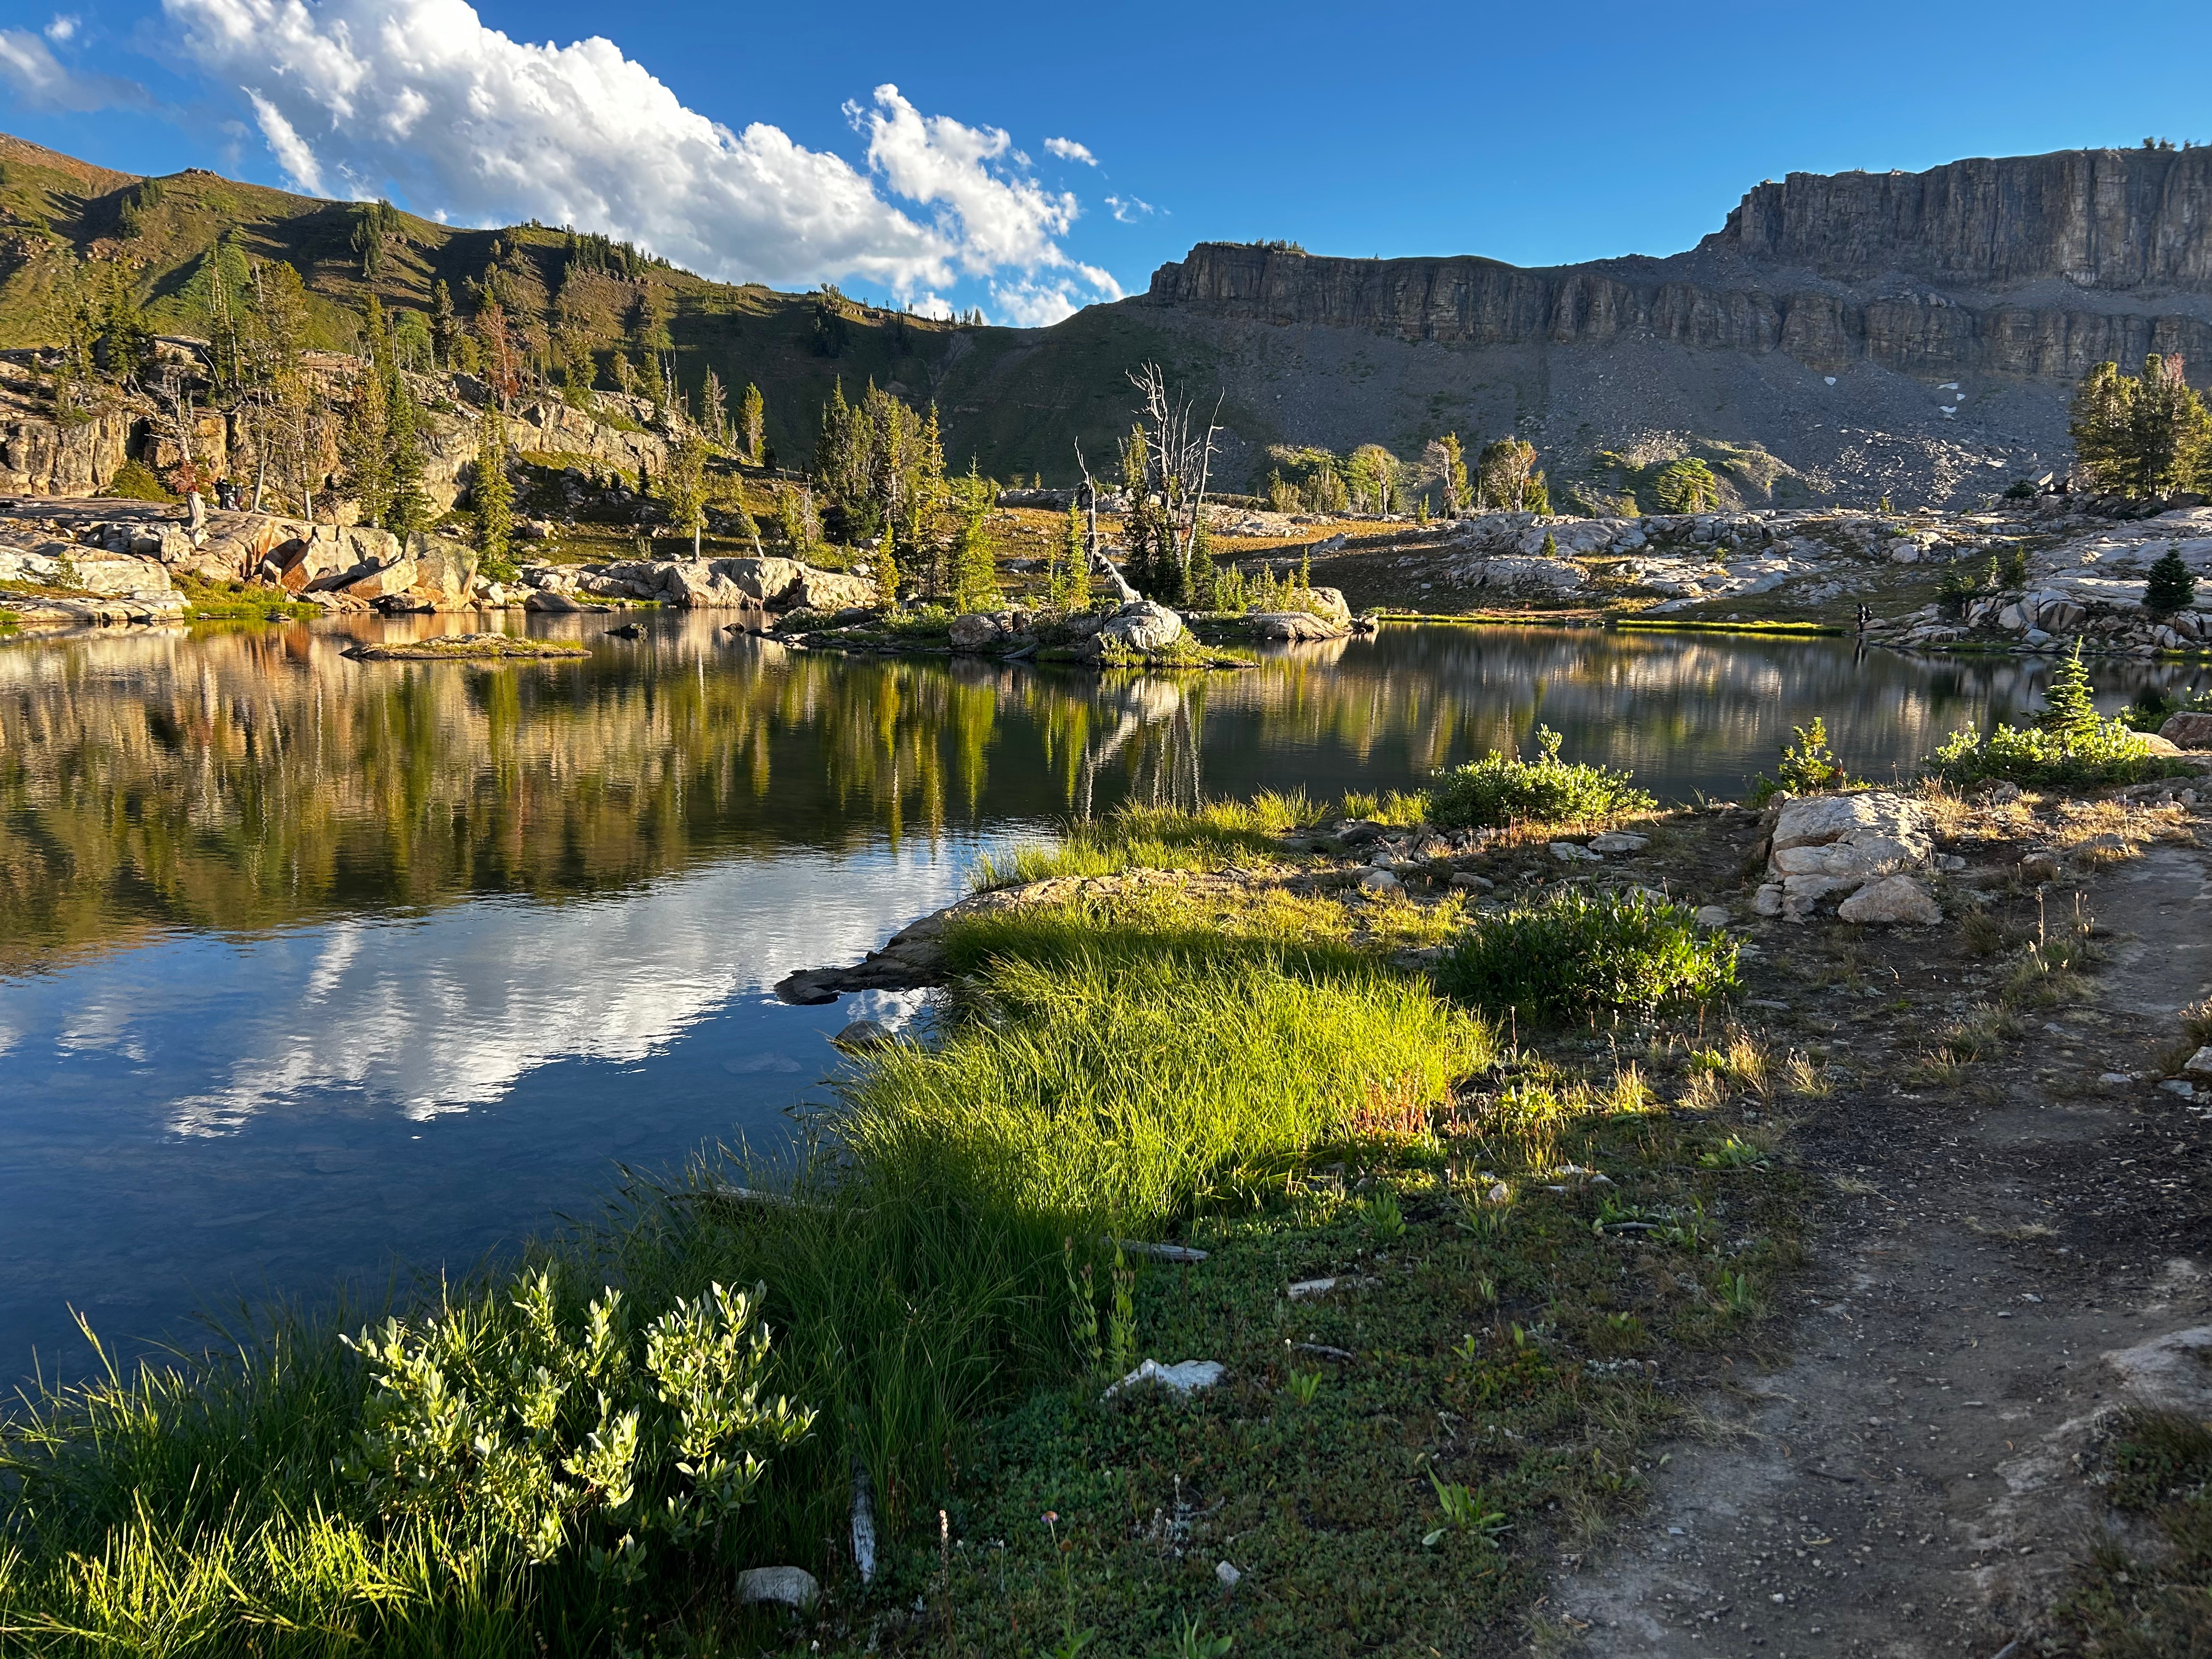
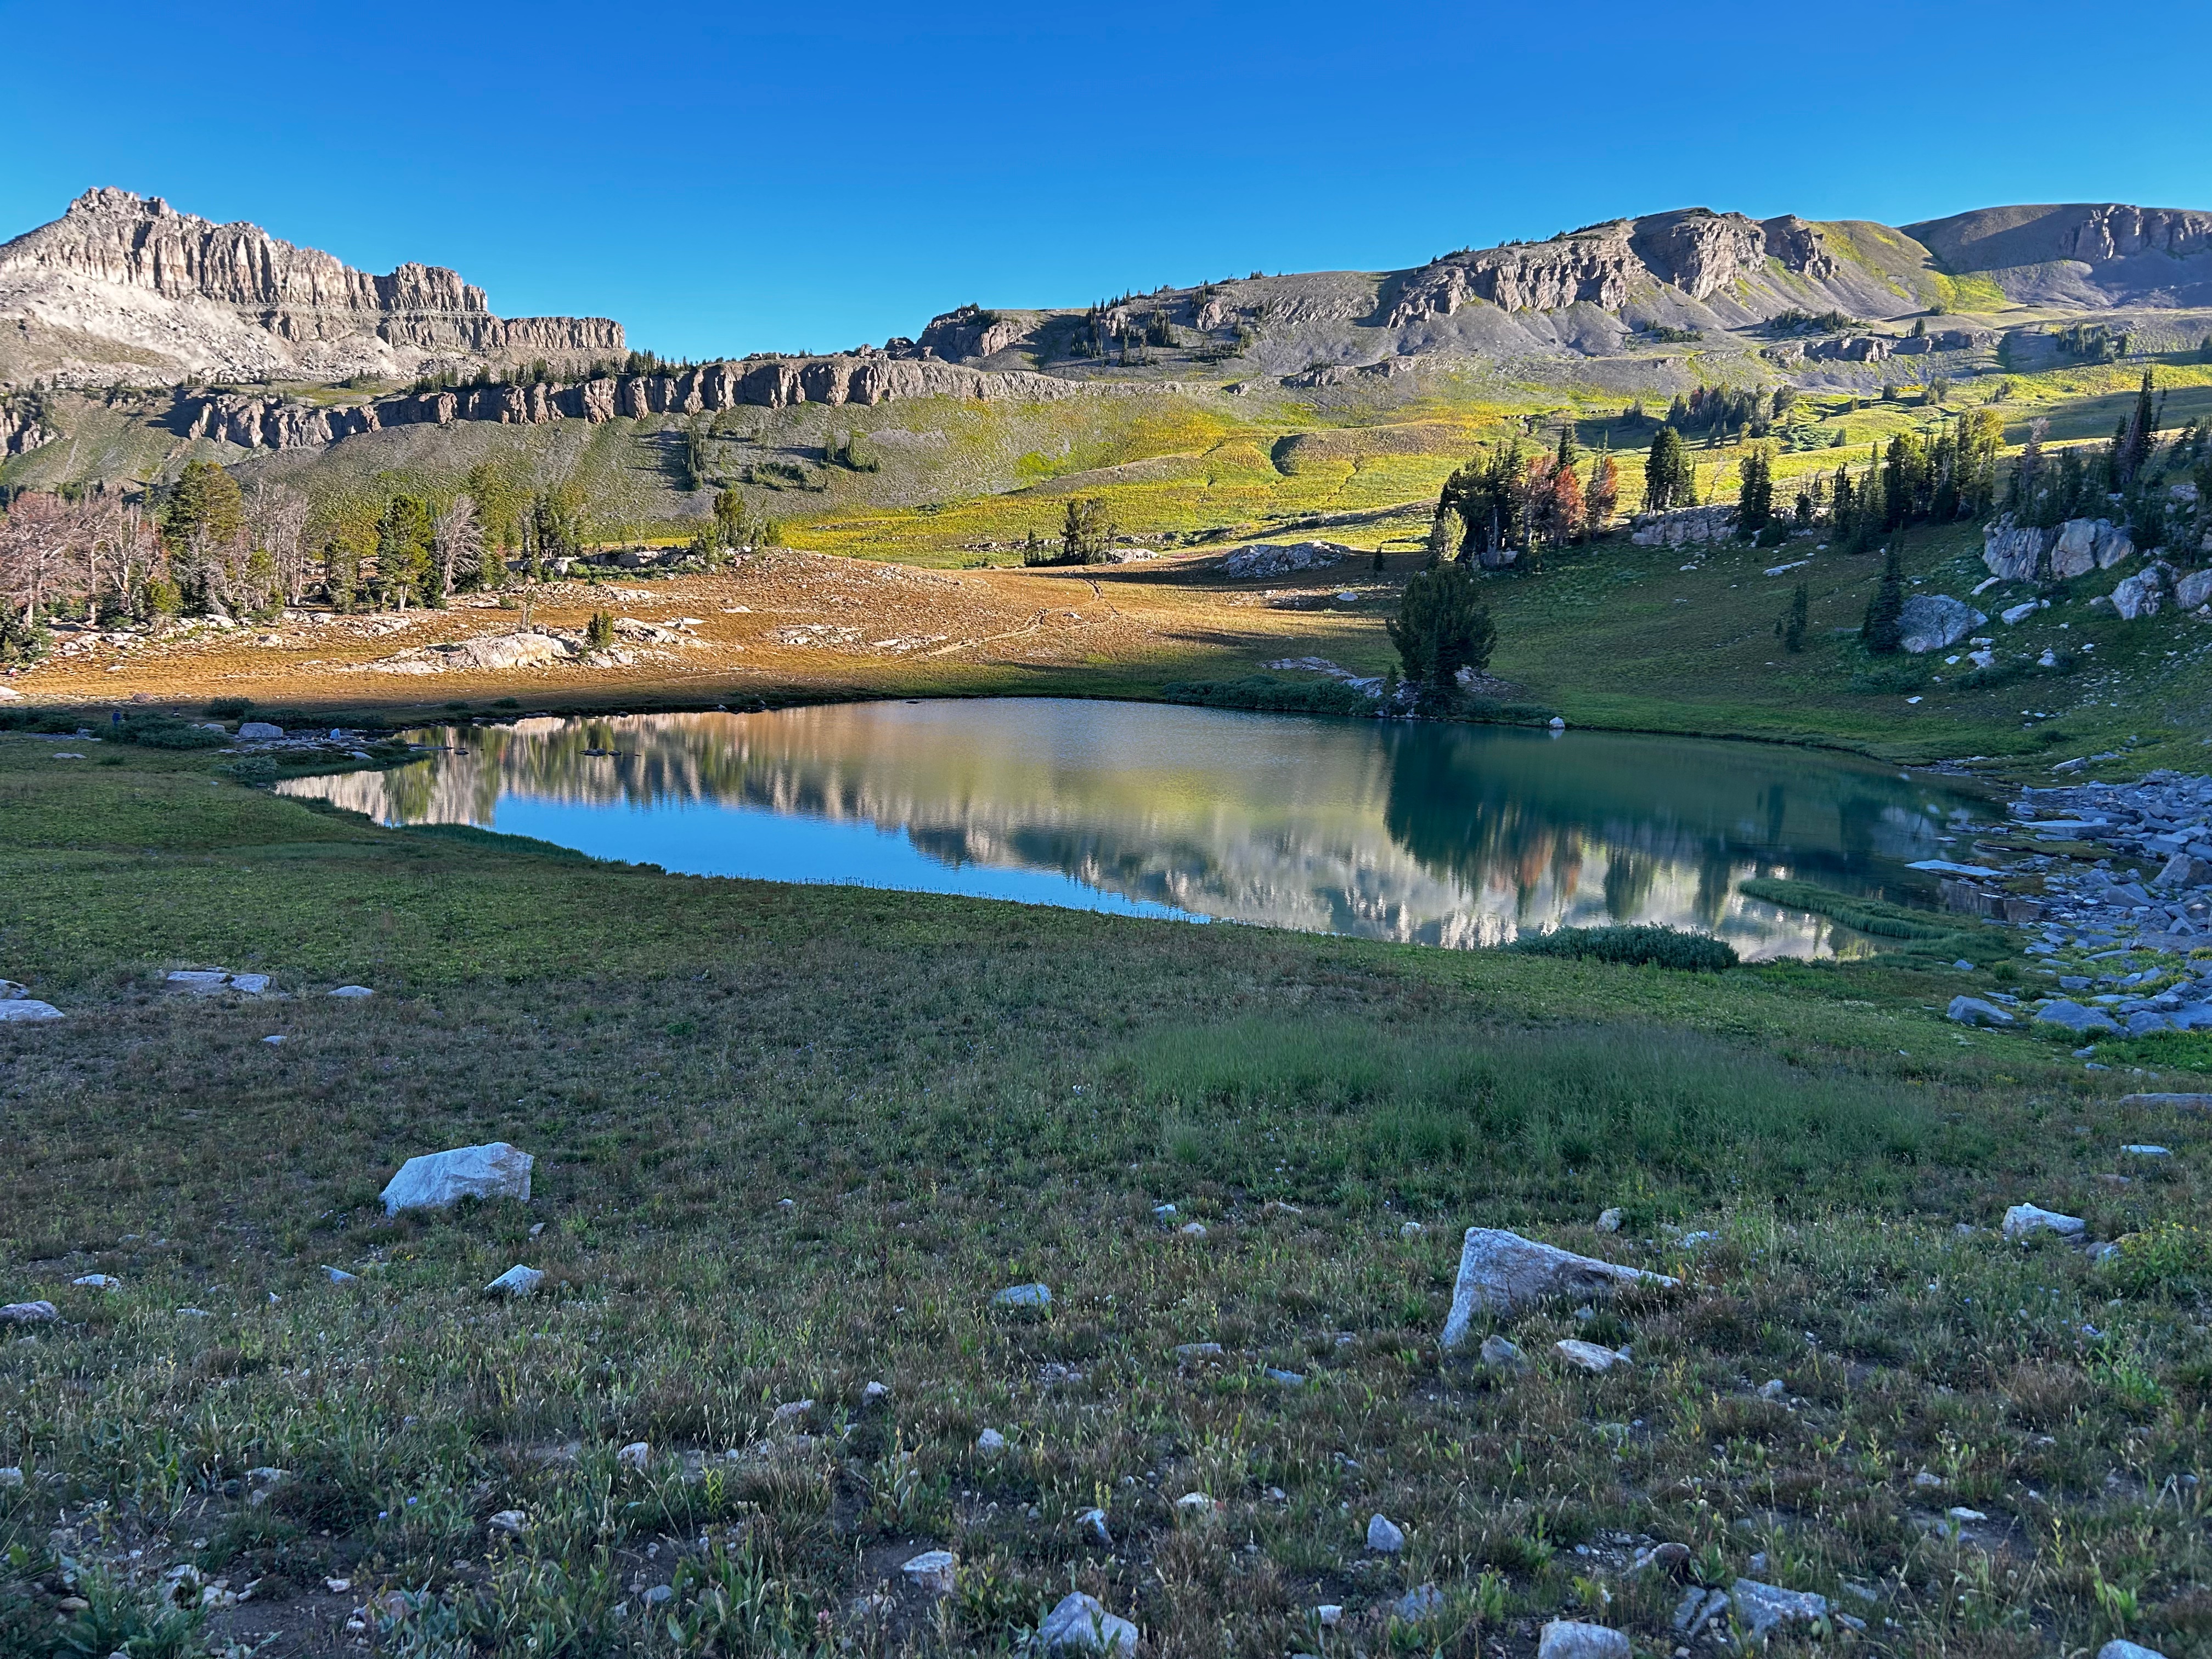
Toward the end of the shelf, the Tetons start revealing themselves and it really feels like you’ve earned it. Alaska Basin was a stunning surprise — full of little glacial lakes and ponds that are perfect for swimming or camping near.
Day 3
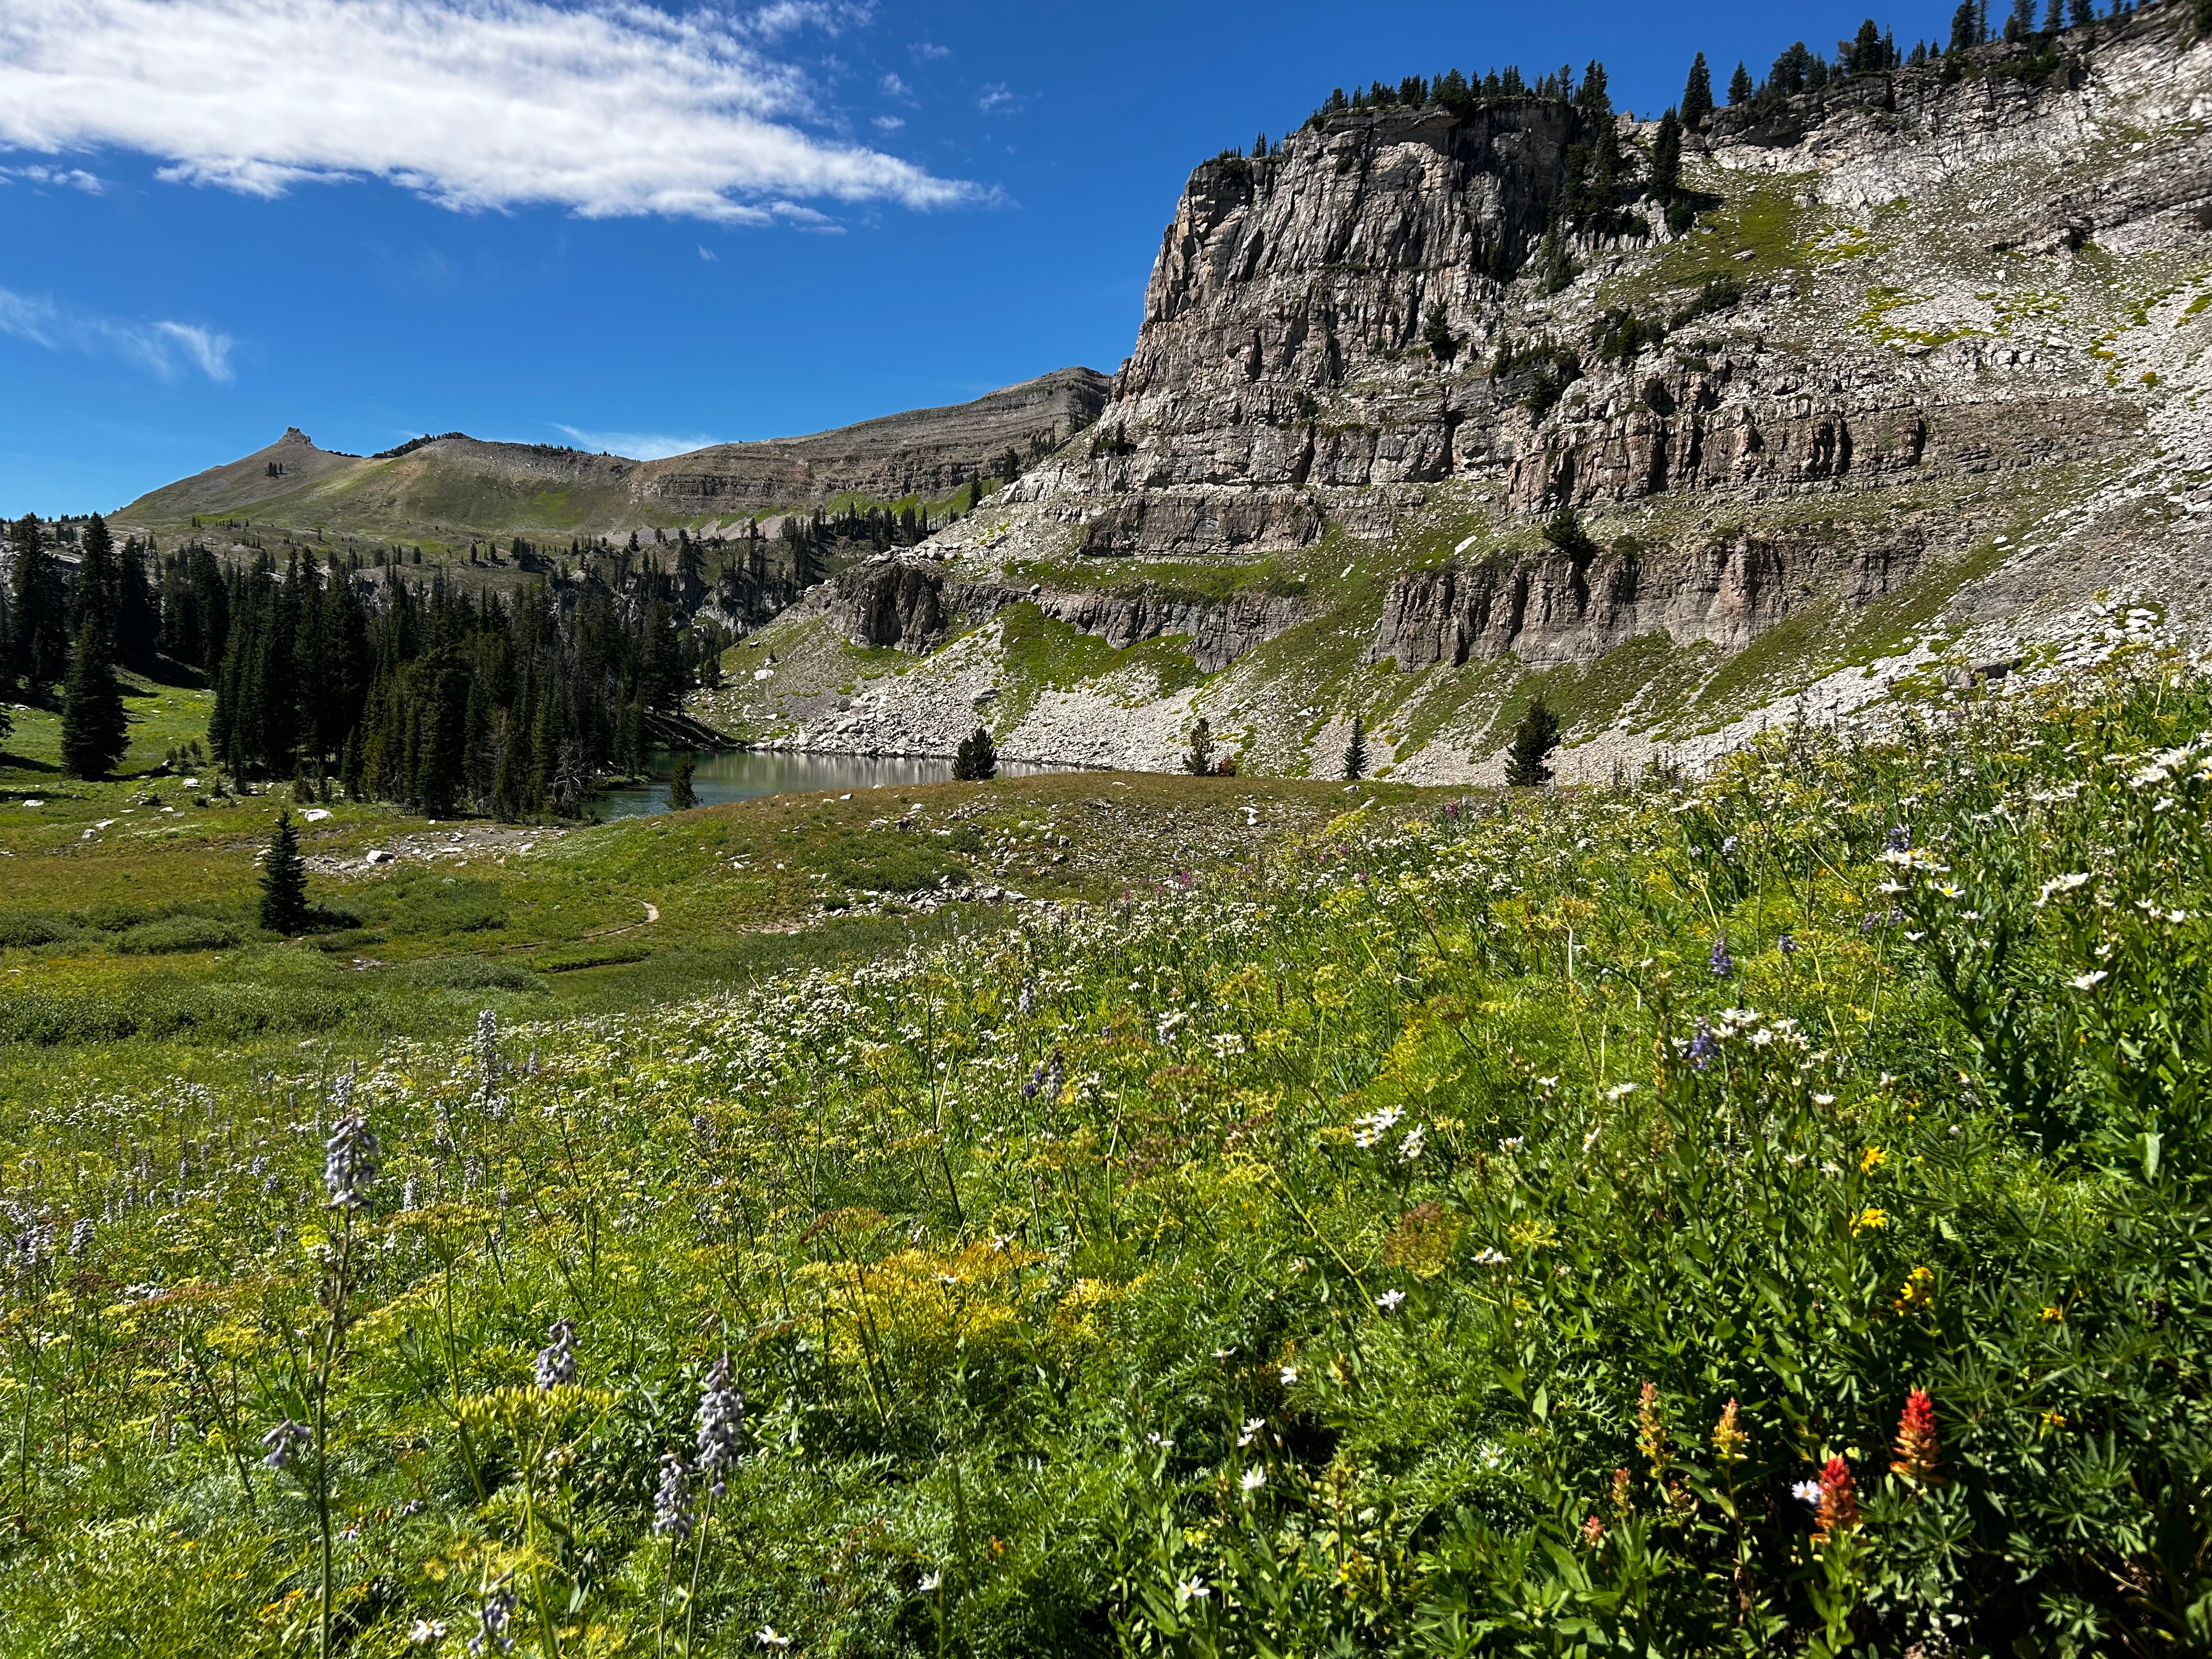
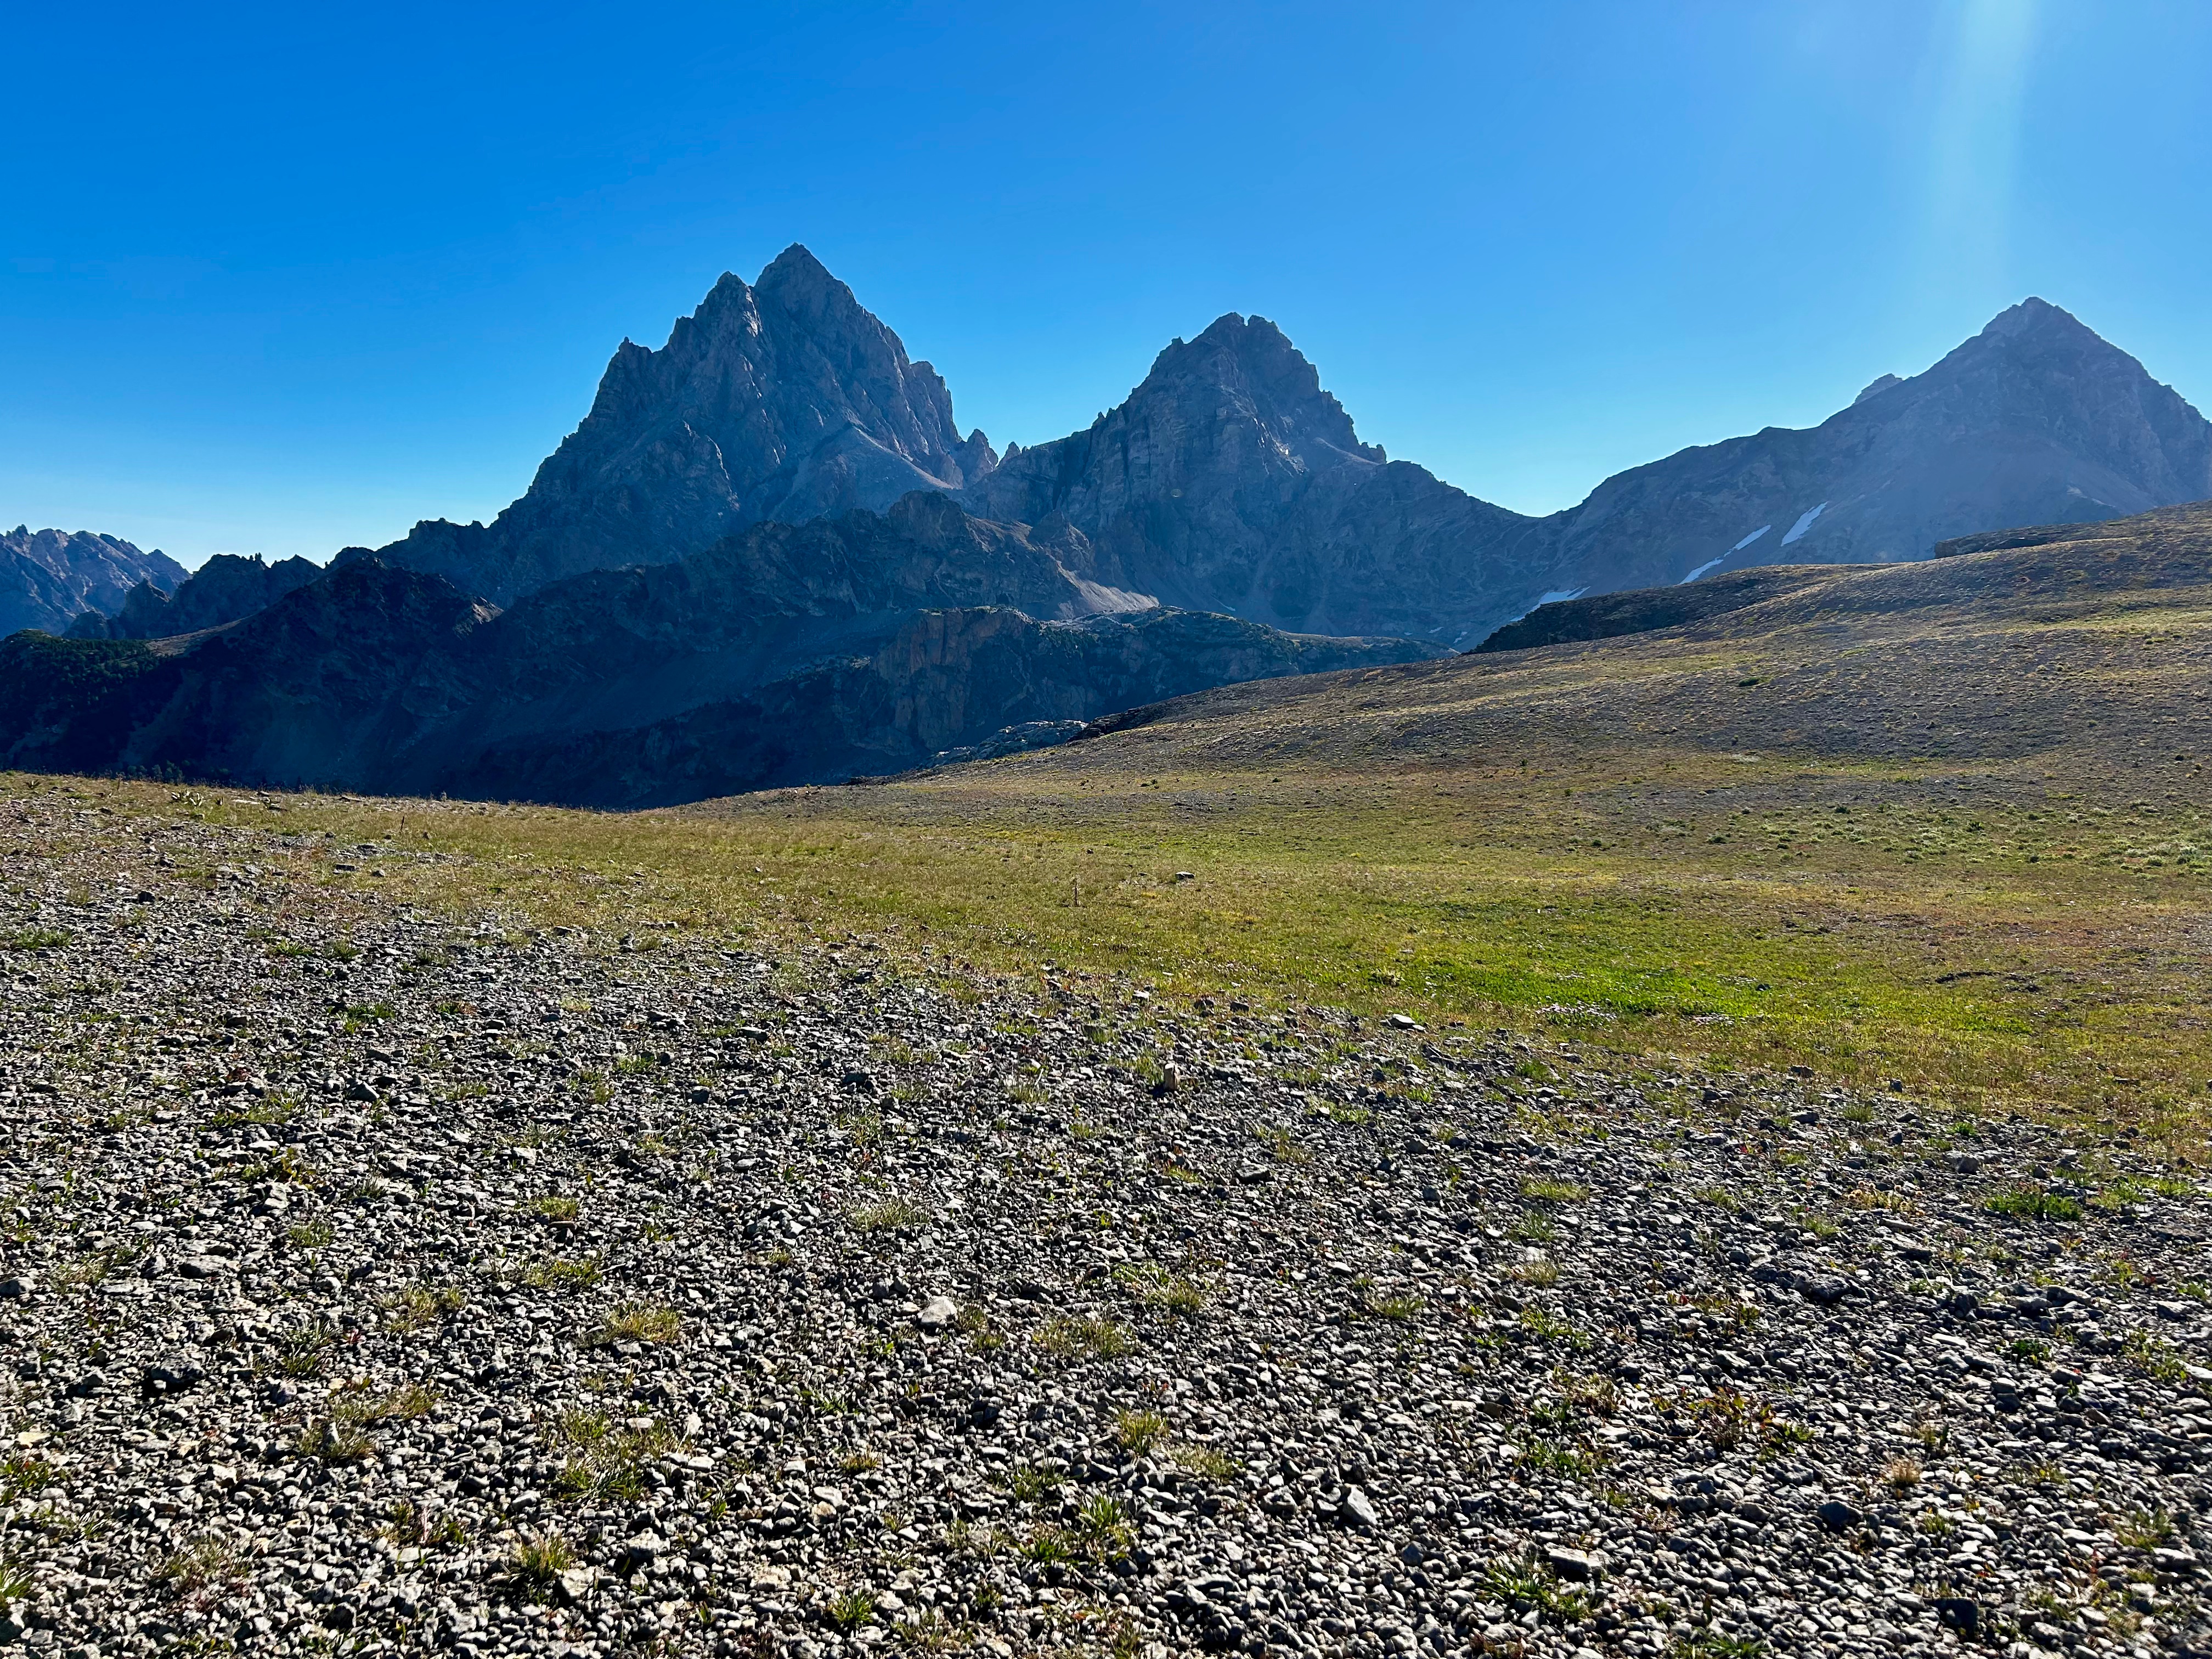
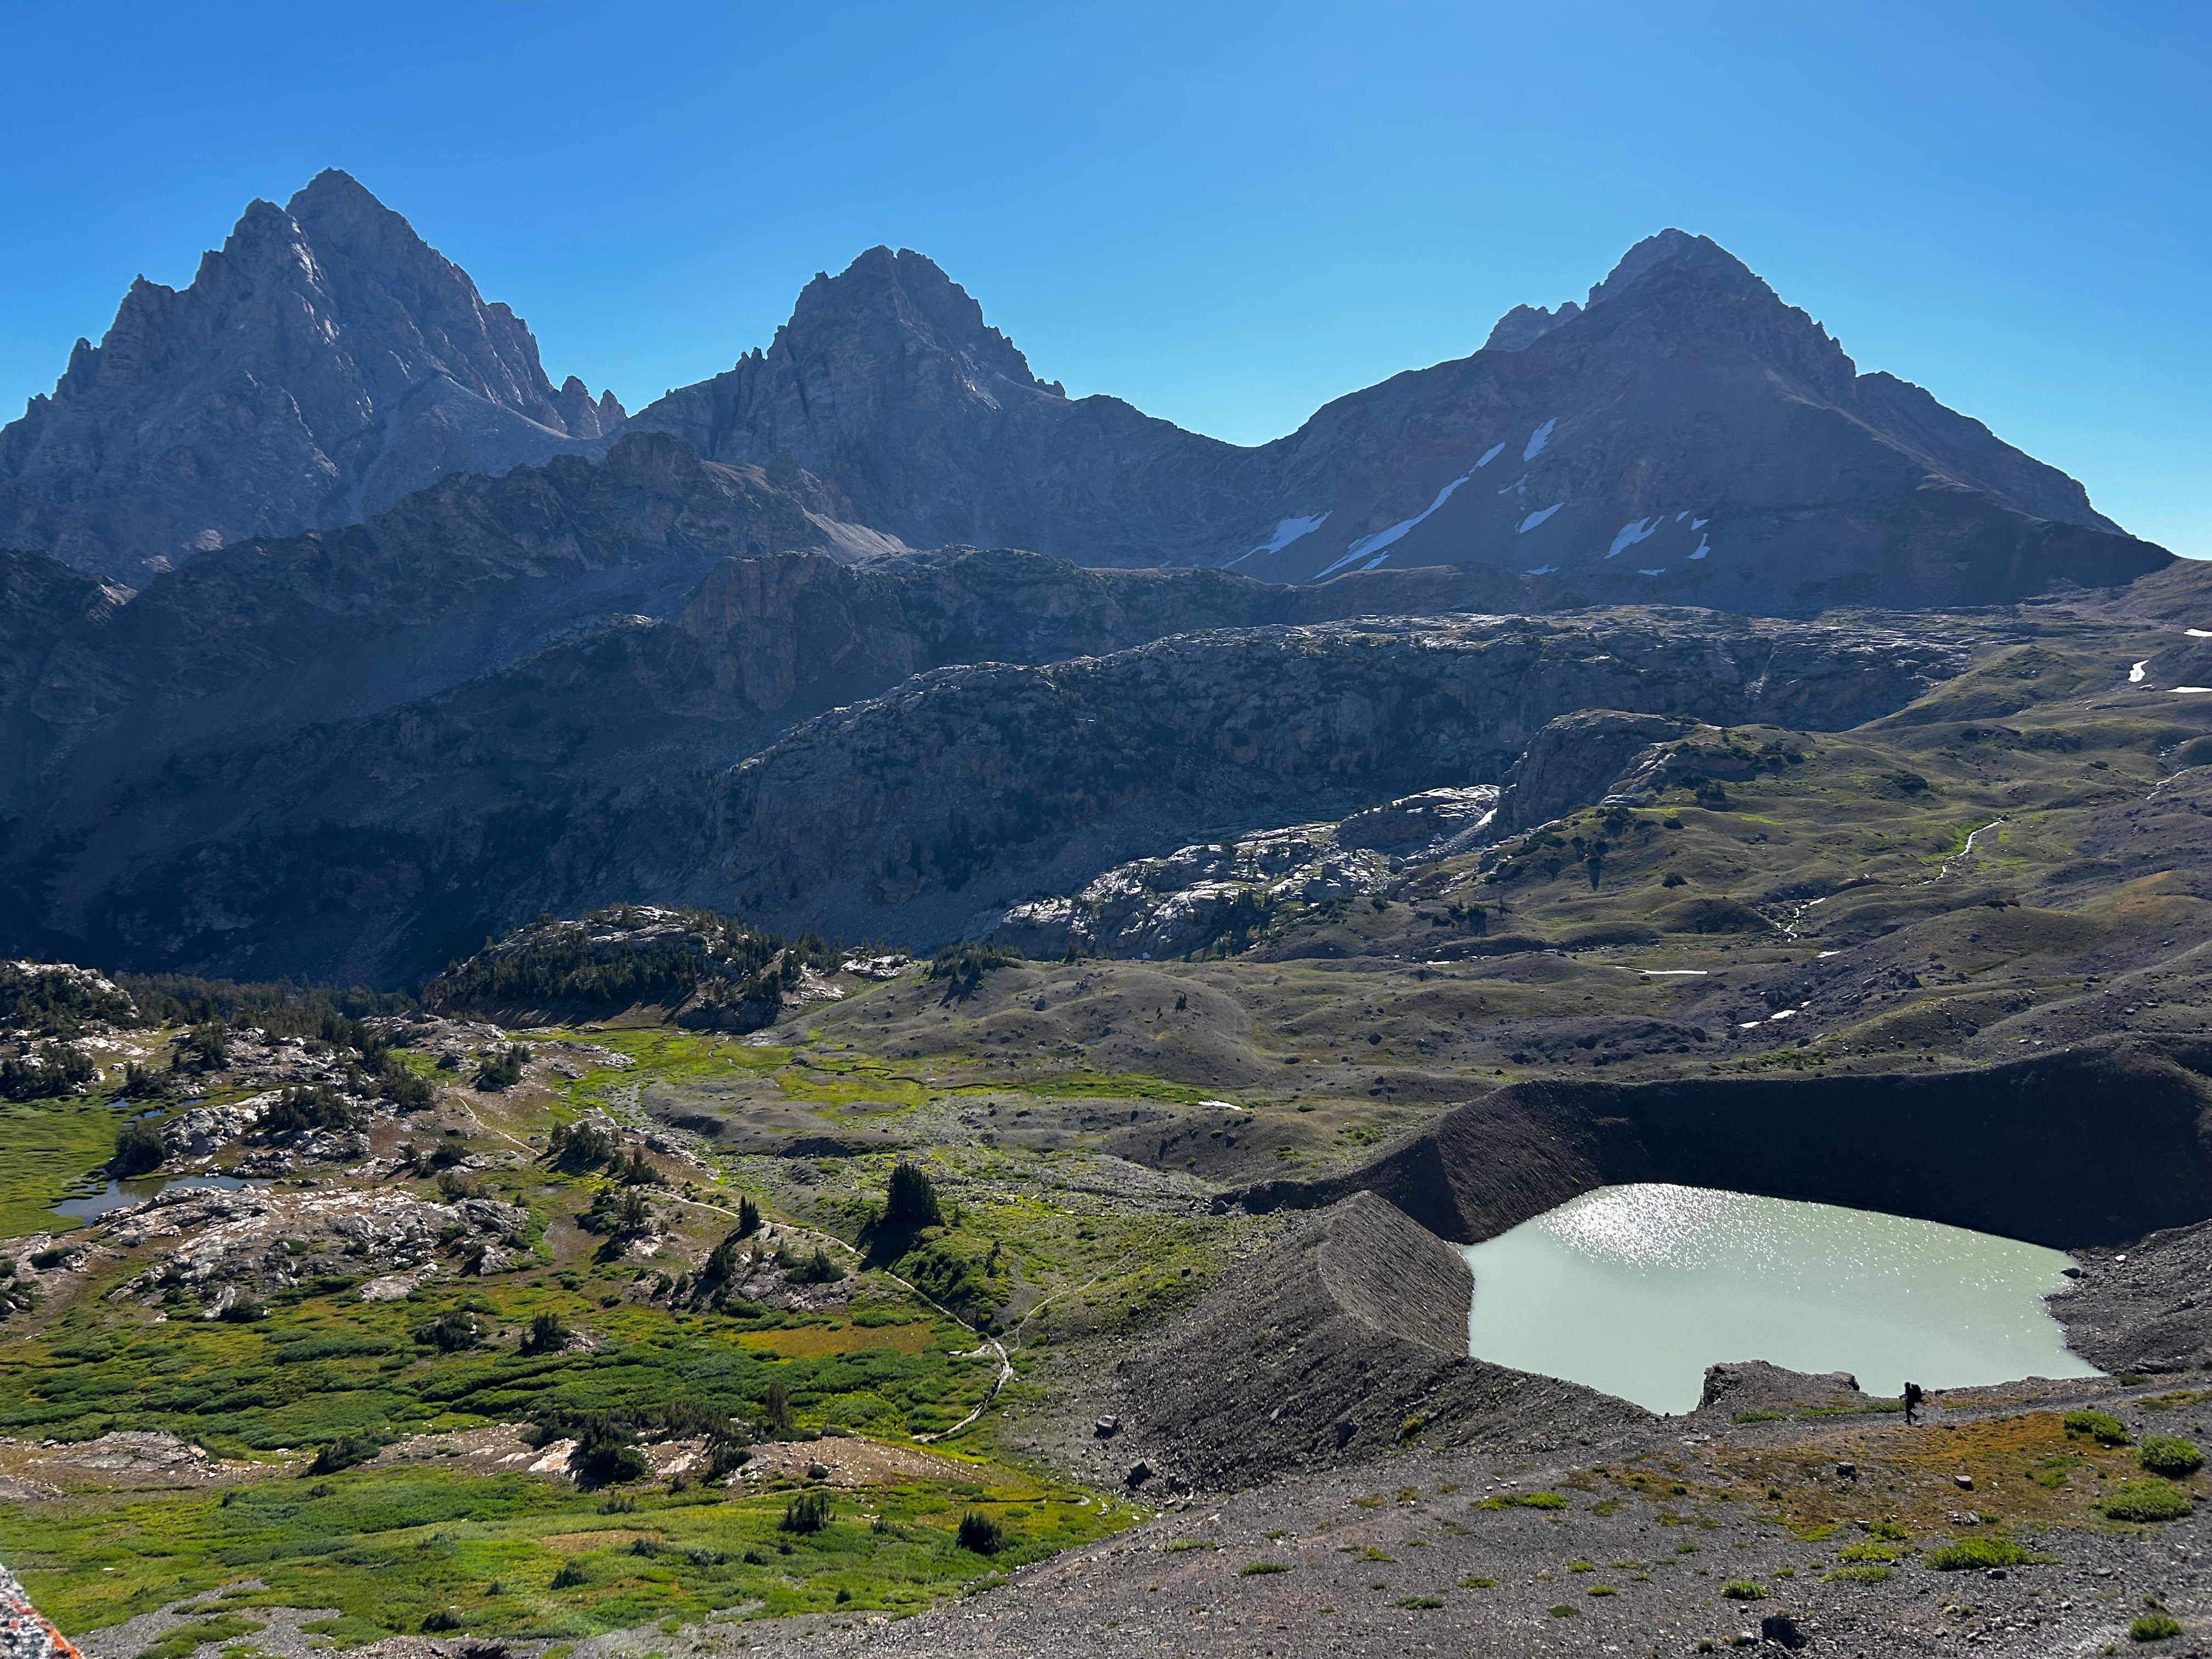
We started Day 3 strong with a steep climb out of Alaska Basin and up Hurricane Pass. This stretch is gorgeous — Sunset Lake, nonstop wildflowers, and rugged close-up views of the Tetons from the top.
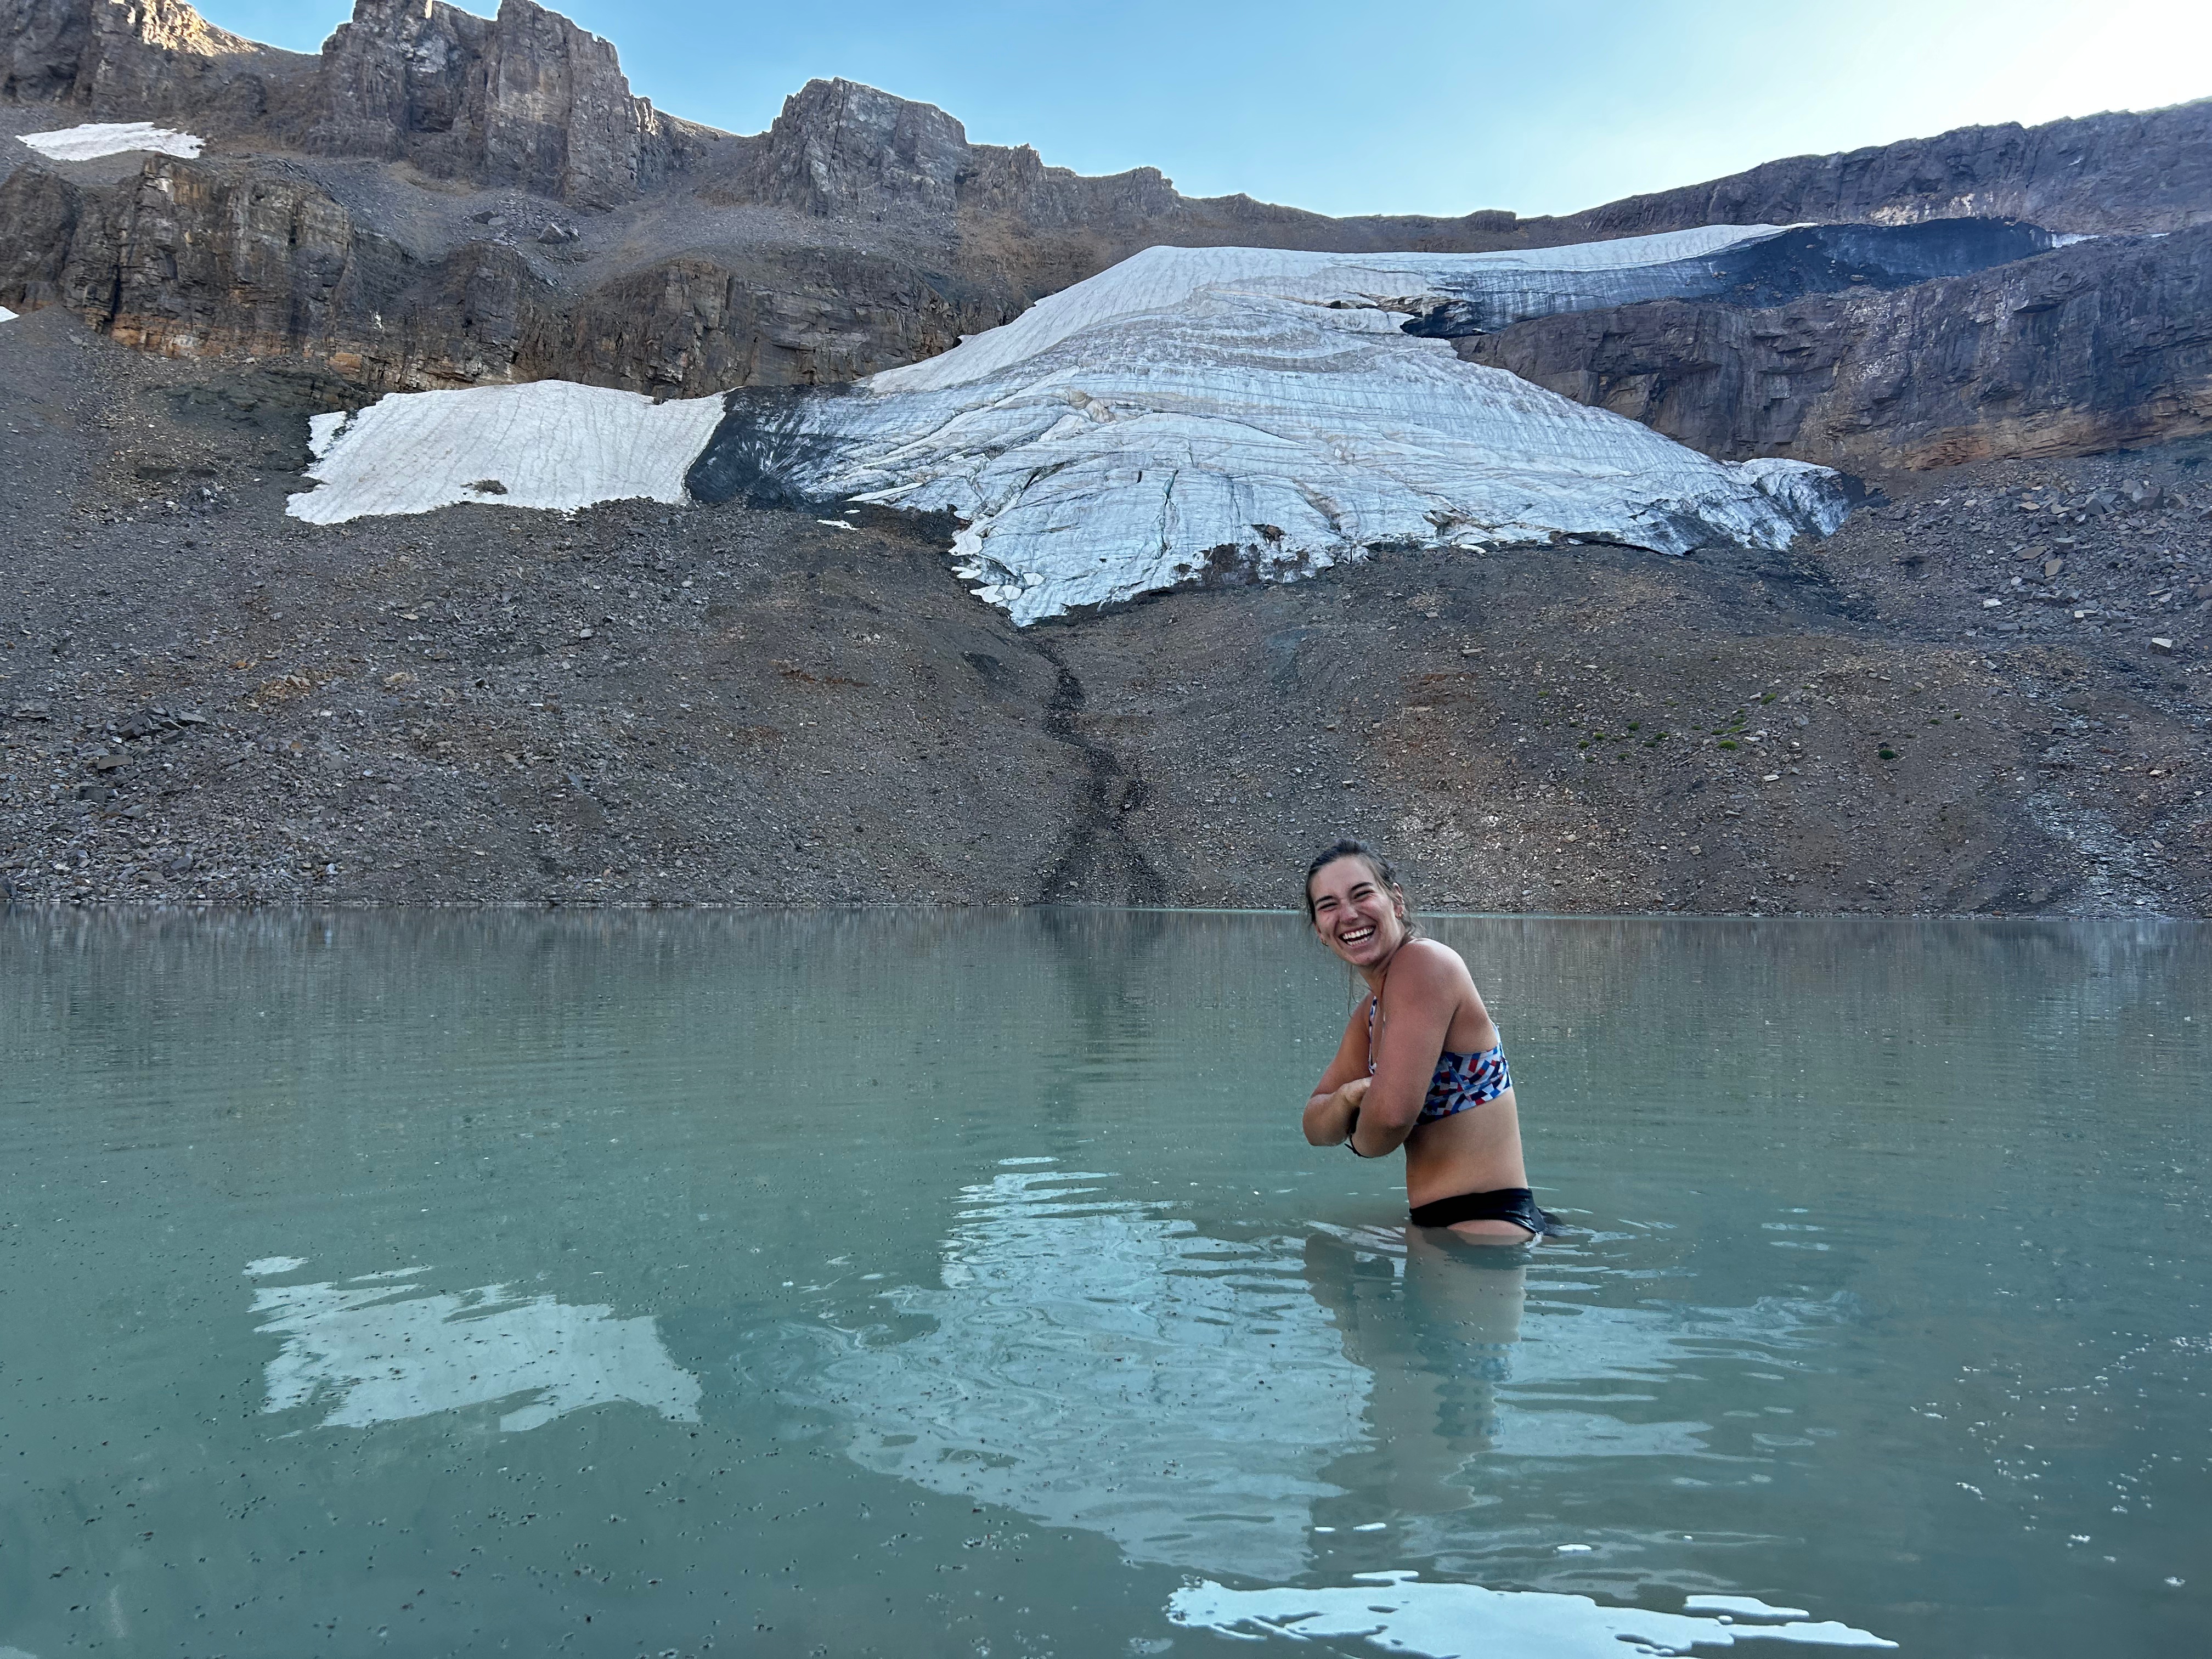
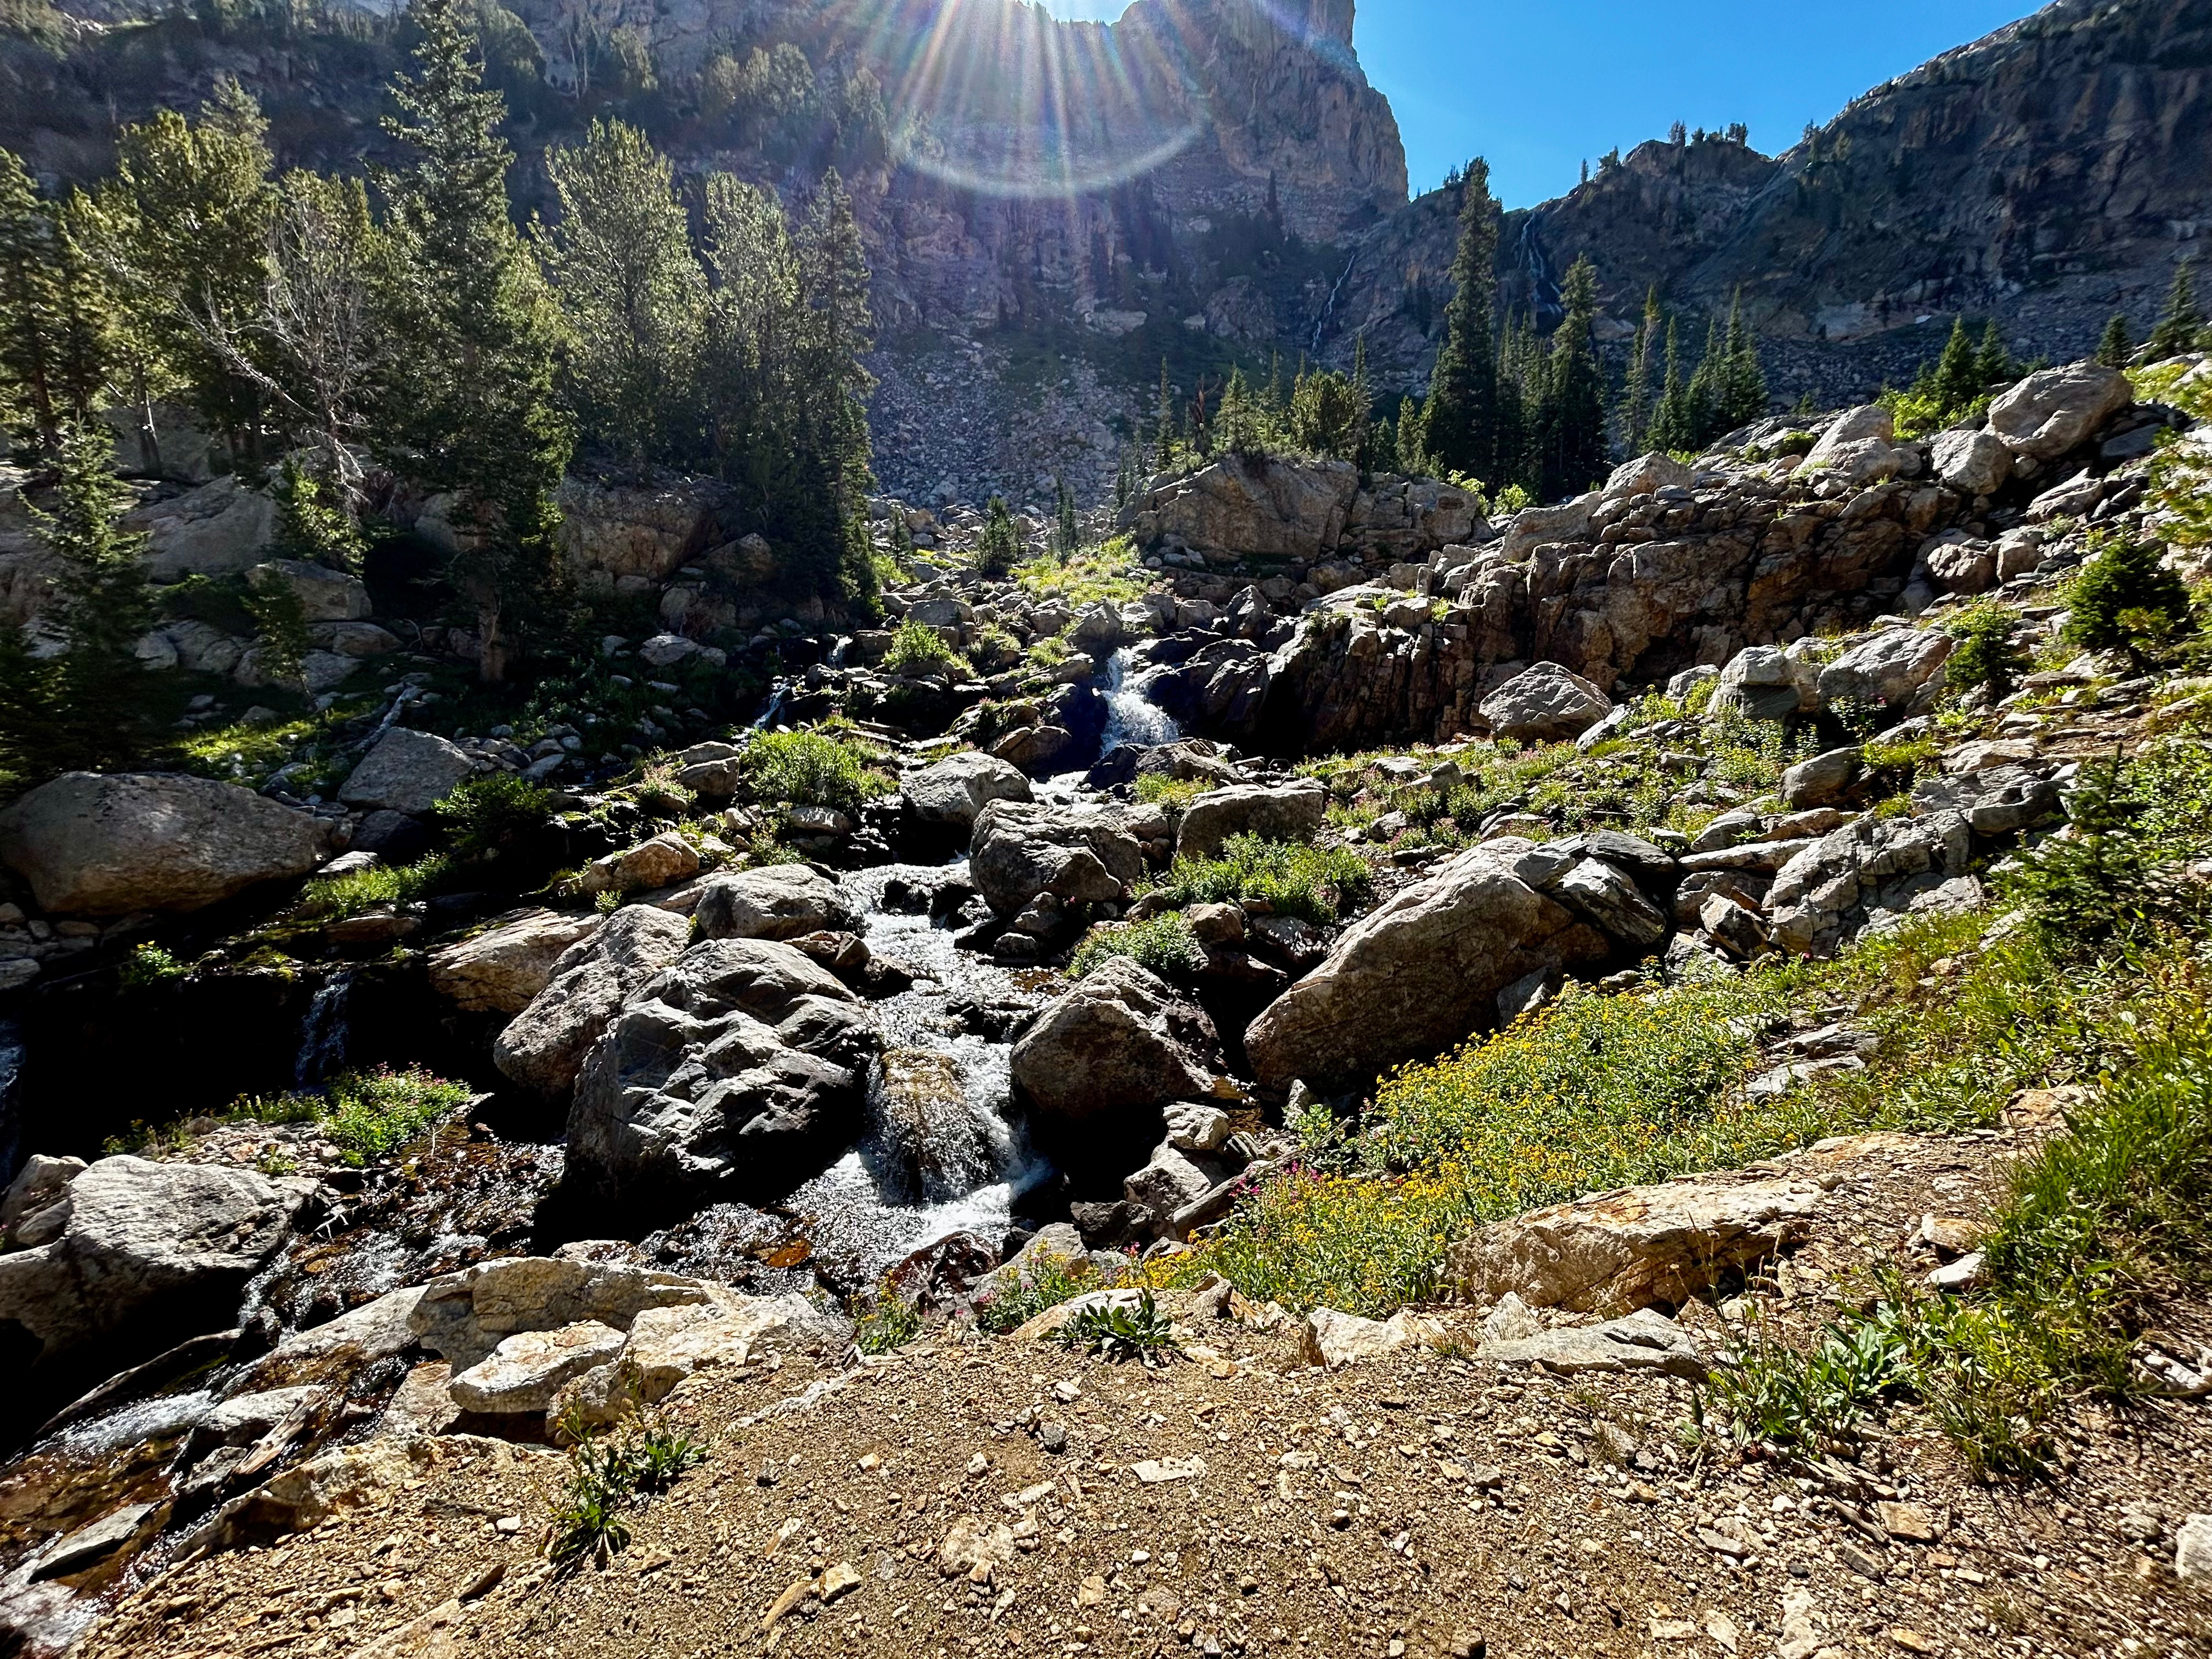
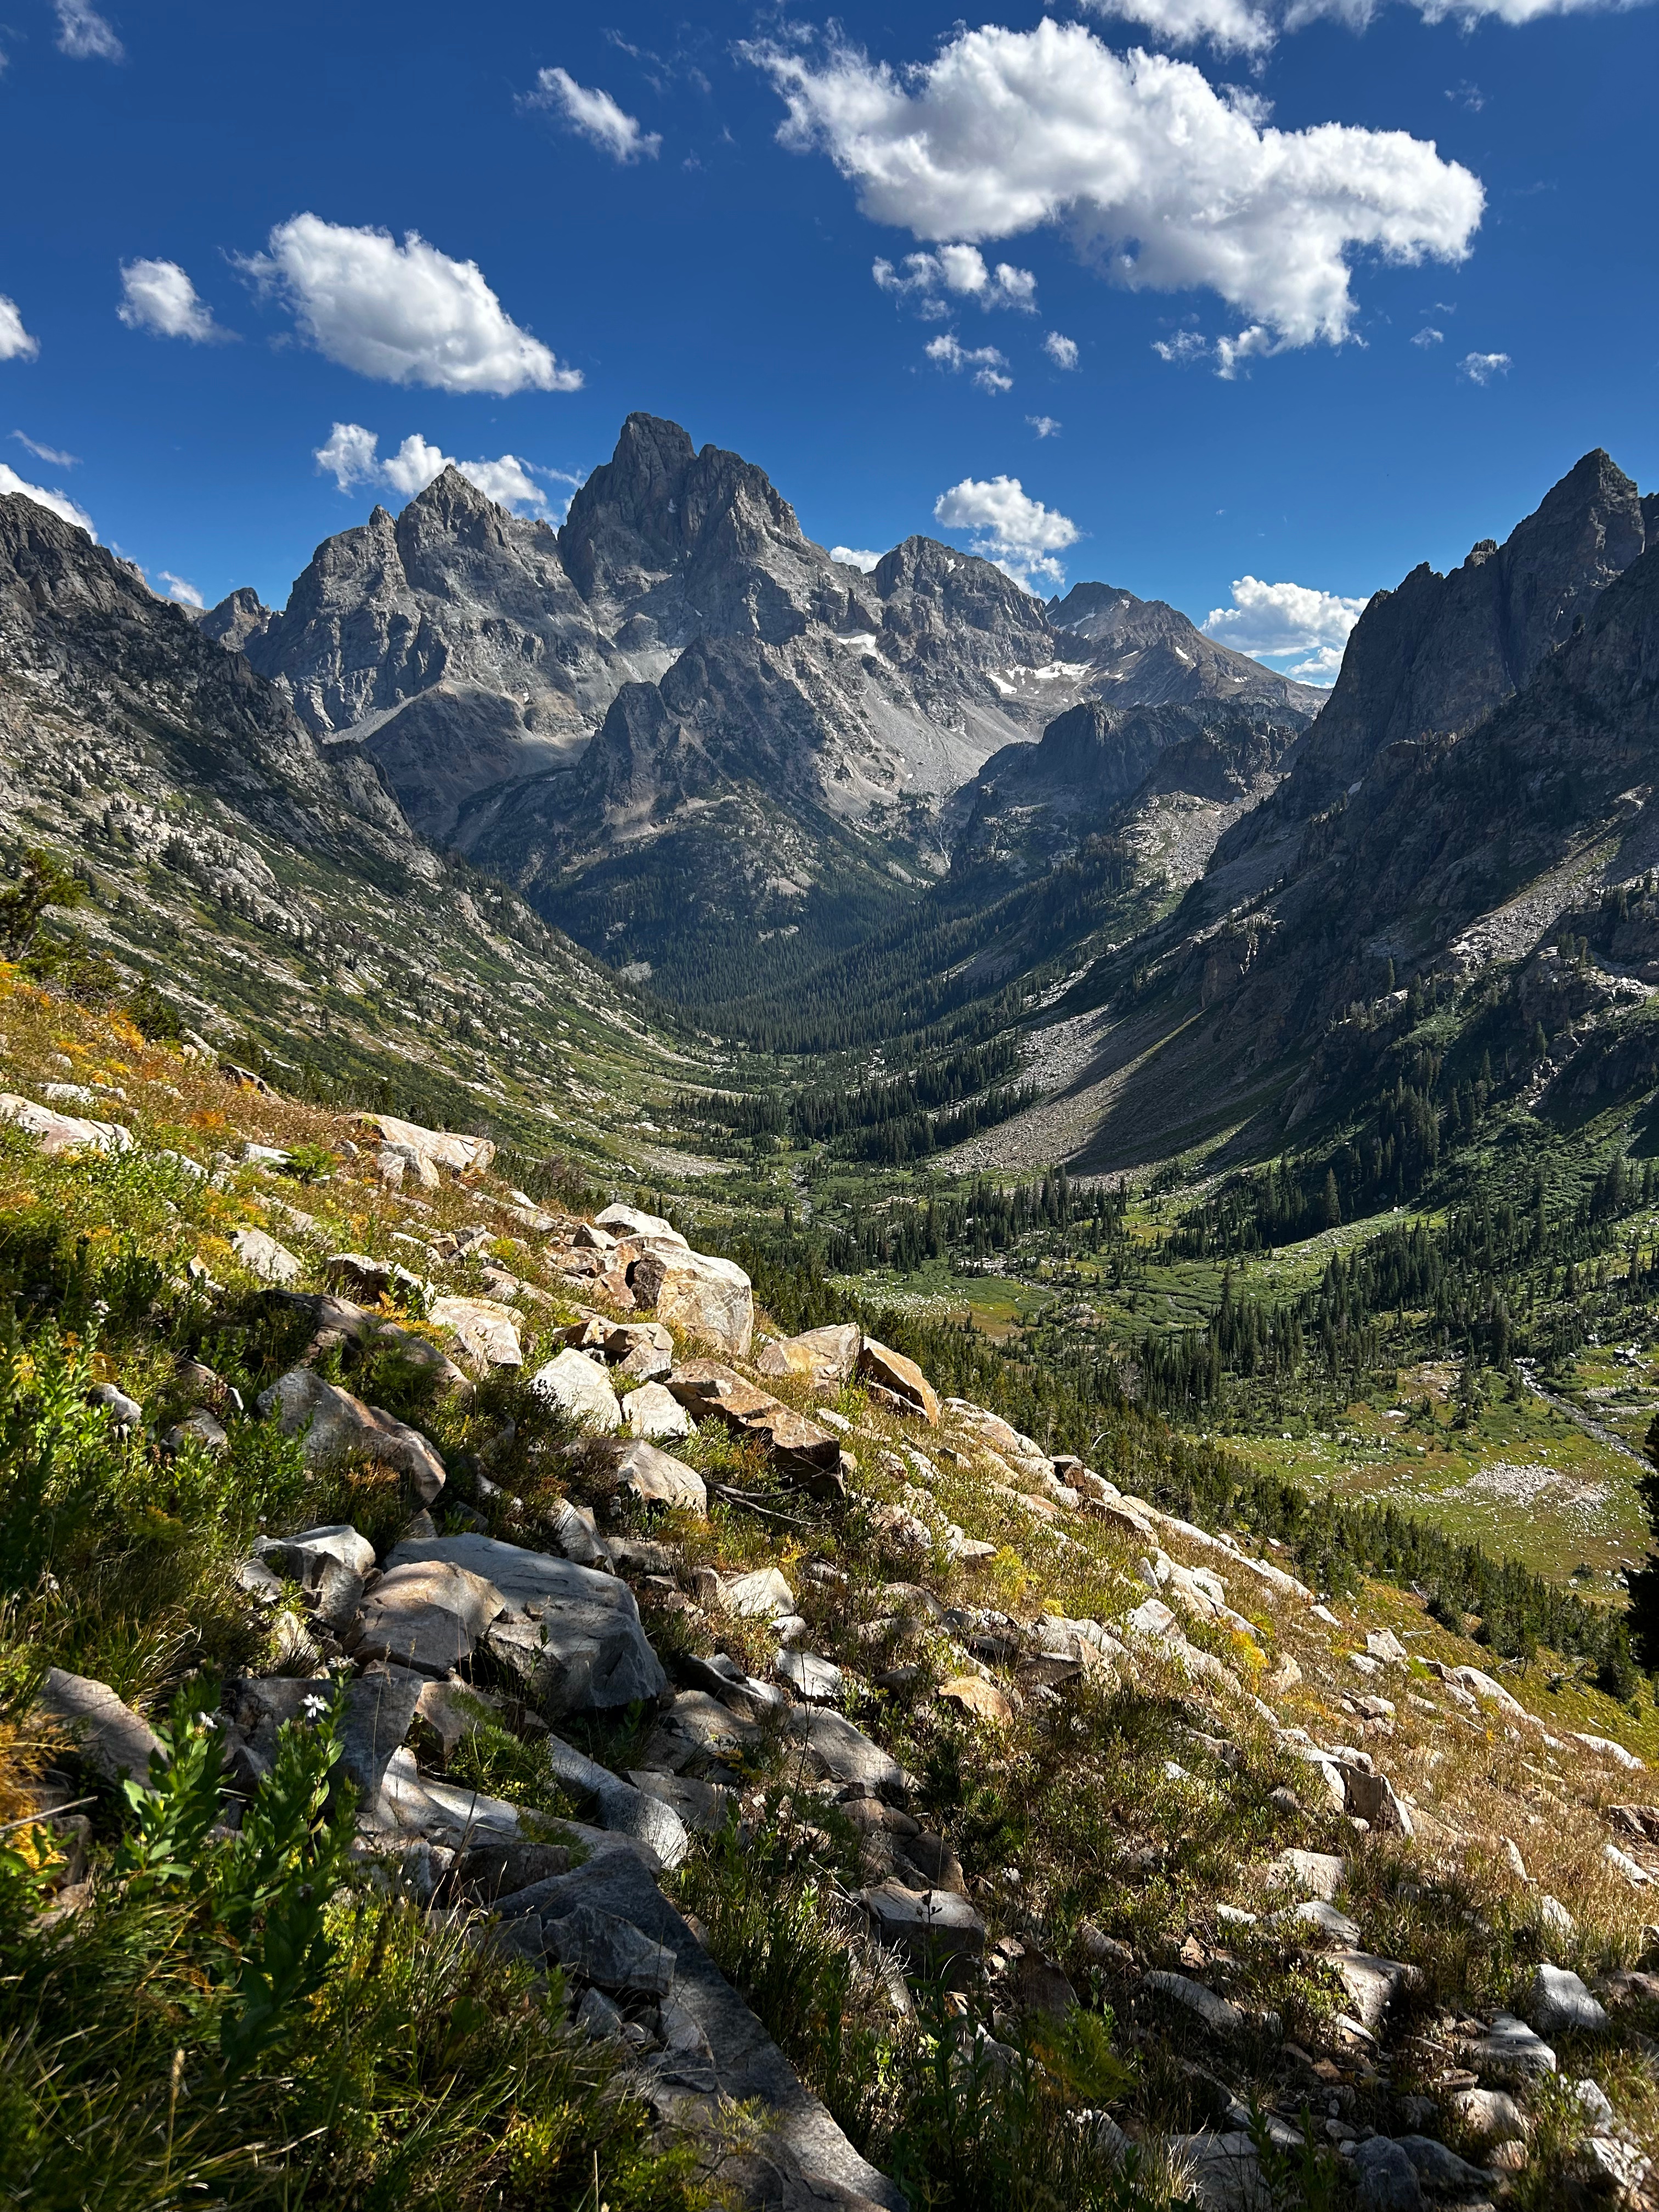
Descent Into Cascade Canyon
The descent into South Cascade Canyon is unreal. You walk right past Schoolroom Glacier, and creates beautiful rapids waterfalls for the remainder of the hike down. I loved this part of the hike so much, I brought my husband back a couple of weeks later to really enjoy it.
When we hit the split to continue up to North Fork Cascade or bail down to Jenny Lake, we decided to push through to Paintbrush Divide to complete the trail.
North Fork Cascade → Paintbrush Divide
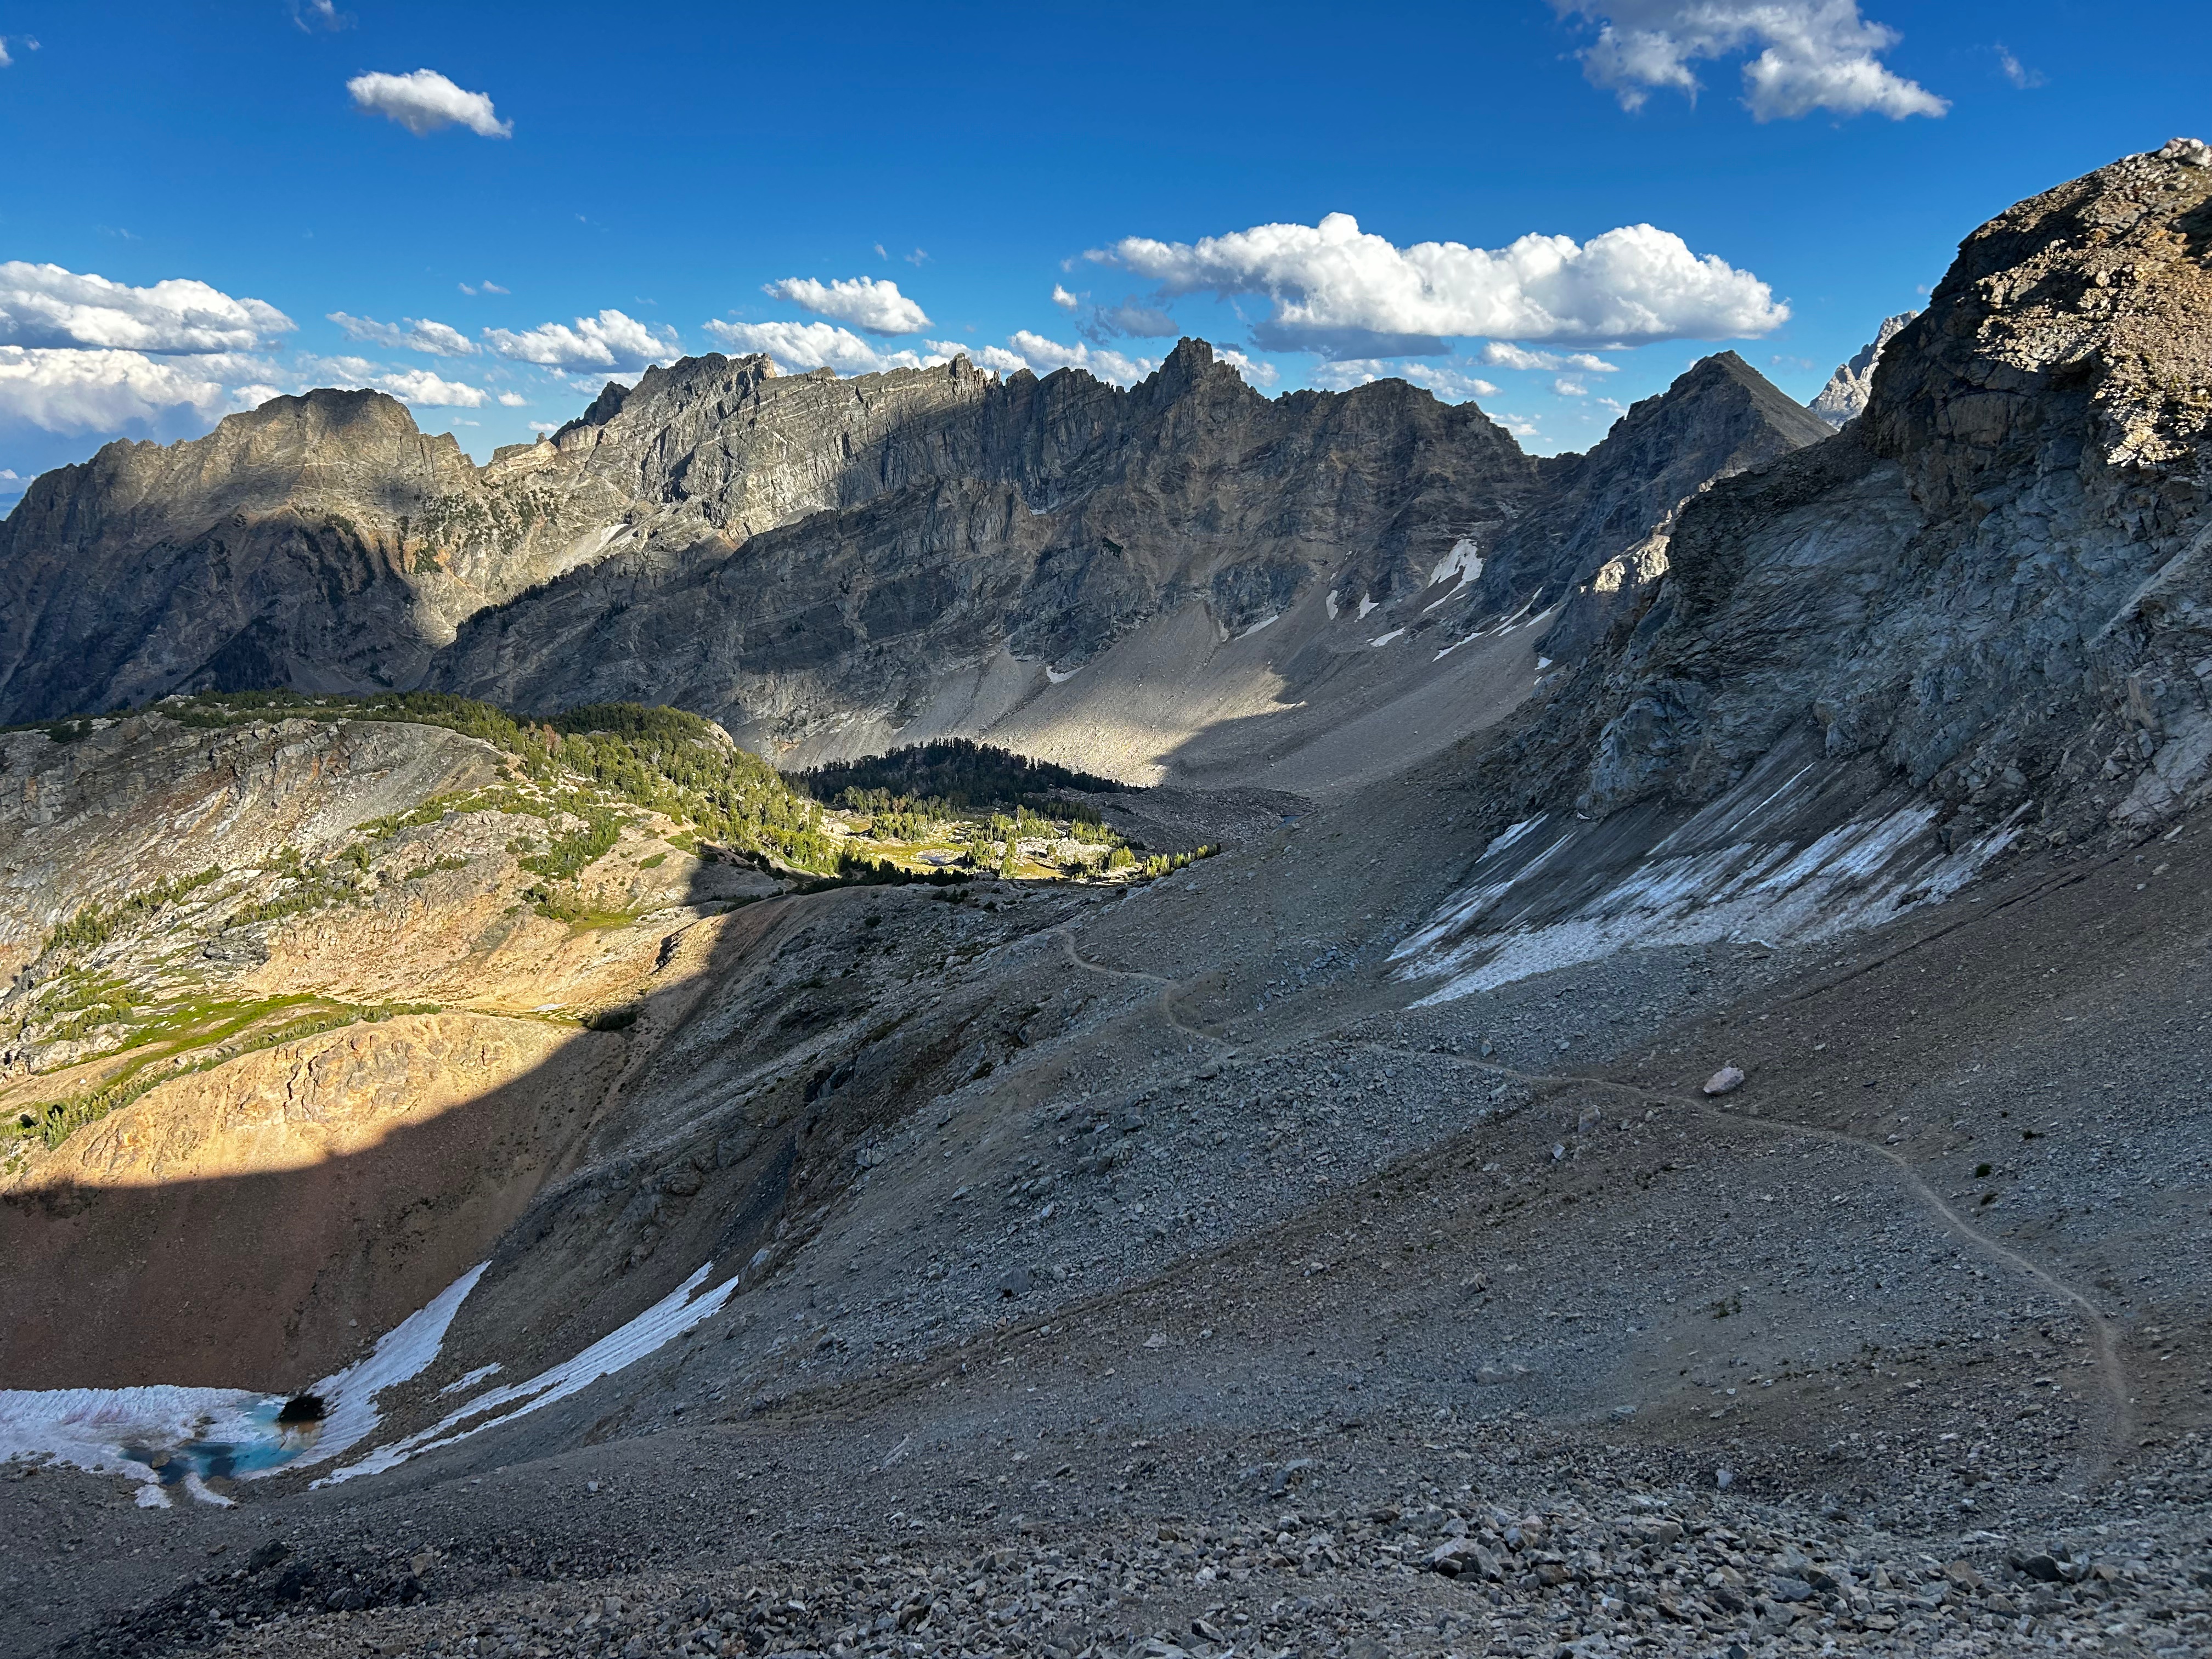
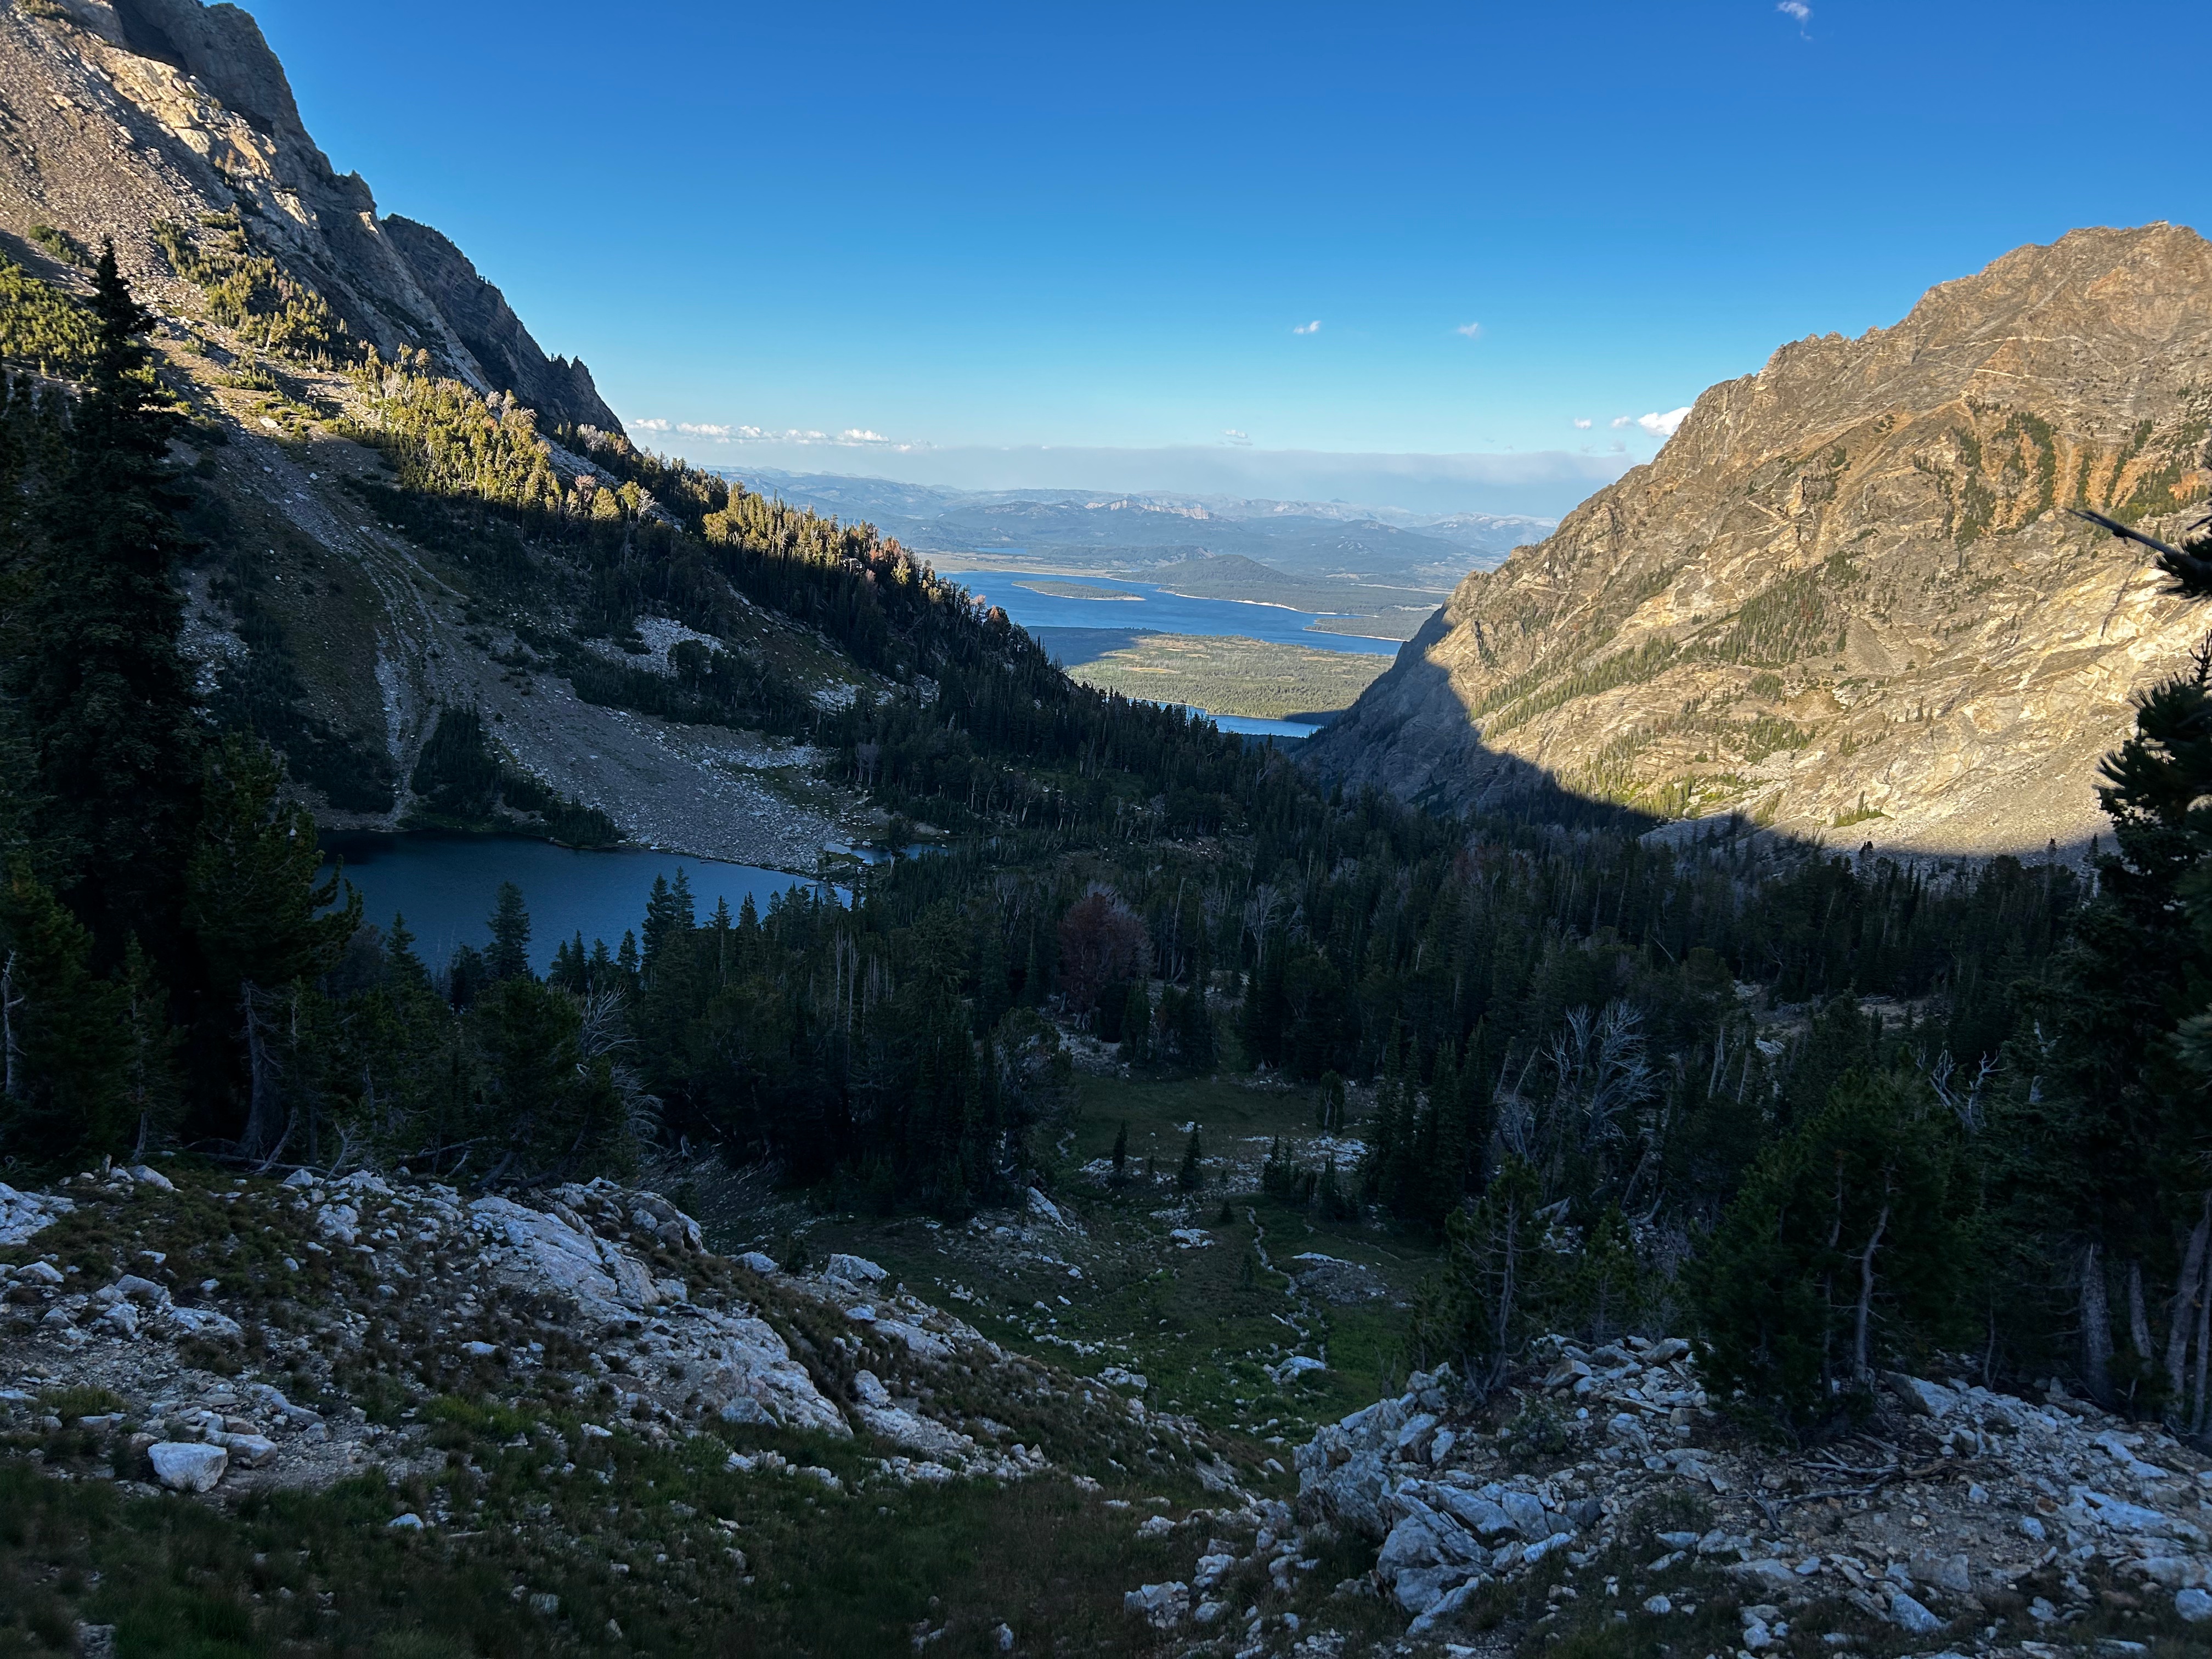
North Cascade Canyon was one of my favorite sections of the whole TCT. It’s a gentle incline all the way to Lake Solitude, which had a ton of day hikers but was still a fun stop. After Lake Solitude comes the final big push up Paintbrush Divide — definitely the hardest climb of the trail.

On the backside of the pass, the trail gets a bit more technical, requiring careful footing and occasionally a hand on the wall. We crossed one large snow patch, but this was the only snow of the entire trip.
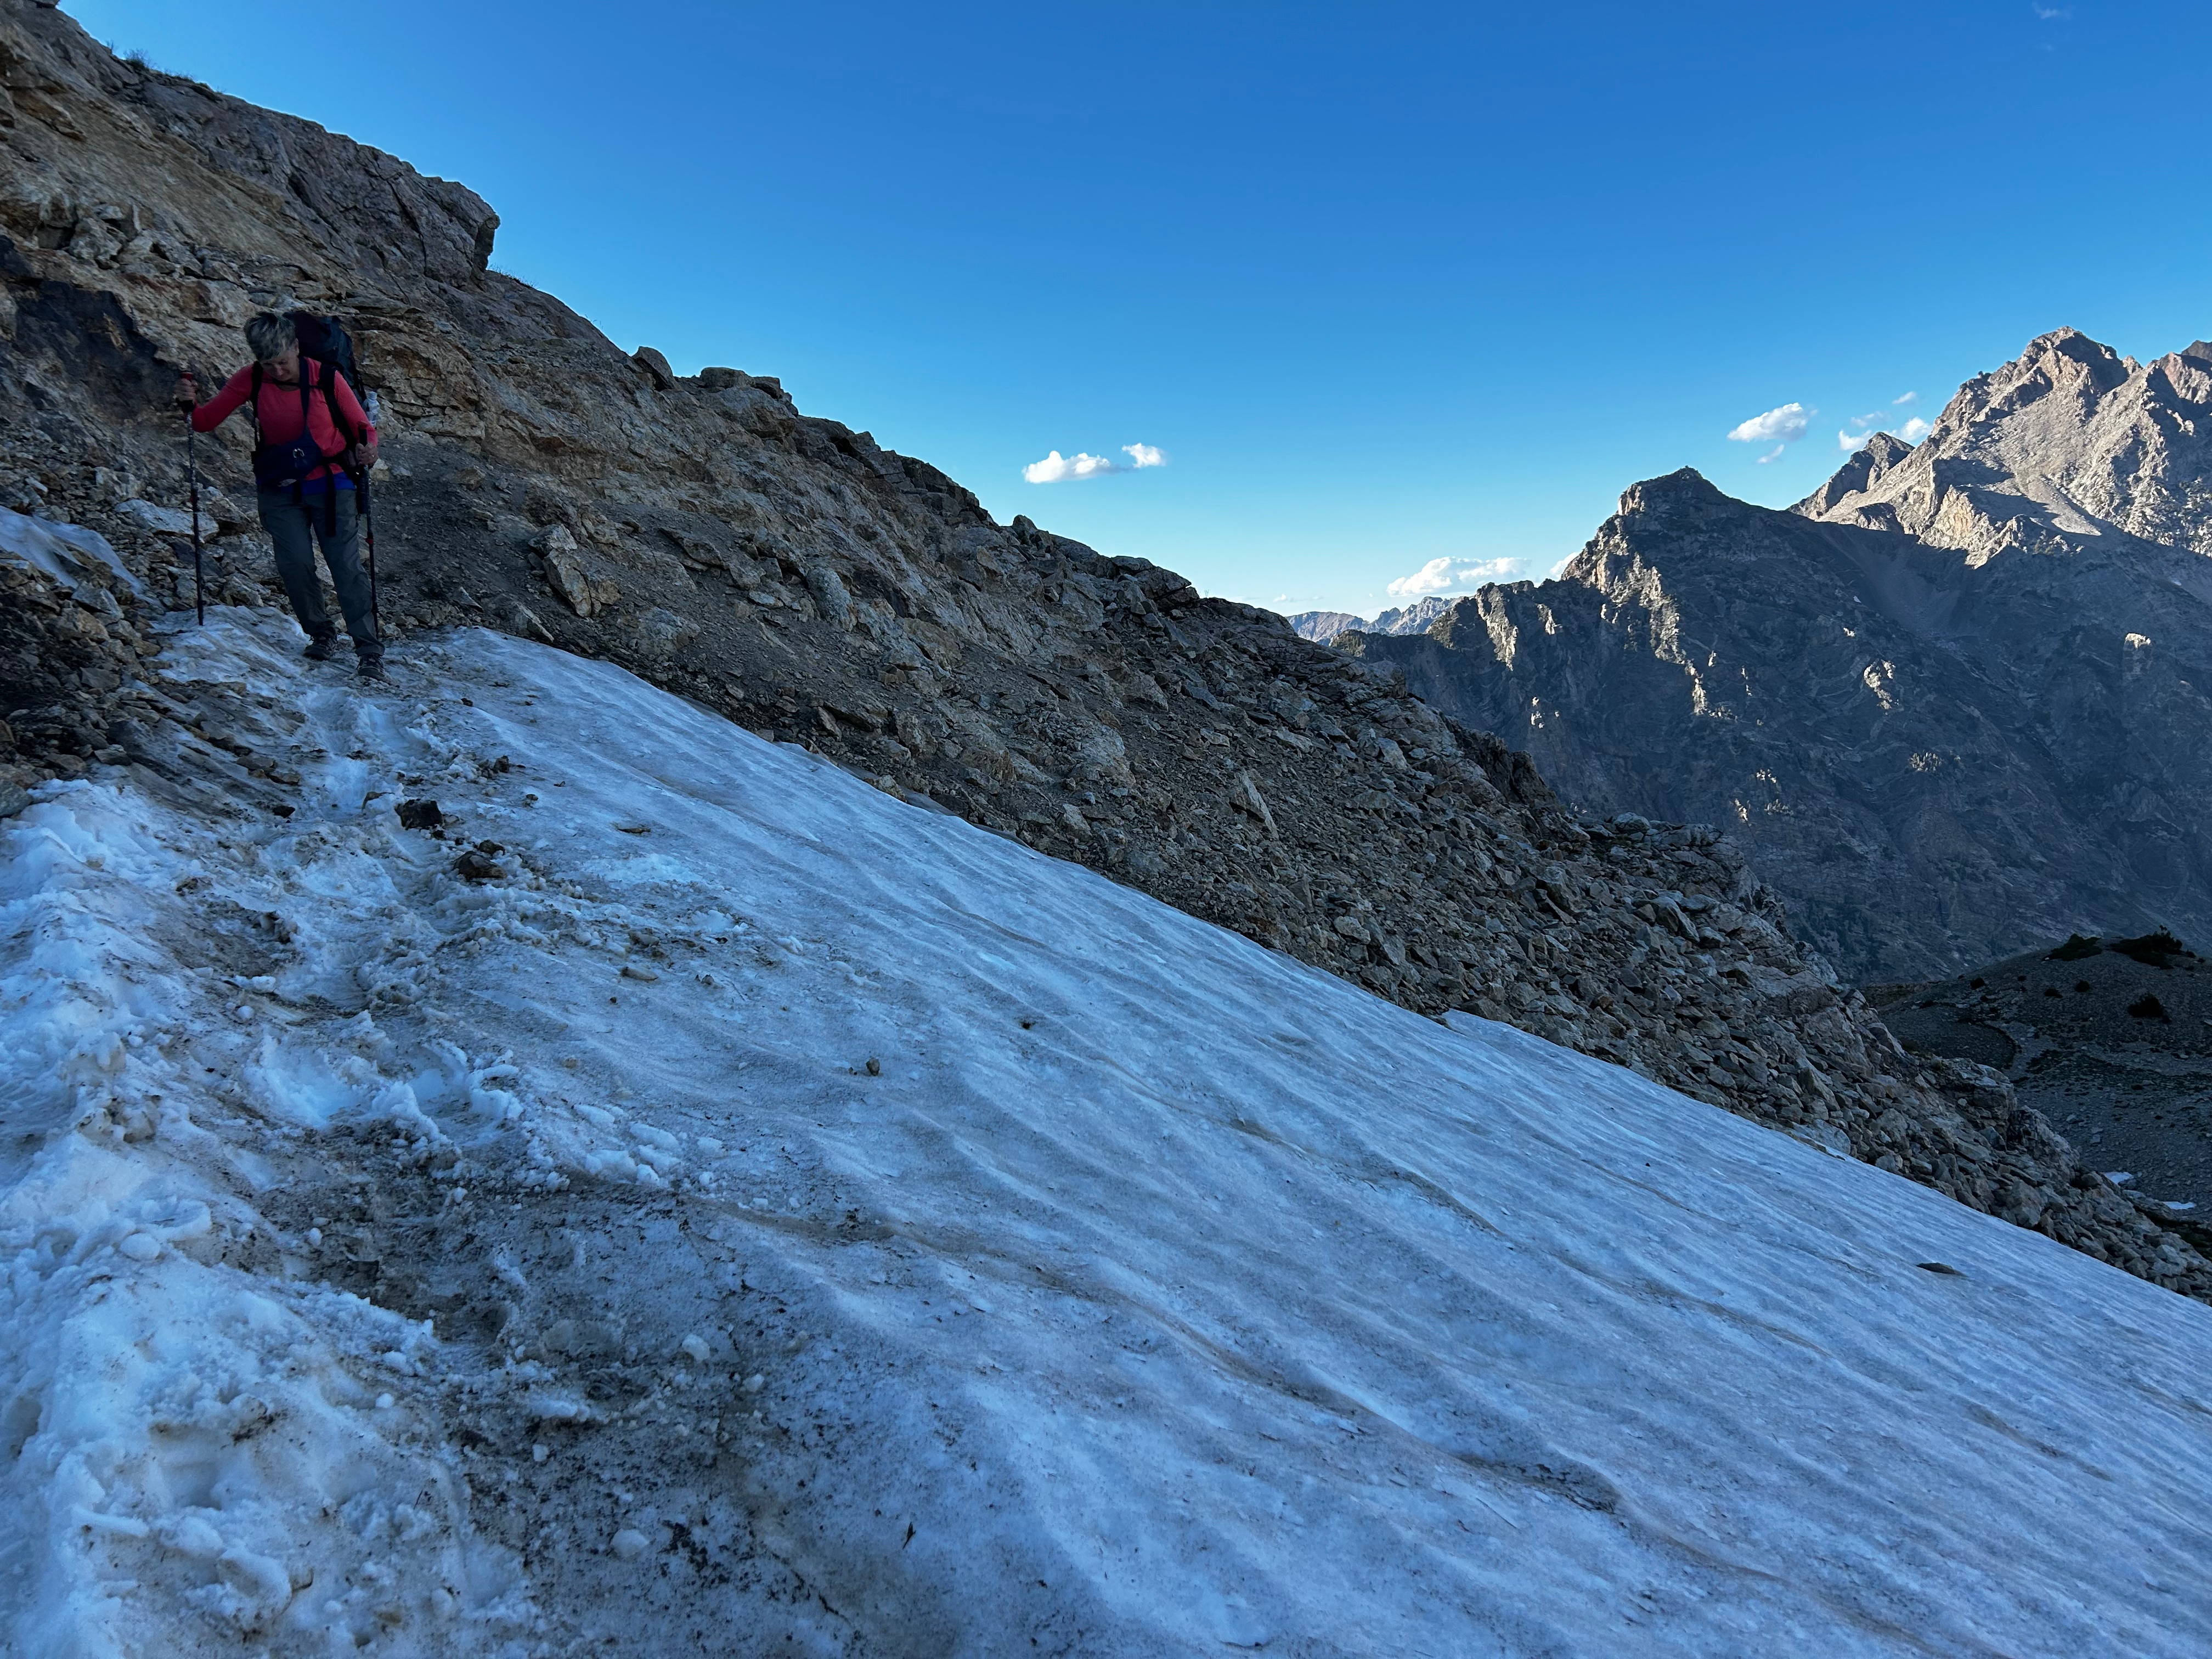
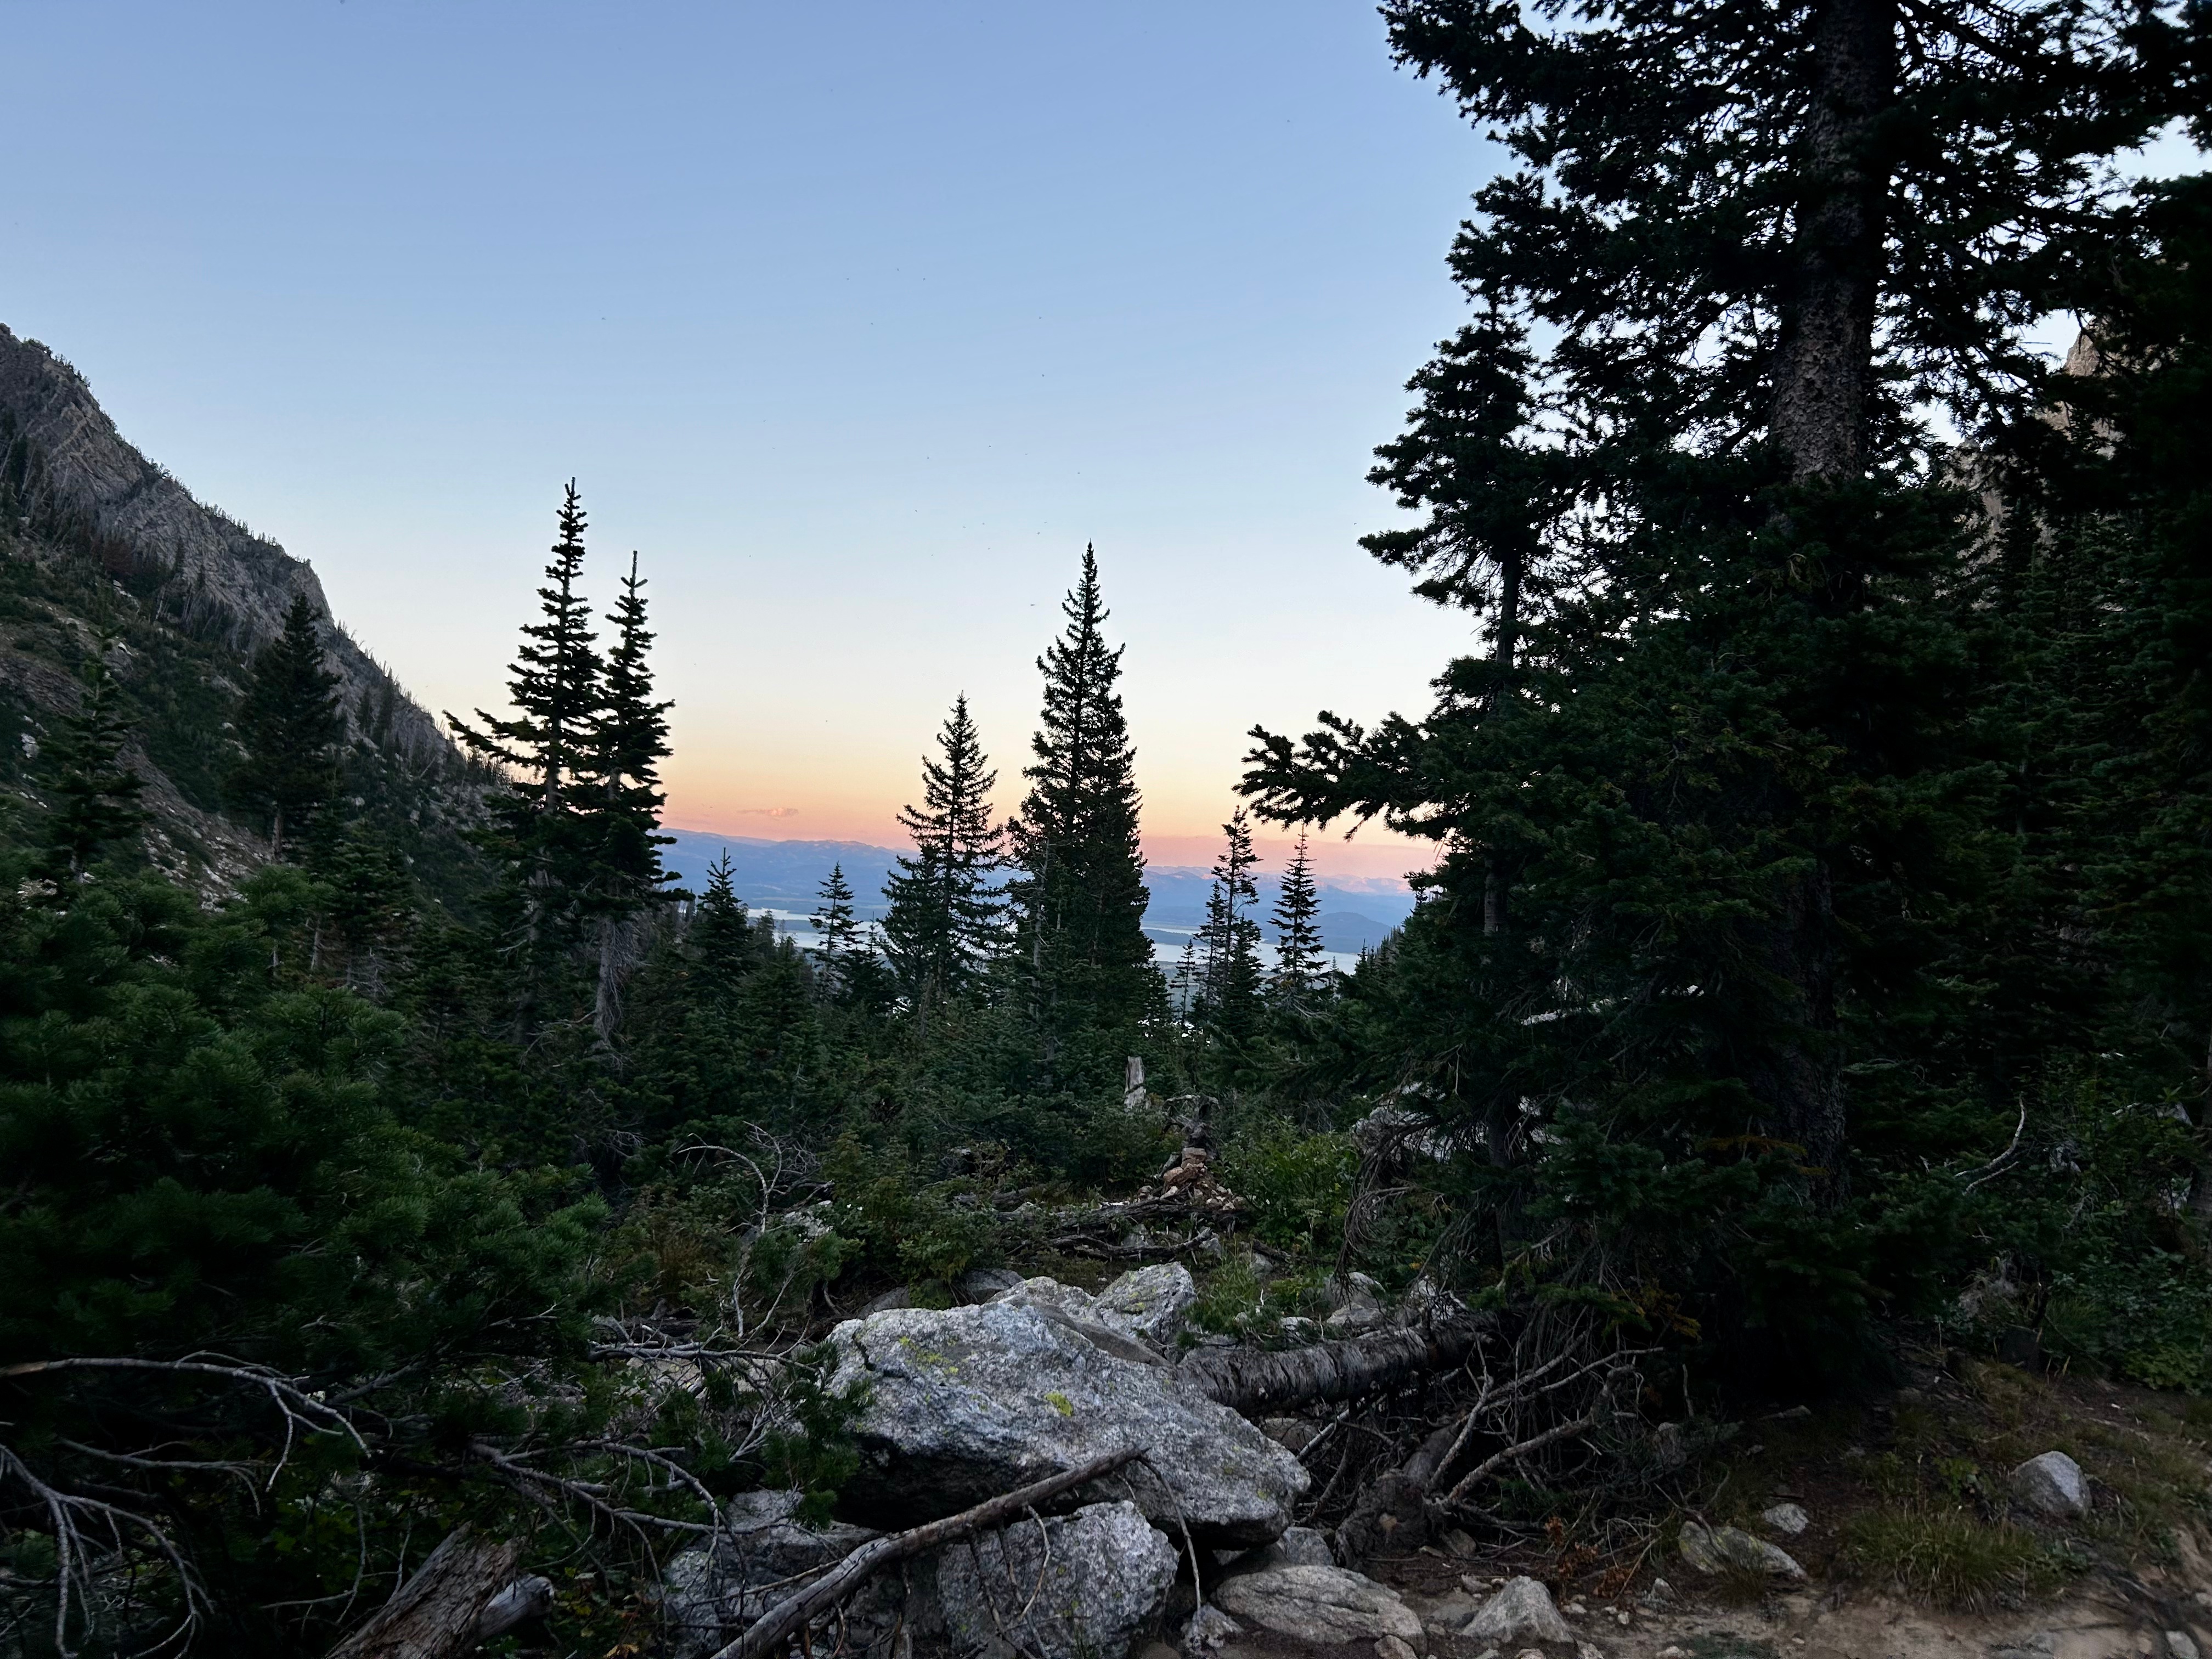
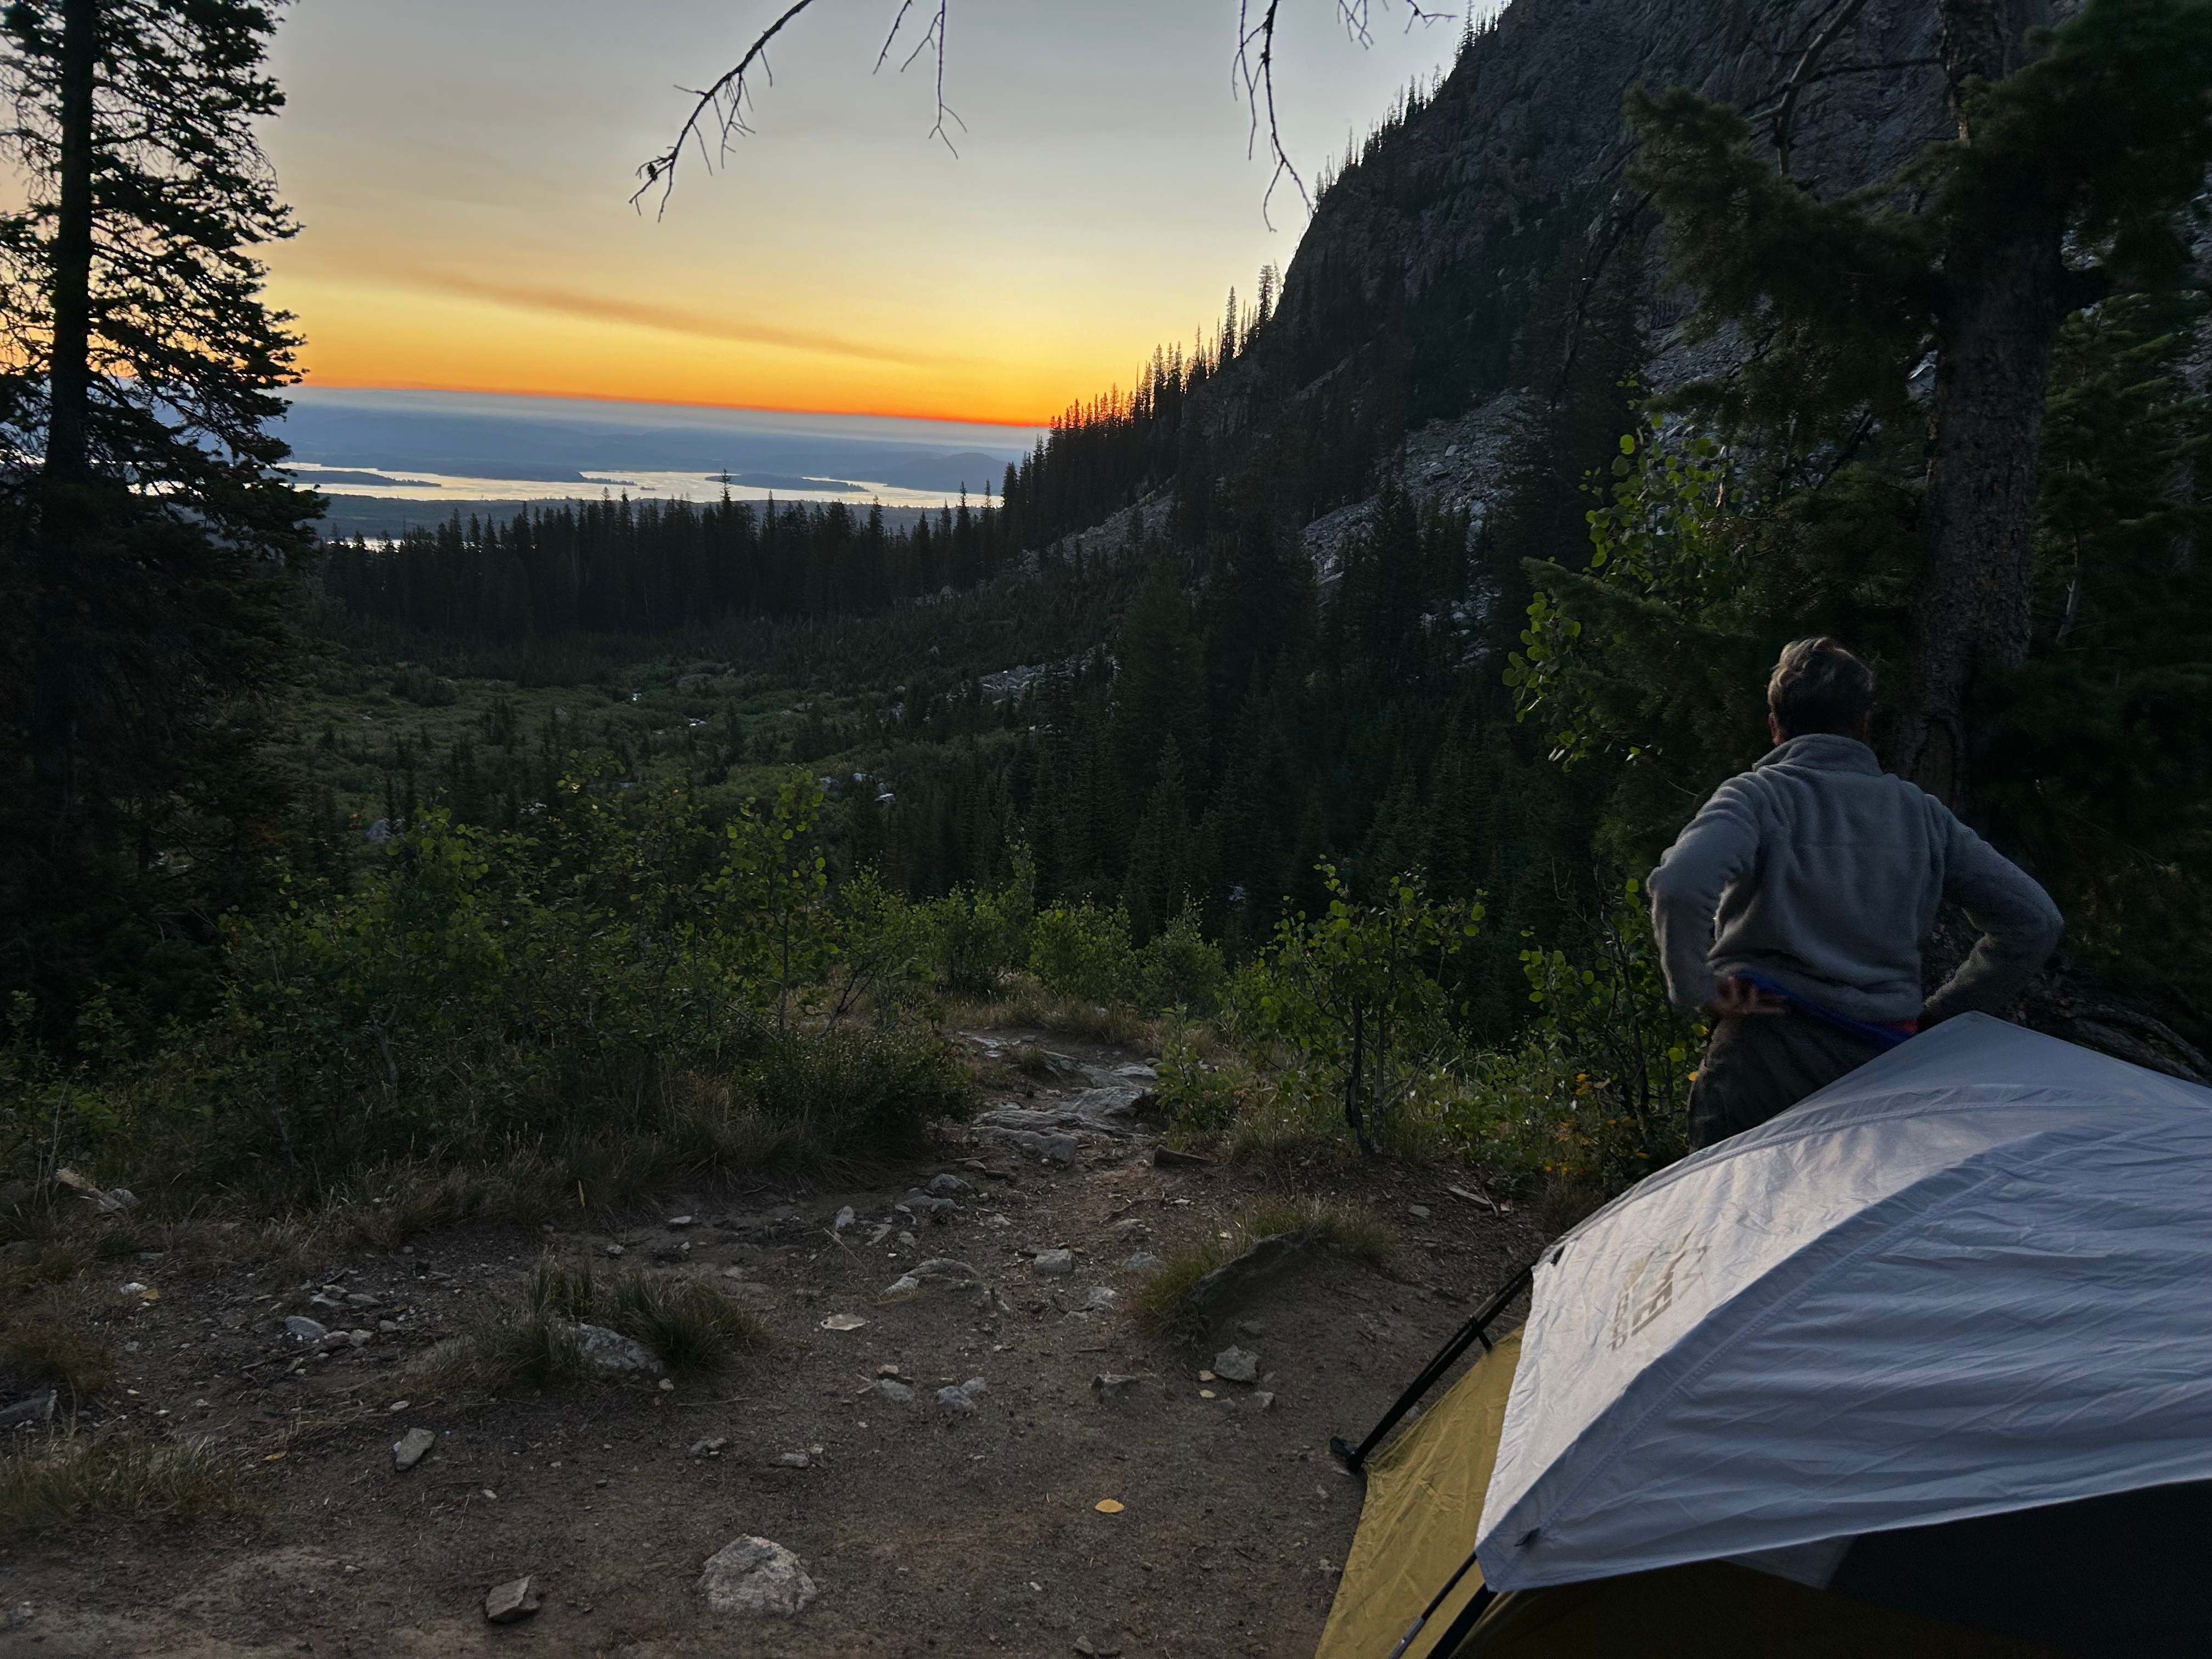
Upper Paintbrush was the coldest spot we passed through due to the elevation. I would’ve wanted a warmer layer if we’d hung out there, so I was grateful we continued down to Lower Paintbrush for the night.
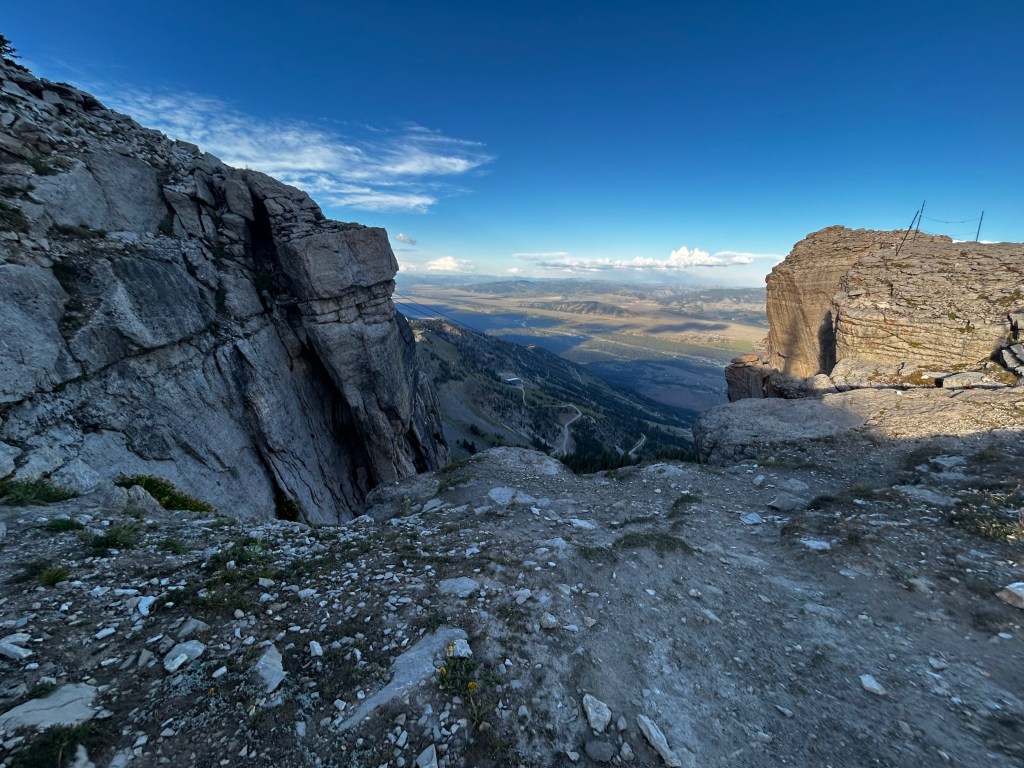
Day 4
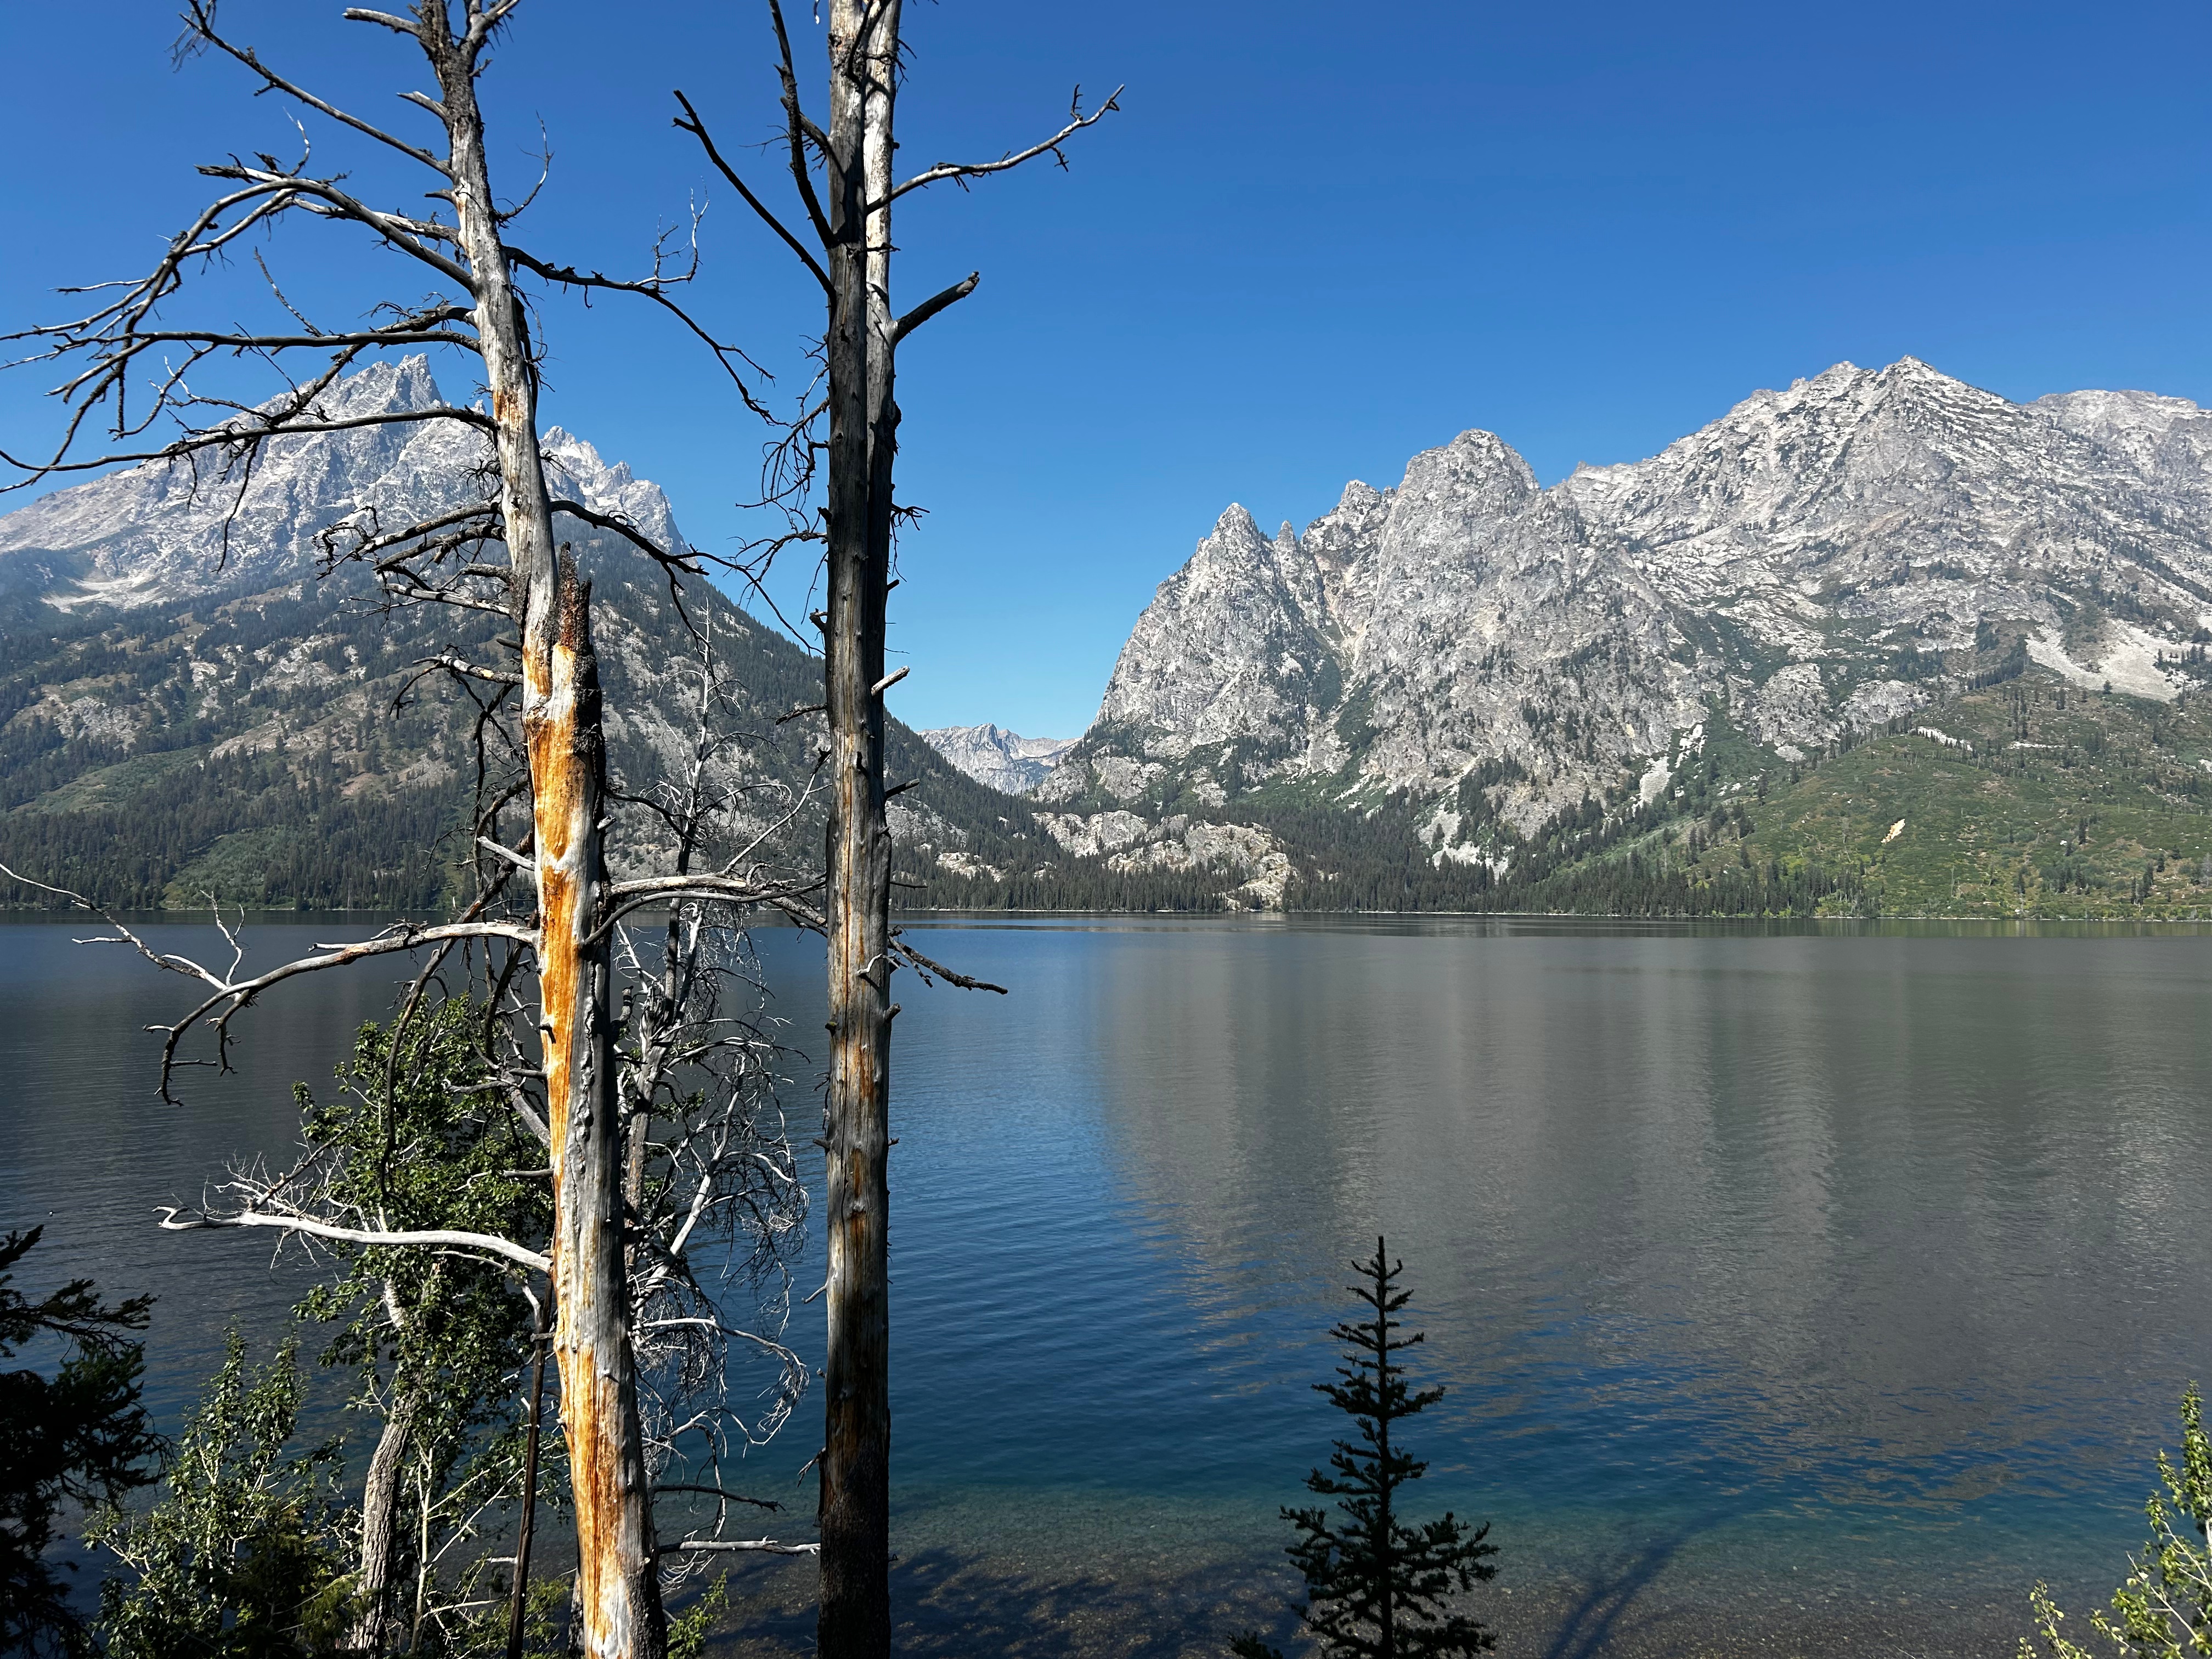
We woke up with the sun and got the most spectacular sunrise over Jenny Lake. From there, it was all downhill — literally. After a few tough days, it felt like such a treat to have an easy couple miles around the lake.
We grabbed a candy bar and a Diet Coke at the visitor center and then headed home, tired but so happy.
Gear
Gear
Navigation & Safety
- Garmin inReach Mini 2 – Service was spotty but present. We mainly used it to message family that we’d made it to camp. I rely heavily on it for weather during storms, but it wasn’t needed this time.
- Bear Spray – We didn’t have any bear encounters on this trip, but Grand Teton National Park is home to both black and brown (grizzly) bears. Bear spray should always be a last resort, but remains an important safety tool.
Clothing
- 2 sports bras
- 3 pair of underwear
- 1 pair hiking pants
- 1 long-sleeve t-shirt/sun shirt
- 1 rain jacket
- 2 pairs of shorts
- 1 tank top
- 1 pair swimsuit bottoms
- Darn Tough Hiking Socks – I brought three pairs and rotated them throughout the trip. Comfortable, durable, and worth the weight.
Food
- Mountain House Freeze-Dried Meals – Lightweight, easy, and reliable. I packed four breakfasts and four dinners total.
- Protein bars
- Beef jerky
- Electrolytes (Liquid I.V.) – Electrolytes were a game changer for us at the high altitude. We could feel a significant difference whenever we were pushing the hills and would re-hydrate with Liquid I.V.
My routine: 1 freeze-dried meal per person for breakfast and dinner, protein bars + jerky for lunch. I don’t get super hungry while hiking, so I lean on water, electrolytes, and high protein snacks to keep me going.
Miscellaneous
- Ultralight Backpacking Trowel
- Sawyer Squeeze Water Filter – I’ve done a TON of research on the best ways to decontaminate water. I’ve tried a lot of different filters, Iodine Tablets, and boiling and the Sawyer Squeeze Water Filter is by far the easiest. It comes with bags that you can use to filter, or for this trip we twisted it onto Smart Water bottles.
- 1 flask of whiskey (would probably bring 2 next time)
- Sunscreen (Face & Body) — we opted to leave ours behind and this was a huge mistake since there is very little shade on the trail

Leave a comment